
Lawn Care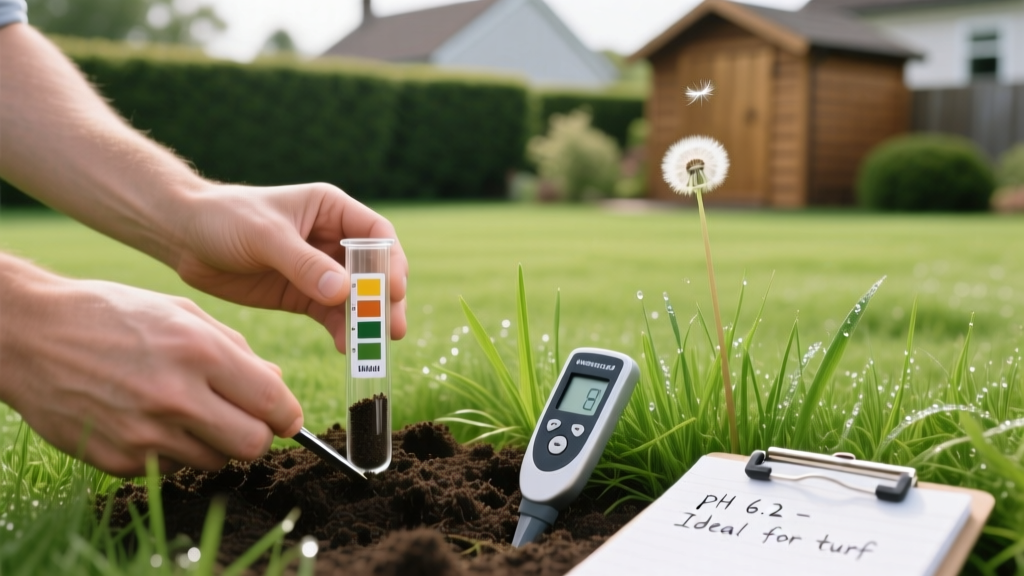
How to Test Lawn Soil: Step-by-Step pH and Nutrient Guide
Blindly applying fertilizer is the most expensive mistake in lawn care. Without knowing your soil's baseline chemistry, you risk salt buildup, nutrient lockout, and rampant weed invasion. Learning how to test lawn soil properly transitions your maintenance routine from guesswork to precision agronomy. This step-by-step procedure covers extraction techniques, laboratory selection, and exact amendment calculations to optimize your turf's root zone.
The Hidden Metric: Cation Exchange Capacity (CEC)
Before pulling a single soil core, you must understand Cation Exchange Capacity (CEC). CEC measures your soil's ability to hold onto positively charged nutrients like calcium, magnesium, and potassium. According to the University of Minnesota Turfgrass Science program, sandy soils typically exhibit a low CEC (5 to 10 meq/100g), meaning they leach nutrients rapidly and require frequent, light fertilization. Clay soils boast a high CEC (20+ meq/100g), acting as a nutrient reservoir but often suffering from compaction and poor drainage. A professional soil test will reveal your exact CEC, dictating whether you need to apply amendments in one heavy dose or split them across multiple seasons.
Step 1: Procure the Right Extraction Tools
Skip the garden spade. Shovels create V-shaped trenches that mix surface thatch with deep subsoil, contaminating your sample. Instead, invest in a stainless steel soil probe (such as the AM Leonard 36-inch T-Handle Probe, roughly $85) or a heavy-duty bulb planter. You will also need a clean plastic bucket. Critical Warning: Never use a galvanized steel bucket or a bucket that previously held liquid fertilizers. Galvanized metal leaches zinc into the soil, which will completely skew your micronutrient lab results.
Step 2: Execute the Zig-Zag Core Sampling Method
Soil composition varies wildly across a single yard. To get a representative composite sample, walk your lawn in a 'W' or zig-zag pattern, pulling 10 to 15 individual cores per 2,000 square feet.
- Established Lawns: Extract cores to a depth of exactly 3 inches. This targets the active root zone where nutrient uptake occurs.
- New Renovations or Seeding: Extract cores to a depth of 6 inches to analyze the deeper soil profile before major grading or tilling.
Discard any cores that hit anomalous areas like pet urine spots, driveway edges, or recently patched bare dirt. Place the clean cores into your plastic bucket and crush them together with a wooden trowel until the soil is thoroughly homogenized.
Step 3: Select a Testing Methodology
Not all soil tests yield actionable data. Here is a comparison matrix of the most common testing methods available to homeowners:
| Methodology | Specific Model / Lab | Avg. Cost | Turnaround | Accuracy & CEC Data |
|---|---|---|---|---|
| Chemical Dye Kit | Luster Leaf 1601 Rapitest | $15 - $20 | 10 Minutes | Low. Only provides rough pH, N-P-K ranges. No CEC. |
| Digital Meter | Sonkir MS02 3-in-1 | $20 - $30 | Immediate | Poor. Prone to calibration drift and moisture interference. |
| University Extension | Local State Extension Office | $15 - $25 | 1 - 2 Weeks | High. Excellent localized agronomic advice, includes pH and macros. |
| Private Agronomy Lab | Logan Labs (Standard) / Ward Labs (S-3C) | $30 - $50 | 1 - 2 Weeks | Exceptional. Full spectrum including CEC, base saturation, and micronutrients. |
For high-value turf like Kentucky Bluegrass or Bermuda, private labs like Logan Labs or Penn State Extension provide the deep-dive data required for professional-grade lawn care.
Step 4: Interpret Base Saturation and pH
While pH dictates nutrient availability (with 6.2 to 6.8 being the optimal range for most turfgrasses), Base Saturation Percentages tell you the actual balance of cations occupying your soil's exchange sites.
Step 5: Calculate and Apply Amendments
Once your lab results return, you must calculate the exact tonnage required to shift your soil chemistry. The table below outlines baseline application rates for pelletized calcitic lime (to raise pH and calcium) and elemental sulfur (to lower pH). Note that soils with high CEC (heavy clay) require significantly more material to shift the pH needle than sandy soils.
| Current pH | Target pH | Soil Type | Calcitic Lime (lbs / 1,000 sq ft) | Elemental Sulfur (lbs / 1,000 sq ft) |
|---|---|---|---|---|
| 5.0 | 6.5 | Sandy Loam | 45 lbs | N/A |
| 5.0 | 6.5 | Heavy Clay | 90 lbs | N/A |
| 7.8 | 6.5 | Sandy Loam | N/A | 6 lbs |
| 7.8 | 6.5 | Heavy Clay | N/A | 15 lbs |
Edge Case Protocol: If your calculated lime requirement exceeds 100 lbs per 1,000 square feet, or your sulfur requirement exceeds 10 lbs per 1,000 square feet, you must split the application. Apply half in the fall and half in the spring to prevent root burn and nutrient leaching.
Step 6: Post-Application Watering and Retesting
Amendments are surface-applied but need to reach the root zone. For maximum efficacy, core aerate your lawn immediately before applying lime or sulfur. After spreading the material using a rotary broadcast spreader, water the lawn with exactly 0.5 inches of irrigation to wash the dust off the grass blades and initiate the soil reaction. Soil chemistry moves slowly; elemental sulfur can take 6 to 12 months to fully oxidize and lower pH. Schedule your follow-up soil test exactly 12 months after your initial application to track the delta and adjust your maintenance program accordingly.
"Soil testing is the only way to eliminate the guesswork from lawn fertilization. Applying nutrients without a test is not only economically wasteful but can lead to environmental runoff and turf disease susceptibility." - University of Minnesota Turfgrass Science Program

