
Lawn Care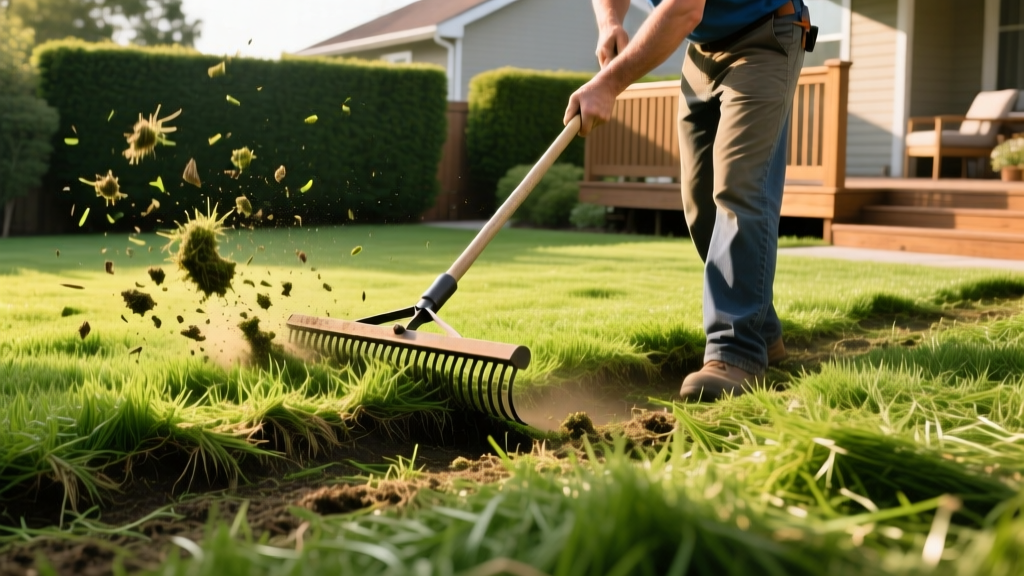
The Thatch Definition: Step-by-Step Lawn Dethatching Procedures
The True Thatch Definition: Biology and Misconceptions
To properly maintain a lawn, you must first understand the precise thatch definition. In turfgrass science, thatch is defined as a tightly intermingled layer of living and dead organic matter—primarily stems, crowns, and roots—that develops between the zone of green vegetation and the soil surface.
The primary structural component of thatch is lignin, a complex organic polymer that provides rigidity to plant cell walls. Because lignin is highly resistant to microbial decay, the lower portions of grass stems and rhizomes accumulate faster than soil microorganisms can break them down.
Common Myth Busted: Grass clippings do not cause thatch. According to the University of Minnesota Extension, grass clippings are 80% water and contain very little lignin. When left on the lawn via mulching mowing, they decompose within a few days and actually feed the soil microbiome, accelerating the breakdown of existing thatch.
Diagnostic Step: Measuring Your Thatch Layer
Before renting equipment or applying biological agents, you must quantify the thatch depth. A thin layer (under 1/2 inch) is beneficial—it insulates the soil crown from temperature extremes and reduces moisture evaporation. Excessive thatch blocks water infiltration, harbors fungal pathogens like brown patch, and causes roots to grow into the thatch layer rather than the soil, leading to severe drought stress.
Step-by-Step Core Sampling
- Extract a Plug: Use a sharp spade or a 2-inch soil probe to cut a V-shaped wedge or cylindrical core at least 3 inches deep into the lawn.
- Identify the Layers: Look for the green grass blades at the top, the dark mineral soil at the bottom, and the spongy, light-brown fibrous layer sandwiched between them.
- Measure the Fiber: Place a ruler against the core. Measure only the brown, spongy thatch layer. Do not include the green crown tissue or the dark soil in your measurement.
Thatch Depth Decision Matrix
| Thatch Depth | Lawn Status | Required Procedure |
|---|---|---|
| Less than 1/2 inch | Optimal / Healthy | No action. Maintain regular mulching mowing and core aeration. |
| 1/2 inch to 3/4 inch | Moderate Accumulation | Apply biological dethatchers (lignin-eating microbes) or perform light manual raking. |
| Greater than 3/4 inch | Severe / Hydrophobic | Mechanical power raking (dethatching) or deep verticutting is mandatory. |
Step-by-Step Mechanical Dethatching Procedures
If your core sample exceeds 3/4 inch, mechanical removal is required. The timing and equipment depend heavily on your grass species. As noted by Michigan State University Extension, dethatching causes significant turf stress and must be aligned with the grass's peak growth cycle.
Phase 1: Lawn Preparation (48 Hours Prior)
- Mow Low: Drop your mower deck to 1.5 inches. Bag the clippings to expose the thatch layer.
- Hydrate the Soil: Water the lawn lightly to achieve a moisture depth of 3 inches. Soil that is too dry will cause the dethatcher blades to bounce; soil that is muddy will cause severe rutting and root tearing.
- Mark Obstacles: Flag sprinkler heads, shallow irrigation lines, and valve boxes with high-visibility stakes.
Phase 2: Equipment Selection and Calibration
Renting a power rake (dethatcher) typically costs between $75 and $110 per day from equipment rental centers. You must select the correct blade type based on your thatch depth:
- Spring Tines (Wire Fingers): Best for thatch layers between 3/4 inch and 1 inch. They gently pull up dead material without severely damaging living rhizomes.
- Flail Blades (Steel Knives): Required for thatch exceeding 1 inch. These slice through the mat and penetrate the soil surface, effectively combining dethatching with shallow verticutting.
Calibration Pro-Tip: Set the blade depth on a concrete driveway or flat paving stone before moving to the grass. The tips of the blades should just barely scrape the stone. When moved to the lawn, this ensures the blades penetrate exactly 1/4 inch into the soil, pulling up the thatch without destroying the root zone.
Phase 3: Execution and Cleanup
- First Pass (Horizontal): Push the dethatcher in straight, overlapping lines across the width of the lawn. Maintain a steady, walking pace.
- Second Pass (Vertical): Make a second pass perpendicular to the first. This cross-hatching pattern ensures complete extraction of the matted layer.
- Debris Removal: Rake the pulled thatch into windrows using a flexible landscape rake. Bag the material immediately. A severely thatched 5,000 sq. ft. lawn can yield up to 15-20 cubic feet of dense debris.
Biological Dethatching: The Non-Mechanical Alternative
For lawns measuring between 1/2 and 3/4 inches of thatch, or for homeowners looking to prevent mechanical damage, liquid biological dethatchers offer a highly effective alternative. These products contain concentrated strains of Bacillus subtilis and Trichoderma fungi, which specifically target and digest lignin.
Application Protocol:
- Cost: Expect to pay $35 to $55 for a 32oz hose-end bottle covering 5,000 square feet.
- Timing: Apply when soil temperatures are consistently above 55°F (13°C). Microbial activity halts in cold soil.
- Activation: Apply a humic acid supplement alongside the biological agent to provide a carbon food source for the microbes. Water the lawn with 1/2 inch of irrigation immediately after application to wash the spores into the thatch layer.
Post-Dethatching Recovery and Renovation
Mechanical dethatching strips the lawn of its protective canopy and damages existing crowns. A strict recovery protocol is required to prevent weed invasion and turf death.
The 14-Day Recovery Timeline
| Timeframe | Action Item | Specific Measurements / Products |
|---|---|---|
| Day 1 (Immediately) | Core Aeration & Overseeding | Pull 3-inch plugs. Apply seed at 3-5 lbs per 1,000 sq ft (cool-season). |
| Day 2 | Starter Fertilization | Apply a 18-24-12 starter fertilizer at a rate of 1 lb of Nitrogen per 1,000 sq ft. |
| Days 3-14 | Moisture Management | Water lightly 2-3 times daily (10 mins per zone) to keep the top 1 inch of soil constantly moist. |
| Day 14+ | Pre-Emergent Restriction | DO NOT apply pre-emergent herbicides (like Prodiamine) for at least 60 days post-seeding. |
Frequently Asked Questions
Can I dethatch St. Augustine grass?
Proceed with extreme caution. St. Augustine spreads via thick, above-ground stolons. Aggressive power raking with flail blades will rip out the living stolons, effectively destroying the lawn. If St. Augustine requires dethatching, use a verticutter set high enough to only slice the thatch mat without engaging the stolons, or rely strictly on biological lignin-digesting liquids.
Does leaving grass clippings on the lawn cause thatch?
No. This is the most persistent myth in lawn care. Grass clippings are composed mostly of water and simple carbohydrates that degrade in 48 to 72 hours. Thatch is composed of lignin-rich stems, crowns, and roots that take months to decompose. In fact, the microbial activity stimulated by decomposing clippings helps break down existing thatch.
How often should I dethatch my lawn?
Dethatching is not an annual maintenance task; it is a corrective procedure. If you maintain proper mowing heights, avoid excessive synthetic nitrogen applications (which accelerate top growth faster than root decomposition), and core aerate compacted soils annually, you may only need to mechanically dethatch every 3 to 5 years.

