
Lawn Care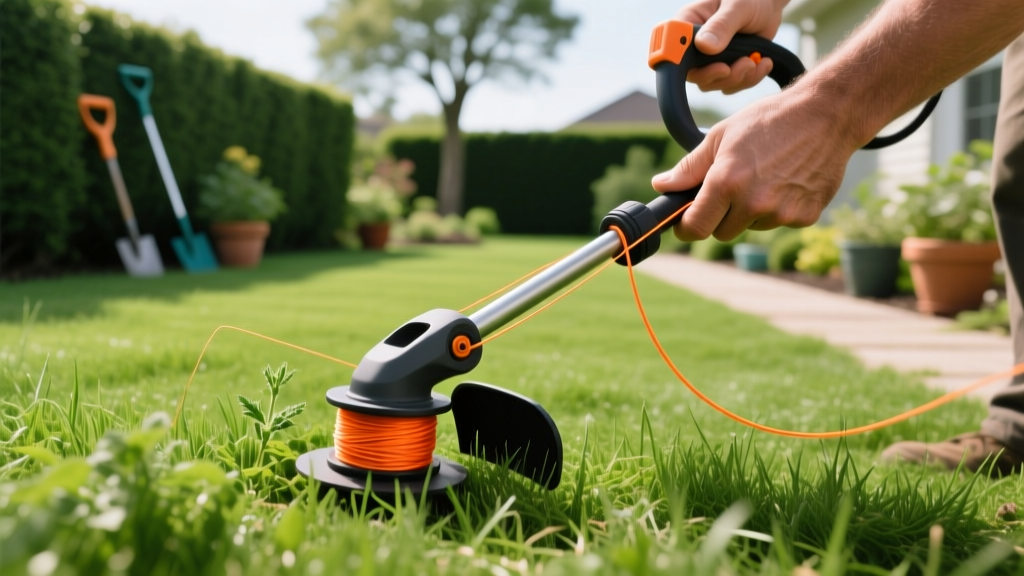
How to Thread a Weed Eater for Precision Weed Spot-Treatment
When managing aggressive weed species in sensitive areas like landscape beds, tree rings, and fence lines, chemical herbicides often pose an unacceptable risk of drift to desirable plants. In these scenarios, mechanical spot-treatment using a string trimmer becomes your primary defense. However, the effectiveness of this mechanical control relies entirely on your equipment setup. If you do not know how to thread a weed eater correctly for the specific weed profile you are targeting, you will suffer from constant line breakage, spool fusing, and erratic cutting patterns that can scalp your turf or damage ornamental bark.
This guide bridges the gap between equipment maintenance and integrated pest management (IPM). We will detail exactly how to thread a weed eater, select the optimal trimmer line gauge for specific weed species, and execute advanced spot-treatment protocols that weaken perennial weeds at the rhizome level.
Matching String Gauge to Target Weed Species
The most common mistake homeowners make is using a generic 0.065-inch round line for all tasks. While sufficient for soft annual weeds, this gauge will instantly snap when encountering the fibrous stalks of mature perennial grasses. According to turf management principles, matching your line diameter to the tensile strength of the target weed is critical for clean cuts that do not shred the plant crown, which can stimulate unwanted lateral branching.
| String Diameter | Target Weed Profile | Trimmer Class | Example Species |
|---|---|---|---|
| 0.065' - 0.080' | Soft annuals, fine seedlings | Residential Electric / Low-Voltage | Hairy Bittercress, Chickweed, Purslane |
| 0.080' - 0.095' | Mixed perennials, standard turf | Prosumer Gas / High-Voltage Battery | Dandelion, Crabgrass, Broadleaf Plantain |
| 0.105' - 0.130' | Thick-stemmed grasses, dense mats | Commercial Gas (Straight Shaft) | Johnsongrass, Dallisgrass, Yellow Nutsedge |
| 0.155'+ | Woody stems, heavy brush | Brushcutters (Blade-capable) | Blackberry, Kudzu, Poison Ivy |
For stubborn species like Yellow Nutsedge, which features tough, triangular stems and deep tubers, a minimum of 0.095-inch co-polymer line is required. Thinner lines will simply bounce off the stem, bruising the plant without severing it above the basal bulb.
Step-by-Step: How to Thread a Weed Eater (Bump-Feed Heads)
The bump-feed head (such as the Husqvarna T25 or Echo Speed-Feed 400) is the industry standard for spot-treatment because it allows on-demand line advancement without stopping the engine. Proper threading prevents the line from cross-layering inside the spool, which is the primary cause of feed jams.
- Lock the Spool: Rotate the trimmer head until the arrows on the top and bottom housing align. Push the spool down until it clicks and locks into place. This prevents the spool from spinning while you apply tension.
- Cut the Correct Length: Cut exactly 15 to 20 feet of line. Do not attempt to load a 50-foot bulk roll directly into the spool. Excess line creates overlapping layers that generate immense friction heat, causing the nylon to weld together inside the housing.
- Anchor the Line: Find the center anchor hole on the spool. Fold your cut line in half to find the center, and insert the loop into the anchor hole (or insert both ends into the designated starter notches if using a dual-line spool).
- Wind with Maximum Tension: Wind the line in the direction indicated by the arrows on the spool (usually clockwise). Critical Step: You must pull the line taut with every single wrap. If the line is loose, the centrifugal force of the trimmer at 7,000 RPM will force the outer layers to bite into the inner layers, causing an immediate jam.
- Secure in Retainer Notches: Leave about 6 inches of line unwound and snap it into the temporary retainer notches on the spool edge. This holds your tension while you reassemble the head.
- Thread the Eyelets: Pass the loose ends through the metal or reinforced plastic eyelets on the outer housing. If your eyelets are plastic and show signs of grooving or burrs, replace them immediately; burrs will sheer your line upon startup.
- Release and Pull: Press the bump knob to release the spool lock, then pull both lines sharply outward to disengage them from the retainer notches and extend them to the cutting length.
Advanced Threading for Fixed-Line and Speed-Feed Systems
When spot-treating highly sensitive areas like the base of thin-barked ornamental trees (e.g., Japanese Maples or Dogwoods), professionals often switch to fixed-line heads (like the Stihl FixCut). Fixed-line heads use short, pre-cut pieces of heavy gauge line (0.130' to 0.155') that are inserted directly into the eyelets and locked with a mechanical detent.
To thread a fixed-line head, simply cut two 8-inch pieces of heavy co-polymer line. Push them through the opposing eyelets until you feel the internal locking tab engage. Give each line a sharp outward tug to verify the detent has seized the line. This eliminates the spool entirely, completely eradicating the risk of line fusing and providing a highly rigid cutting surface that slices through thick Dallisgrass crowns with surgical precision.
Troubleshooting Threading Failures and Line Fusing
Even with perfect technique, environmental factors and material defects can cause threading failures. Use this diagnostic framework to resolve issues in the field.
Warning: Line Fusing (Welding)
If your line feeds once and then locks up completely, the nylon has melted and fused inside the spool. This happens when using cheap, low-melting-point round line in high-heat conditions. The Fix: Discard the fused spool. When re-threading, switch to a multi-sided co-polymer line (like Oregon Gatorline or Husqvarna Titanium Force) which has a higher melting point and dissipates heat better. Lightly dusting the wound spool with dry talcum powder before reassembly also reduces internal friction.
Pro Tip: Eyelet Breakage
If your line consistently snaps exactly at the exit point of the trimmer head, inspect the eyelets. Over time, abrasive weed stalks and soil debris carve microscopic grooves into plastic eyelets, creating a sawing effect. Upgrade to an aftermarket aluminum eyelet kit (available for most Echo and Stihl heads for under $15) to eliminate this failure point entirely.
The Cut-and-Spray Spot-Treatment Protocol
Threading your weed eater correctly is only half the battle; how you deploy it dictates the long-term success of your weed management program. For deep-rooted perennial weeds like Field Bindweed or mature Dallisgrass, simply cutting them to the soil line with a trimmer provides only temporary relief. The plant will regenerate from its extensive rhizome network within days.
Integrate your mechanical trimming with chemical spot-treatments using the 'Cut-and-Spray' protocol:
- Initial Mechanical Cut: Use your properly threaded 0.095' or 0.105' line to cut the mature, tough weed stalks down to about 2 inches above the soil surface. The clean cut provided by a properly tensioned spool ensures the plant crown is not shattered.
- The Regrowth Window: Wait exactly 3 to 5 days. The weed will push out fresh, tender, light-green growth from the crown. This new growth is highly photosynthetically active and lacks the thick, waxy cuticle of the mature plant.
- Targeted Chemical Application: Apply a systemic herbicide (such as a glyphosate or imazaquin formulation, depending on the species) directly to the fresh 2-inch regrowth using a handheld shielded sprayer or a sponge applicator. Because the plant is actively growing, it will rapidly translocate the chemical down into the deep rhizomes and tubers, achieving a complete kill rather than just a top-growth burn.
'Mechanical decapitation followed by targeted systemic application on regrowth reduces herbicide volume by up to 80% compared to broadcast spraying, while simultaneously eliminating the risk of chemical drift to adjacent desirable turf and ornamentals.' - Integrated Turf Management Guidelines
Mastering how to thread a weed eater is not merely a maintenance chore; it is a foundational skill for precision landscape management. By selecting the correct gauge for your target weed species, maintaining strict spool tension to prevent fusing, and integrating mechanical cuts with timed chemical applications, you transform a basic string trimmer into a highly effective, surgical weed-eradication tool.

