
Lawn Care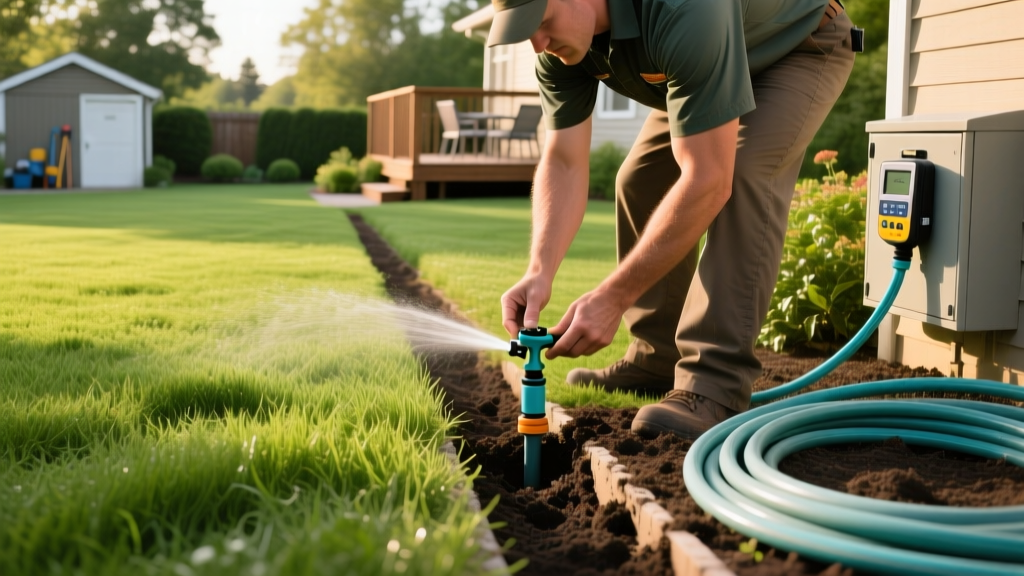
Complete Lawn Sprinklers Installation Guide: Zoning, Trenching & Costs
Pre-Installation: Mapping Zones and Water Pressure
A successful underground lawn sprinklers installation begins long before you dig the first trench. The most common point of failure in DIY irrigation systems is ignoring hydraulic limits. You must calculate your available flow rate (Gallons Per Minute, or GPM) and static water pressure (PSI).
To measure flow rate, place a 5-gallon bucket under your outdoor spigot and time how long it takes to fill. If it takes 30 seconds, your flow rate is 10 GPM. According to EPA WaterSense guidelines, matching your zone output to your available GPM is critical for water conservation and system efficiency.
⚠ Critical Safety Warning: Always call 811 at least three business days before trenching. Hitting a buried gas, fiber-optic, or electrical line can result in severe injury and thousands of dollars in repair fines.
Zone Sizing Mathematics
A standard residential 5/8-inch water meter typically delivers 10 to 12 GPM. If you select Hunter I-20 rotor heads that output 3.0 GPM each, you can only install a maximum of 3 to 4 rotors per zone. Exceeding this limit causes severe pressure drops, resulting in misting, wind drift, and brown spots. Always design your zones so the total GPM of all heads on a single valve is at least 10% below your measured supply GPM.
Material Selection: PVC vs. Polyethylene Pipe
Choosing the right lateral pipe material dictates the longevity and maintenance requirements of your system. The two industry standards are Schedule 40 PVC and 100 PSI Polyethylene (Poly) pipe.
| Feature | Schedule 40 PVC | 100 PSI Poly Pipe |
|---|---|---|
| Durability | High (rigid, resists crushing) | Medium (flexible, can kink) |
| Installation | Requires primer, cement, and precise cuts | Uses barbed fittings and stainless steel clamps |
| Freeze Tolerance | Low (will shatter if water freezes inside) | High (expands slightly before bursting) |
| Cost per 100ft (1") | $45 - $60 | $35 - $50 |
For rocky soils or regions with deep frost lines where winter blow-outs are mandatory, Poly pipe is highly recommended by the Irrigation Association due to its flexibility and freeze resilience. For warm climates with clay or loam soils, Schedule 40 PVC remains the gold standard for rigid, leak-free mainlines.
Step-by-Step Trenching and Pipe Laying
Proper trenching ensures your pipes are protected from surface aeration, lawn edging, and shallow frost heaving.
- Dig to the Correct Depth: Trenches must be 8 to 12 inches deep. In northern climates, lateral lines should be buried at least 12 inches deep to allow for proper winterization via compressed air blow-outs.
- Lay the Mainline: Use 1-inch or 1.25-inch Schedule 40 PVC for the mainline running from the backflow preventer to the valve manifolds. Never use 3/4-inch pipe for mainlines, as friction loss will starve downstream zones.
- Glue PVC Joints Correctly: Apply purple PVC primer to both the pipe and fitting, followed by medium-body clear PVC cement. Push the pipe into the fitting and hold firmly for 30 seconds to prevent the joint from pushing out under pressure.
- Install Swing Joints: Never hard-pipe sprinkler heads directly to lateral lines. Use flexible swing joints (funny pipe) with marlex elbows. This allows the head to flex if run over by a vehicle, preventing a cracked lateral line.
Wiring the Smart Controller and Valves
Electrical faults cause 80% of irrigation troubleshooting calls. Use only 14-gauge, multi-strand, UF (Underground Feeder) rated irrigation wire. Standard indoor Romex wire will corrode and short out within two seasons when buried in damp soil.
Expert Wiring Tip: Never use standard twist-on wire nuts underground. Always use silicone-filled gel wire connectors (like the 3M Direct Bury kit). The silicone gel displaces moisture and prevents copper oxidation at the valve solenoid splices.
Pair your system with a modern smart controller like the Rachio 3 or Orbit B-hyve XR. These Wi-Fi-enabled controllers pull local ET (Evapotranspiration) data to automatically skip watering before rain events and adjust run times based on seasonal temperature shifts, reducing outdoor water use by up to 30%.
Cost Breakdown: DIY vs. Professional Installation
The financial gap between DIY and hiring a licensed irrigation contractor is substantial, primarily driven by labor and specialized trenching equipment. Below is a realistic 2026 cost matrix for a standard suburban lawn.
| Lawn Size | DIY Material Cost | Pro Installation Cost | Estimated Zones |
|---|---|---|---|
| 1/4 Acre (10,890 sq ft) | $1,200 - $1,800 | $3,200 - $4,500 | 4 - 6 |
| 1/2 Acre (21,780 sq ft) | $2,000 - $3,000 | $5,500 - $7,500 | 7 - 10 |
| 1 Acre (43,560 sq ft) | $3,500 - $5,000 | $9,000 - $13,000 | 12 - 18 |
DIY costs assume you are renting a walk-behind trenching machine (approximately $150-$200 per day) and purchasing mid-tier components from Hunter Industries or Rain Bird. Professional costs include backflow preventer installation, permit fees, and system winterization setup.
Common Installation Mistakes and Edge Cases
1. Ignoring Head-to-Head Coverage
Sprinkler heads must be spaced so the spray from one head reaches the base of the adjacent head. If you space 30-foot rotors 40 feet apart to save money on heads, the center of the grid will receive less than 40% of the intended water, guaranteeing drought stress in mid-summer.
2. Mixing Sprays and Rotors on the Same Zone
Standard spray heads output 1.5 to 2.0 inches of water per hour, while rotors output 0.4 to 0.6 inches per hour. If you wire them to the same valve, the spray areas will flood and run off into the street before the rotor areas receive adequate moisture. Always separate precipitation rates by zone.
3. Failing to Install a Master Valve
A master valve (or anti-siphon valve) installed immediately after the water source acts as a fail-safe. If a lateral pipe cracks or a zone valve fails to close, the master valve shuts off the water supply when the controller is idle, preventing catastrophic water loss and foundation flooding.

