
Lawn Care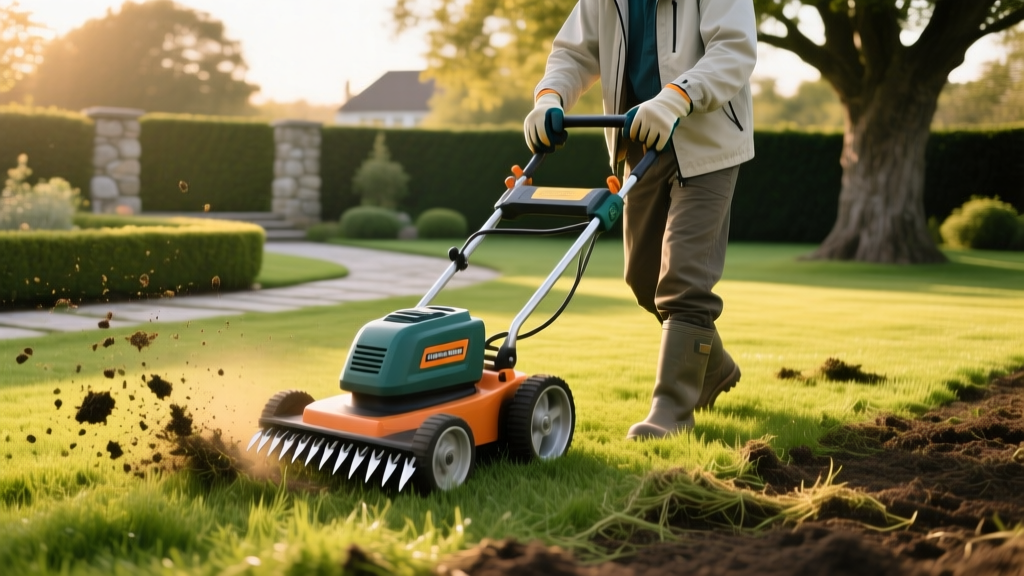
How to Use an Electric Dethatcher and Scarifier Step-by-Step
Dethatching vs. Scarifying: Understanding the Mechanics
While often used interchangeably, dethatching and scarifying represent two distinct mechanical actions performed by modern turf equipment. An electric dethatcher and scarifier typically utilizes interchangeable reels or adjustable depth settings to execute both tasks. Understanding the mechanical difference is critical to preventing turf damage.
Quick Definitions:
Dethatching: Uses flexible spring tines to comb through the grass canopy, gently lifting and removing the spongy layer of dead organic matter (thatch) sitting above the soil line.
Scarifying: Uses rigid, knife-like steel blades that penetrate the soil surface (up to 1/4 inch deep) to slice through thatch, sever lateral roots, and create micro-trenches for air and water penetration.
Dethatching: Uses flexible spring tines to comb through the grass canopy, gently lifting and removing the spongy layer of dead organic matter (thatch) sitting above the soil line.
Scarifying: Uses rigid, knife-like steel blades that penetrate the soil surface (up to 1/4 inch deep) to slice through thatch, sever lateral roots, and create micro-trenches for air and water penetration.
According to the University of Minnesota Extension, a thatch layer exceeding 0.5 inches restricts water infiltration, harbors turf pathogens, and prevents fertilizer from reaching the root zone. When thatch crosses this threshold, mechanical intervention with an electric dethatcher and scarifier becomes mandatory.
Optimal Timing by Grass Type
Deploying this equipment during peak dormancy or extreme heat stress will severely damage the turf crown. Timing must align with the grass species' most aggressive growth phase to ensure rapid recovery.
| Grass Classification | Common Species | Optimal Service Window | Recovery Time |
|---|---|---|---|
| Cool-Season | Kentucky Bluegrass, Tall Fescue, Perennial Ryegrass | Early Fall (Late August to Mid-September) | 14–21 Days |
| Warm-Season | Bermuda, Zoysia, Centipede, St. Augustine | Late Spring (Mid-May to Early June) | 10–14 Days |
Step-by-Step Execution Protocol
Step 1: Measure the Thatch Layer and Mow
Extract three core samples from different areas of the lawn using a trowel. Measure the brown, spongy layer between the green grass blades and the dark topsoil. If the measurement is under 0.5 inches, defer the service. If it exceeds 0.5 inches, proceed. Mow the lawn to a height of 1.5 to 2.0 inches—roughly 30% lower than your standard maintenance height. This exposes the thatch layer and prevents the electric dethatcher and scarifier from tangling in long grass blades.
Step 2: Moisture Calibration
Irrigate the lawn 24 hours prior to service, applying roughly 0.25 inches of water. The goal is to soften the topsoil to reduce motor strain and tine deflection, without creating surface mud. If soil sticks to your boots in clumps, delay the procedure; operating in mud will tear the turf root system and clog the machine's collection bag.
Step 3: Depth Adjustment and First Pass
Set the depth lever on your electric dethatcher and scarifier to the 'Dethatch' or highest setting for the initial pass. The spring tines should lightly graze the soil surface, lifting the dead organic matter without aggressively digging into the dirt. Push the machine in straight, overlapping lines, mirroring your standard mowing pattern. Empty the collection bag frequently; a full bag reduces airflow and diminishes tine efficiency.
Warning: Never set the rigid scarifying blades to penetrate deeper than 1/4 inch into the soil on the first pass. Aggressive depth settings on compacted soil will scalp the turf crown, severing the growing point and causing irreversible lawn death.
Step 4: Cross-Pattern Second Pass (Scarification)
Rake and remove the bulk debris from the first pass. If the thatch layer was exceptionally thick (over 0.75 inches), switch the reel to the scarifying blade attachment or lower the depth setting by one notch. Execute a second pass perpendicular to the first (in a cross-hatch pattern). This slices through remaining lateral thatch and creates vital micro-aeration channels in the soil.
Step 5: Debris Extraction
Use a heavy-duty leaf rake or a lawn vacuum to remove all dislodged thatch. Leaving debris on the lawn will smother the remaining turf and invite fungal diseases like brown patch. The Clemson University Home & Garden Information Center notes that failing to remove extracted thatch negates the benefits of the entire mechanical process.
2026 Electric Dethatcher and Scarifier Model Matrix
Residential electric models have largely replaced gas-powered units for lawns under 5,000 square feet due to lower maintenance, zero emissions, and improved high-torque brushless motors. Below is a comparison of the top-performing units currently on the market.
| Model | Motor / Amps | Working Width | Bag Capacity | Avg. Price |
|---|---|---|---|---|
| Sun Joe TJ604E | 10-Amp Universal | 14 Inches | 0.8 Bushel | $139 |
| Greenworks DT14B00 | 10-Amp Universal | 14 Inches | 0.6 Bushel | $159 |
| AL-KO Combi Care 38 E | 13-Amp High-Torque | 15 Inches | 1.4 Bushel | $229 |
Post-Procedure Lawn Recovery
The lawn will look severely stressed, thin, and brown immediately following scarification. This is normal. The recovery protocol must begin within 24 hours of debris removal.
- Hydration: Apply 0.5 inches of water immediately to settle the soil around the exposed roots and wash dust off the remaining grass blades.
- Overseeding: The micro-trenches created by the scarifier provide ideal seed-to-soil contact. Broadcast turfgrass seed at 50% of the standard new-lawn application rate.
- Starter Fertilizer: Apply a high-phosphorus starter fertilizer (e.g., 18-24-12 NPK) to fuel rapid root development in both the existing turf and the new seed.
- Topdressing: Spread a 1/8-inch layer of screened compost over the lawn to retain seed moisture and introduce beneficial soil microbes.
Pro Tip: Keep foot and pet traffic off the lawn for a minimum of 14 days post-scarification. The turf crowns are highly vulnerable to mechanical crushing while generating new tillers.
Critical Failure Modes to Avoid
- Scalping on Uneven Terrain: If your lawn has significant dips or mounds, the rigid scarifier blades will dig deeply into high spots. Level major bumps with topsoil prior to dethatching, or keep the depth setting on the highest (shallowest) notch.
- Motor Overheating: Electric models in the 10-amp range can overheat if pushed too quickly through dense, wet thatch. Maintain a steady walking pace of 2 to 3 miles per hour. If the motor pitch drops significantly, lift the front wheels to disengage the tines and allow the motor to recover RPMs.
- Dull Tines: Spring tines lose their tension and scarifying blades dull after roughly 10,000 square feet of coverage. Inspect the reel before every use; bent tines will skip over thatch rather than lifting it.
- Ignoring the Collection Bag: Operating without a collection bag and relying on a mower to mulch the debris later will result in a thick layer of dead organic matter smothering the grass canopy, leading to localized anaerobic soil conditions.

