
Lawn Care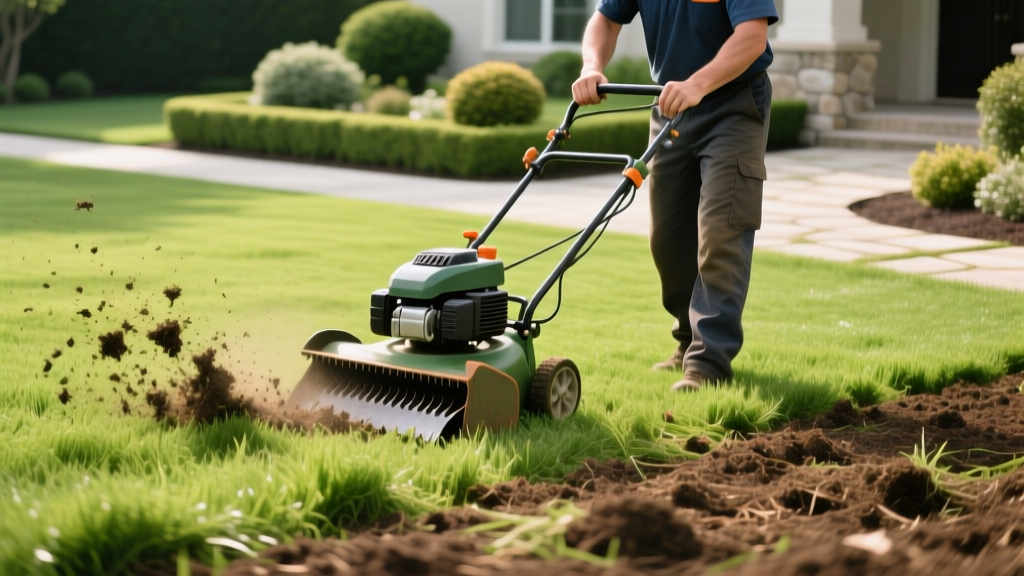
How to Use a Lawn Scarifier Dethatcher: Step-by-Step Guide
The Science of Thatch and Machine Calibration
A healthy lawn requires a precise balance of soil, water, and organic matter. However, when the layer of living and dead stems, roots, and crowns—known as thatch—exceeds 0.5 inches, it creates an impermeable barrier. This barrier blocks water infiltration, traps fungal spores, and prevents fertilizer from reaching the root zone. While manual raking is ineffective for severe buildup, a powered lawn scarifier dethatcher mechanically slices through this mat, extracting the debris and opening the soil profile.
Before firing up your machine, you must calibrate the blade depth based on your specific turfgrass species and the severity of the thatch layer. According to the University of Nebraska-Lincoln Turfgrass Science program, improper depth calibration is the leading cause of turf damage during mechanical dethatching. Setting the blades too deep will sever healthy rhizomes and crown tissue, while setting them too shallow will merely scratch the surface without removing the problematic lignin-rich thatch.
Depth Calibration Matrix by Grass Type
| Grass Species | Thatch Threshold | Spring Setting (Light Raking) | Autumn Setting (Deep Scarification) |
|---|---|---|---|
| Kentucky Bluegrass | > 0.5 inches | 2mm - 3mm (Tines just touch soil) | 5mm - 8mm (Penetrates thatch layer) |
| Tall Fescue | > 0.5 inches | 3mm - 4mm | 6mm - 10mm |
| Bermudagrass | > 0.25 inches | 2mm (Post-spring green-up) | N/A (Avoid autumn scarification) |
| Zoysiagrass | > 0.25 inches | 3mm - 5mm (Early summer only) | N/A (Avoid autumn scarification) |
Pre-Operation Site Preparation
Operating a lawn scarifier dethatcher on an unprepared site guarantees uneven results and potential equipment damage. Complete these three prerequisites 48 hours before your scheduled scarification:
- Lower the Mowing Height: Mow your lawn to approximately 1.5 inches. Bag the clippings. Cutting the grass short exposes the thatch layer, allowing the machine's tines to engage the mat directly rather than tangling in long grass blades.
- Mark Subsurface Hazards: Use fluorescent marking paint to identify all shallow sprinkler heads, valve boxes, and invisible dog fence lines. A scarifier's steel tines will easily shatter plastic sprinkler housings if struck at high RPMs.
- Execute the Screwdriver Moisture Test: Soil moisture dictates the success of the extraction. Push a 6-inch flathead screwdriver into the soil. If it slides in with zero resistance, the soil is too wet; the machine will tear out healthy roots and create muddy ruts. If you cannot push it past 2 inches, the soil is too dry; the tines will bounce off the compacted earth. The ideal moisture level offers moderate, consistent resistance.
⚠️ Critical Timing Warning for Warm-Season Grasses: Never scarify warm-season grasses like Bermudagrass, Zoysia, or Centipede in the autumn. These grasses enter dormancy as temperatures drop and will not recover from the mechanical stress, leaving bare dirt vulnerable to winter weed invasion. Only scarify warm-season turf in late spring or early summer when the grass is actively growing and can rapidly fill in the gaps.
Step-by-Step Lawn Scarifier Dethatcher Operation
With the site prepped and the machine calibrated, follow this systematic approach to ensure complete coverage without over-stressing any single area of the turf.
Step 1: The Perimeter Pass
Start by walking the outer perimeter of your lawn. Keep the machine's discharge chute facing inward toward the center of the yard. This creates a clean boundary and ensures that the bulk of the extracted thatch is deposited in the main working area, making cleanup significantly easier.
Step 2: Primary Parallel Passes
Walk in straight, parallel lines across the length of the lawn, overlapping each pass by about 2 inches. Maintain a steady, walking pace (roughly 2 to 3 mph). Moving too fast will cause the tines to skip over dense thatch patches, while moving too slow will over-scarify the soil, creating deep trenches. Let the machine's forward momentum do the work; do not push down on the handle.
Step 3: Perpendicular Cross-Pass (For Severe Thatch)
If your thatch layer exceeds 0.75 inches, a single pass will not be sufficient. Adjust the blade depth 2mm deeper, and make a second set of passes perpendicular to your first set (creating a crosshatch pattern). This dual-angle approach breaks up the interwoven root mat that a single directional pass often misses.
Step 4: Debris Extraction and Removal
Once the scarification is complete, your lawn will look remarkably worse—covered in piles of brown, dead organic matter. This debris must be removed immediately. Leaving it on the lawn will smother the remaining healthy grass and invite fungal diseases like Pythium blight. For lawns under 5,000 square feet, use a heavy-duty steel-tined leaf rake. For larger properties, tow a mechanical lawn sweeper (such as the Agri-Fab 45-0492) behind a riding mower to collect the debris in a fraction of the time.
2026 Equipment Market: Top Models Analyzed
Selecting the right lawn scarifier dethatcher depends heavily on your property size and power source preference. Based on current market performance and durability metrics, here are the top-tier options for homeowners and landscaping professionals:
- Sun Joe TJ604E (Best for Suburban Lawns): Priced around $179, this 14-inch electric dethatcher features a 10-amp motor and 24 spring-loaded steel tines. It includes a 5-position depth control lever, making it highly versatile for both light spring raking and aggressive autumn scarification. Ideal for lawns up to 5,000 sq. ft.
- Greenworks 14-inch 10A (Best Budget Option): At approximately $139, this model offers reliable thatch removal for smaller, flat yards. It lacks the advanced depth微调 (micro-adjustments) of premium models but provides excellent value for annual maintenance. The collection bag is relatively small, requiring frequent emptying.
- Billy Goat H20601H (Best for Commercial/Acreage): Priced at roughly $2,850, this commercial-grade walk-behind scarifier is powered by a Honda GX200 engine. It utilizes a heavy-duty flail blade system that pulverizes thatch while simultaneously aerating the topsoil. Designed for properties exceeding 1 acre or professional landscaping fleets.
Post-Scarification Recovery and Overseeding Protocol
The immediate aftermath of scarification leaves your turf vulnerable but highly receptive to renovation. The Royal Horticultural Society emphasizes that post-scarification care is just as critical as the mechanical process itself. Follow this 14-day recovery protocol to maximize turf density:
- Core Aeration (Optional but Recommended): If soil compaction is present, run a core aerator over the lawn immediately after scarifying. The exposed soil allows the aerator tines to penetrate deeper, pulling optimal 2-to-3-inch plugs.
- Overseeding: The grooves left by the scarifier act as perfect seed-to-soil contact channels. Apply high-quality, weed-free seed at the following rates:
- Tall Fescue: 5 to 8 lbs per 1,000 sq. ft.
- Kentucky Bluegrass: 2 to 3 lbs per 1,000 sq. ft.
- Perennial Ryegrass: 4 to 6 lbs per 1,000 sq. ft.
- Apply Starter Fertilizer: Use a high-phosphorus starter fertilizer (such as a 24-25-4 NPK ratio) at a rate of 3.5 lbs per 1,000 sq. ft. Phosphorus is critical for stimulating rapid root development in newly germinated seedlings and helping existing stressed grass recover from the mechanical trauma.
- Hydration Schedule: Water the lawn lightly 2 to 3 times daily for the first 10 days to keep the top inch of soil consistently moist. Avoid heavy, deep watering during this phase, as it will wash the seeds out of the scarification grooves and cause soil erosion.
By adhering to these precise calibration settings, operational steps, and recovery protocols, you will transform a suffocated, thatch-bound lawn into a dense, resilient turf capable of maximizing water and nutrient uptake throughout the growing season.

