
Lawn Care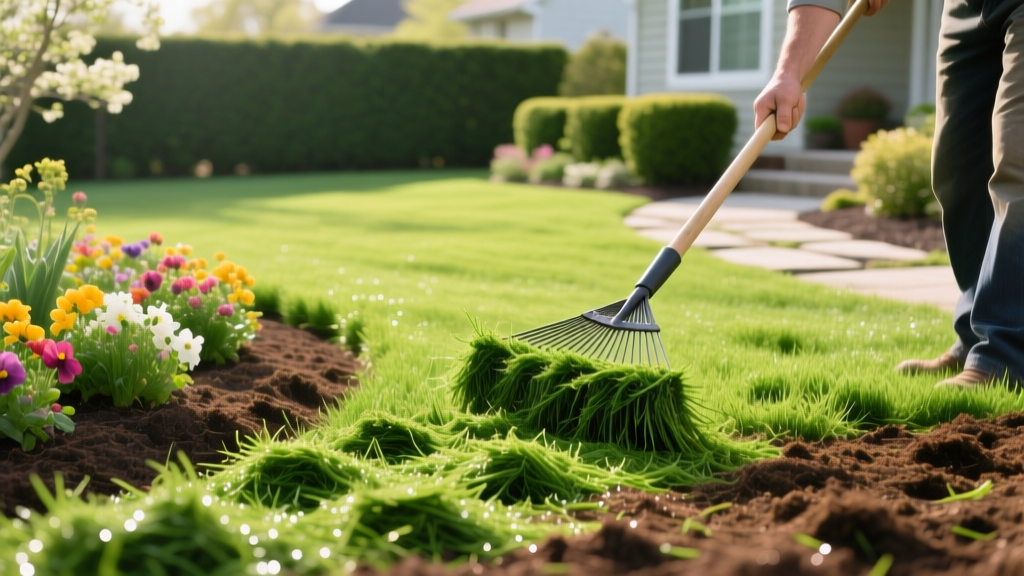
Using Mulch from Grass Clippings: Benefits, Risks, and Techniques
The Nutritional Reality of Grass Clippings
Discarding grass clippings is a costly mistake for both your wallet and your soil ecosystem. Fresh grass clippings contain approximately 75% to 85% water and are packed with essential macronutrients. When left on the lawn or applied as mulch in garden beds, they act as a slow-release, organic fertilizer. According to University of Minnesota Extension, recycling clippings can supply up to 25% of your lawn's total annual nitrogen requirement, effectively allowing you to skip one full synthetic fertilizer application per year.
A common myth in lawn care is that grass clippings cause thatch buildup. Thatch is a tightly intermingled layer of living and dead stems, roots, and crowns that sit between the soil surface and the green vegetation. Because grass leaves are composed of highly digestible cellulose and lack the tough lignin found in roots and stems, they decompose rapidly and do not contribute to thatch accumulation.
| Nutrient / Metric | Average Concentration | Decomposition Timeline |
|---|---|---|
| Nitrogen (N) | 4.0% - 5.0% | 1 to 3 weeks (surface) |
| Phosphorus (P2O5) | 0.5% - 1.0% | 2 to 4 weeks |
| Potassium (K2O) | 2.0% - 3.0% | 1 to 2 weeks |
| Carbon-to-Nitrogen (C:N) Ratio | 15:1 to 20:1 | Optimal for rapid microbial breakdown |
Grasscycling vs. Off-Lawn Mulching: A Decision Framework
While 'grasscycling' (leaving clippings on the turf) is the baseline best practice for lawn health, exporting clippings to vegetable or flower beds provides distinct advantages. The decision on where to deploy your mulch from grass clippings depends on your immediate soil amendment goals.
Application Decision Matrix
Leave on Lawn (Grasscycling) IF:
- Your primary goal is reducing synthetic nitrogen inputs by 25%.
- You are mowing frequently, removing no more than 1/3 of the grass blade height per cut.
- Your lawn suffers from moisture evaporation during peak summer heat.
Export to Garden Beds IF:
- You need to suppress aggressive annual weeds (like crabgrass or pigweed) in vegetable rows.
- You are building soil organic matter in newly established, compacted garden beds.
- Your lawn has been treated with broadleaf herbicides within the last 12 months (crucial for protecting sensitive garden crops).
How to Prepare and Apply Clippings in Garden Beds
Applying fresh, wet grass clippings directly to garden beds in thick layers is a recipe for anaerobic decomposition, resulting in a foul, ammonia-like odor and a slimy, matted barrier that blocks water penetration. Proper preparation dictates the success of mulch from grass clippings in off-lawn environments.
- Mow with a Mulching Blade: Standard mower blades shear the grass once. Mulching blades feature extra cutting edges and a domed deck that suspends the clippings, chopping them into fine 1/4-inch pieces. This increases the surface area for microbial attack and prevents matting.
- The Drying Phase (Optional but Recommended): If you plan to apply a thick layer, rake the clippings onto a driveway or tarp and let them sun-dry for 48 hours. Dried clippings lose their 80% moisture content, turning from a heavy, clumping green mat into a light, breathable, pale-green mulch.
- Measure Your Application Depth: For fresh, wet clippings, never exceed a 1-inch to 2-inch depth. The high moisture content will cause deeper layers to rot anaerobically. For sun-dried clippings, you can safely apply up to 3 inches or 4 inches, as the material will compress and settle over time.
- Maintain the Stem Exclusion Zone: Keep the mulch at least 2 inches away from the direct stems of tender vegetables (like tomatoes and peppers) and the crowns of perennials. The rapid microbial activity and heat generated during the initial breakdown phase can cause stem rot.
The Hidden Danger: Herbicide Carryover
The most catastrophic failure mode when using mulch from grass clippings in edible gardens is herbicide carryover. Certain broadleaf herbicides, specifically those in the pyridine carboxylic acid family, are highly persistent. Active ingredients such as aminopyralid, clopyralid, and picloram do not break down during the composting process and can remain active in soil and plant tissue for over a year.
If you apply clippings from a lawn treated with these chemicals to a vegetable garden, the mulch will off-gas or leach the herbicide into the soil. Broadleaf crops—including tomatoes, peas, beans, and potatoes—are highly susceptible. Symptoms include severe leaf cupping, twisted growing tips, and stunted root development, often mimicking viral infections or hormone imbalances.
Critical Warning: Never use grass clippings as mulch in food-producing beds if the lawn has been treated with 'weed and feed' products or broadleaf killers in the current or previous growing season. If you are unsure of the lawn's chemical history, run a bioassay test: plant three pea seeds in a pot filled with a 1:1 mix of your clippings and potting soil. If the seedlings emerge with twisted, deformed leaves within 14 days, the clippings are contaminated and must be disposed of in the trash.
Composting Clippings: Managing the C:N Ratio
If you prefer to compost your clippings rather than using them as direct surface mulch, you must manage the Carbon-to-Nitrogen (C:N) ratio. While fresh grass has an ideal C:N ratio of 15:1, compost piles require structural aeration to maintain the 130°F to 150°F temperatures necessary to kill weed seeds and pathogens. A pile of 100% grass clippings will collapse into a dense, anaerobic sludge.
To build a hot compost pile, mix grass clippings with high-carbon 'brown' materials at a strict volumetric ratio of 1 part green clippings to 3 parts brown material. Excellent brown amendments include shredded autumn leaves, untreated cardboard, or coarse wood chips. Turn the pile every 3 to 5 days to introduce oxygen. According to the Environmental Protection Agency (EPA), proper aeration and moisture management (keeping the pile as damp as a wrung-out sponge) will yield finished, nutrient-dense compost in 4 to 6 weeks.
Troubleshooting Common Mulching Failures
Even with careful application, environmental variables can disrupt the breakdown process. Use this diagnostic guide to correct issues in the field.
- Symptom: Foul, rotten-egg or ammonia odor.
Cause: Anaerobic decomposition due to excessive depth or high moisture.
Fix: Immediately rake the matted layer to break the crust and introduce oxygen. Spread the material out to a maximum depth of 1 inch to allow it to dry and transition back to aerobic breakdown. - Symptom: Yellowing leaves on adjacent garden plants (Nitrogen Robbery).
Cause: The clippings were tilled directly into the soil rather than left on the surface. Soil microbes consume available nitrogen to break down the carbon in the clippings, temporarily starving your plants.
Fix: Apply a fast-acting liquid nitrogen fertilizer (such as fish emulsion or a synthetic urea solution) as a foliar spray or soil drench to bypass the microbial tie-up. In the future, only use clippings as a surface mulch, never as a soil incorporation amendment. - Symptom: Clippings blowing away or washing out of beds.
Cause: The material was bone-dry and applied on a slope without anchoring.
Fix: Lightly water the dried clippings immediately after application to help them interlock and settle. For sloped beds, top-dress the grass mulch with a thin layer of heavier shredded bark or wood chips to pin it in place.
Mastering the use of mulch from grass clippings transforms a common yard waste product into a high-value soil amendment. By respecting application depths, avoiding persistent herbicides, and understanding the microbial demands of your soil, you can close the nutrient loop in your landscape entirely. For more advanced turf management strategies, consult your local cooperative extension office to tailor your mowing and mulching schedule to your specific regional grass species.

