
Lawn Care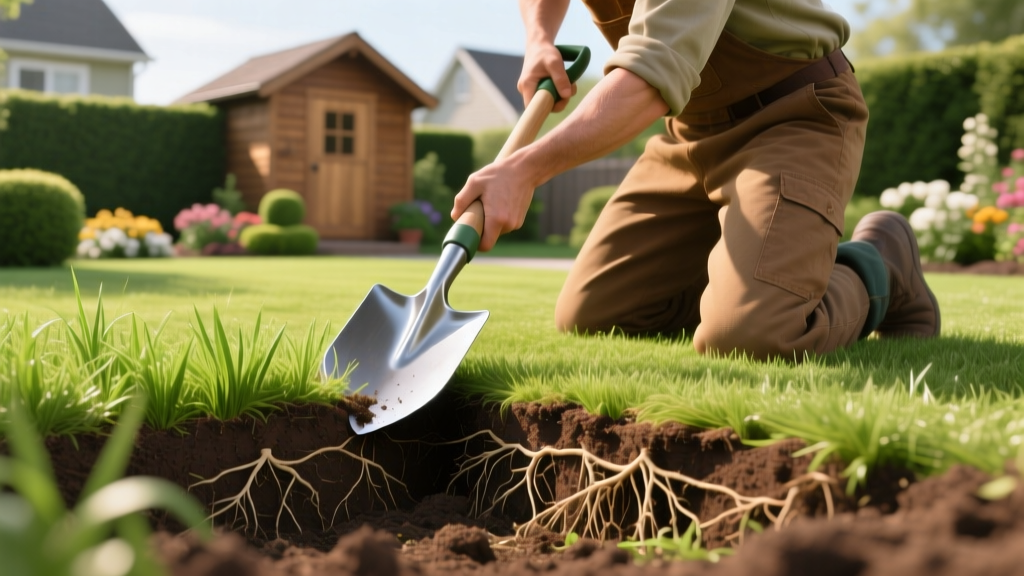
How to Use a Spade for Removing Grass: Step-by-Step Guide
Why Choose Manual Sod Extraction Over Machinery?
While renting a motorized sod cutter is standard for large-scale renovations, using a spade for removing grass remains the superior method for precision landscaping, tight access areas, and projects under 500 square feet. Motorized cutters cost between $75 and $110 per day to rent, require truck transport, and often struggle with heavy clay or rocky subsoils where they bounce and tear the root matrix. Manual extraction using the correct spade allows you to navigate around existing irrigation heads, preserve delicate landscape borders, and maintain complete control over the extraction depth, ensuring you remove the thatch and root zone without excavating valuable topsoil.
Selecting the Right Spade for the Job
Not all shovels are created equal. A standard round-point digging shovel will tear the sod and leave jagged edges. For clean extraction, you need a specialized blade. According to turf management guidelines from Penn State Turfgrass Science, maintaining an intact root mat requires a sharp, flat edge that severs rhizomes cleanly rather than ripping them.
| Spade Type | Blade Dimensions | Avg. Weight | Best Use Case |
|---|---|---|---|
| Flat Spade | 7' x 12' | 4.5 lbs | General sod cutting in loamy, well-draining soils. |
| Sharpshooter (Tile Spade) | 4' x 14' | 3.8 lbs | Precision cuts, tight spaces, and heavy clay soils. |
| Trenching Spade | 4' x 12' | 4.2 lbs | Deep root severing and navigating heavy thatch layers. |
Pro Tip: The 20-Degree Bevel
Before starting, sharpen your spade blade using a 12-inch mill bastard file. Maintain a 20-degree bevel on the cutting edge. A factory-edge spade is typically too dull to cleanly slice through dense Kentucky bluegrass or Bermuda rhizomes without excessive downward force.
Before starting, sharpen your spade blade using a 12-inch mill bastard file. Maintain a 20-degree bevel on the cutting edge. A factory-edge spade is typically too dull to cleanly slice through dense Kentucky bluegrass or Bermuda rhizomes without excessive downward force.
Pre-Removal Soil Preparation
The most common failure point in manual sod removal is attempting to cut dry or overly saturated soil. Dry soil shatters the root mat, while saturated mud creates a suction lock against the steel blade, increasing physical exertion by up to 40%.
The 48-Hour Moisture Rule
- Day 1 (Deep Watering): Apply exactly 0.5 to 0.75 inches of water to the target area. This penetrates the root zone (typically 4-6 inches deep) without flooding the subsoil.
- Day 2 (Rest): Allow the water to distribute evenly via capillary action.
- Day 3 (Extraction): Test the soil. It should be at 'field capacity'—meaning it forms a cohesive ball when squeezed in your fist, but crumbles easily when poked with a finger. If it drips water, wait another 24 hours.
Step-by-Step Procedure for Manual Sod Removal
Follow this exact sequence to maximize leverage and minimize back strain. The Royal Horticultural Society (RHS) recommends cutting sod into manageable strips to prevent the heavy, wet root mass from breaking apart during lifting.
Step 1: Outline the Extraction Grid
Mark your lawn into a grid using landscaping paint or a taut mason line. For manual lifting, keep strips to 12 inches wide by 12 to 18 inches long. A 12x18-inch strip of wet sod weighs approximately 30 to 40 pounds; anything larger becomes unwieldy and risks tearing the turf mat.
Step 2: The Perimeter Cut
Stand on the grass to be removed. Drive the spade straight down along your marked lines to a depth of exactly 1.5 to 2 inches. This depth is critical: it severs the primary root network and thatch layer but leaves the nutrient-rich topsoil beneath intact. Do not angle the blade during this vertical perimeter cut.
Step 3: The Undercut (The 45-Degree Lever)
Move to the short end of your 12x18-inch strip. Position the spade at a 45-degree angle to the ground, aiming to slide the blade beneath the 2-inch root mat. Push the blade forward using your foot on the step. If the soil is heavily compacted, use a push-pull rocking motion rather than brute force to avoid bending the spade shaft.
Step 4: The Fulcrum Pry
Once the blade is fully inserted under the strip, place a small block of wood (like a 4x4 offcut) on the bare soil behind the spade heel. Pull the handle backward, using the wood as a fulcrum to pop the sod strip upward. This mechanical advantage reduces lower back strain by over 50% compared to lifting with your arms.
Step 5: Roll and Stack
Immediately roll the extracted strip like a carpet, grass-side in. This protects the root zone from UV desiccation if you plan to transplant it, and makes stacking on a wheelbarrow significantly more stable.
Troubleshooting Common Extraction Failures
- Symptom: The sod tears in half when lifted.
Cause: Undercutting depth is too shallow, leaving taproots anchored, or the strips are too long.
Fix: Reduce strip length to 12x12 inches and ensure your 45-degree undercut fully severs the base. Check for hidden taproots from broadleaf weeds like dandelions and sever them manually. - Symptom: The spade blade sticks and won't slide.
Cause: High clay content creating friction and suction.
Fix: Keep a bucket of water and a stiff-bristle brush nearby. Dip the blade every 3-4 cuts. For persistent clay lock, rub a block of paraffin wax or beeswax along the steel blade to reduce surface tension. - Symptom: Excessive topsoil is being removed with the grass.
Cause: Cutting deeper than 2 inches.
Fix: Wrap a piece of bright tape around the spade shaft exactly 2 inches above the blade edge. Use this visual marker to govern your vertical perimeter cuts.
Post-Removal Soil Rehabilitation
Once the grass is removed, you are left with exposed subsoil that has been compacted by years of root growth and foot traffic. Before laying new sod, planting seed, or installing hardscape, you must rehabilitate the soil profile.
Use a manual broadfork or a rear-tine tiller to fracture the top 4 inches of the exposed soil. Incorporate 2 inches of finished compost (screened to 3/8-inch particle size) into the fractured soil. This restores the microbial biology and macroporosity that was stripped away during the sod extraction process, ensuring your next planting phase has adequate drainage and nutrient-holding capacity.
Frequently Asked Questions
Can I use a flat shovel instead of a dedicated spade?
While possible, a standard flat shovel features a concave blade designed for moving loose material, not slicing. The concave shape will scoop out divots of topsoil rather than providing a flat plane for clean root separation. A dedicated flat spade or sharpshooter spade has a planar blade that guarantees a uniform 2-inch extraction depth.
How long does manual removal take compared to a sod cutter?
An experienced landscaper using a motorized sod cutter can clear 500 square feet in about 30 minutes. Using a spade for removing grass manually at that same scale will take approximately 3 to 4 hours of continuous labor. Manual extraction is highly recommended only for areas under 500 square feet or spaces inaccessible to machinery.
Should I remove the grass when it is actively growing or dormant?
Extracting during active spring or early fall growth is ideal. The root systems are highly hydrated and flexible, making them less prone to shattering. Extracting dormant, mid-winter, or drought-stressed grass often results in the turf crumbling into unusable chunks.

