
Lawn Care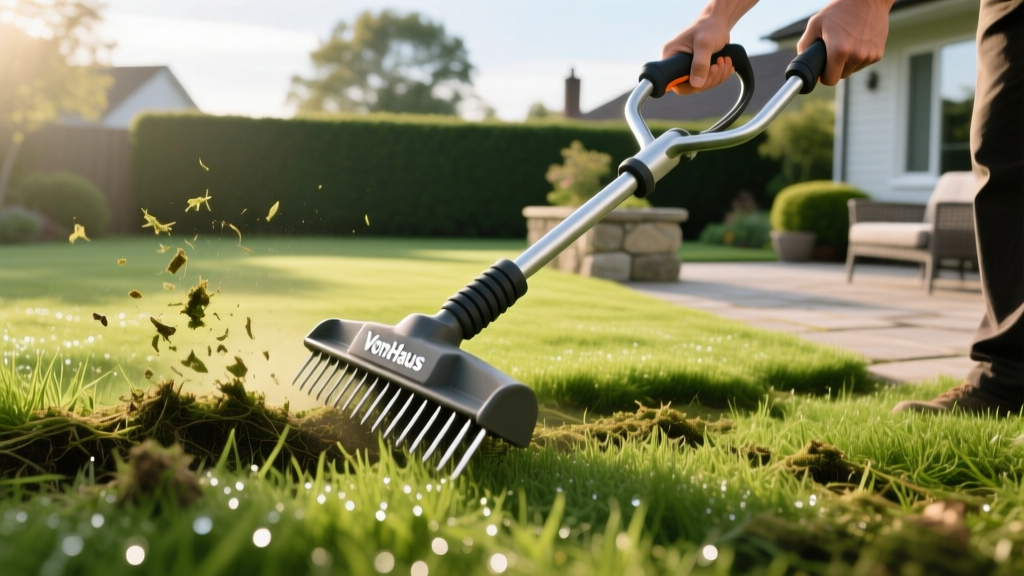
How to Use a VonHaus Dethatcher: Step-by-Step Lawn Care Guide
Understanding Thatch and the VonHaus Advantage
Thatch is a tightly woven layer of living and dead grass stems, roots, and crowns that accumulates between the soil surface and the green vegetation of your lawn. While a thin layer (under 0.5 inches) provides insulation and moisture retention, excessive thatch acts as a physical barrier. It prevents water, oxygen, and liquid fertilizers from reaching the root zone, ultimately leading to shallow rooting and increased susceptibility to drought and disease. According to the UC Statewide Integrated Pest Management Program, thatch buildup exceeding half an inch requires mechanical intervention to maintain turf health.
The VonHaus 14-Inch 2-in-1 Lawn Dethatcher & Scarifier (1400W) has become a staple for residential lawn care professionals and dedicated homeowners. Unlike manual thatching rakes that cause severe physical fatigue and yield inconsistent results, this electric unit utilizes a spring-tine cylinder to mechanically lift and extract thatch. This guide details the exact operational procedures, depth calibrations, and recovery protocols required to use the VonHaus dethatcher effectively without damaging your turfgrass crowns.
The 1/2-Inch Thatch Threshold: Before operating any mechanical dethatcher, extract a 2-inch deep core sample of your lawn using a hand trowel or soil probe. Measure the brown, spongy layer between the soil and green grass. If it measures less than 0.5 inches, defer dethatching. If it exceeds 0.75 inches, immediate mechanical removal is necessary to prevent turf decline.
Tool Profile: VonHaus 14-Inch 2-in-1 Dethatcher
Understanding the mechanical limits and specifications of your equipment is critical for preventing motor burnout and turf tearing. The VonHaus 14-inch model is engineered for lawns up to 1/4 acre. Below are the precise specifications and 2026 market expectations for this unit.
| Specification | VonHaus 14" 2-in-1 Details |
|---|---|
| Motor Power | 1400W (11.6 Amps) |
| Working Width | 14 Inches (35.5 cm) |
| Collection Bag | 8 Gallons (30 Liters) |
| Depth Adjustments | 5 Positions (+5mm to -10mm) |
| Dry Weight | 28.6 lbs (13 kg) |
| Average 2026 Retail Price | $130 - $160 USD |
Step-by-Step VonHaus Dethatching Procedure
Step 1: Site Preparation and Moisture Calibration
Never dethatch a bone-dry or saturated lawn. Dry soil turns the thatch into a concrete-like mat that resists the spring tines, while muddy soil causes the machine's wheels to sink, resulting in uneven depth penetration and severe turf tearing.
- Hydrate the Soil: Water the lawn deeply 48 hours before dethatching. The soil should be moist to a depth of 3 inches, but the surface must be dry enough to support the 28.6 lb machine without leaving wheel ruts.
- Mow Low: Reduce your mowing height to 1.5 inches for cool-season grasses (Kentucky Bluegrass, Tall Fescue) and 1 inch for warm-season grasses (Bermuda, Zoysia). This exposes the thatch layer and prevents the VonHaus collection bag from clogging with excessive green leaf clippings.
- Clear Debris: Walk the lawn and remove rocks, sticks, and children's toys. Mark all shallow sprinkler heads and valve boxes with high-visibility flags to prevent the steel tines from destroying your irrigation infrastructure.
Step 2: Calibrating the Depth Lever
The VonHaus features a centralized depth adjustment lever with five settings. Incorrect calibration is the leading cause of crown damage and lawn death during mechanical dethatching.
- Setting 1 (+5mm): Tines hover just above the soil. Use this for the initial pass on all lawn types to remove loose, surface-level debris without engaging the soil.
- Setting 2 &3 (0mm to -5mm): Tines lightly scratch the soil surface. Ideal for cool-season grasses with moderate thatch (0.5 to 0.75 inches). Cool-season grasses have shallow crowns that are easily severed by deep scarification.
- Setting 4 & 5 (-7mm to -10mm): Tines penetrate deeply into the topsoil. Reserve this exclusively for warm-season, spreading grasses (Bermuda, Zoysia, St. Augustine) with severe thatch buildup (>1 inch). These grasses recover via aggressive lateral stolons and rhizomes.
WARNING: Sprinkler Head Clearance
Even at the shallowest +5mm setting, the VonHaus dethatcher's front wheels and chassis can crack plastic sprinkler housings. Always maintain a 6-inch buffer zone around flagged irrigation components and trim thatch in those zones manually with a steel hand rake.
Even at the shallowest +5mm setting, the VonHaus dethatcher's front wheels and chassis can crack plastic sprinkler housings. Always maintain a 6-inch buffer zone around flagged irrigation components and trim thatch in those zones manually with a steel hand rake.
Step 3: Executing the Dethatching Passes
Plug the VonHaus into a heavy-duty 12-gauge outdoor extension cord (maximum 100 feet to prevent voltage drop and motor overheating). Engage the motor and allow it to reach full RPM before lowering the tines into the grass.
Push the machine at a steady walking pace of approximately 2 mph. Moving too fast allows the thatch to slip past the cylinder; moving too slow causes the tines to over-process the grass, creating a mulched pulp that clogs the 8-gallon collection bag. Overlap each pass by 2 inches to ensure uniform extraction. On lawns with thatch exceeding 0.75 inches, make a second pass in a perpendicular direction (a cross-hatch pattern) to guarantee complete removal.
Pro-Tip: The 30-liter collection bag will fill completely every 400 to 600 square feet on a heavily thatched lawn. Empty the bag into a compost bin or yard waste bag immediately when it reaches the fill line. Operating with a full bag restricts airflow, causing the 1400W motor to overheat and trigger the internal thermal cutoff switch.
Step 4: Post-Dethatching Cleanup and Soil Recovery
Mechanical dethatching is a traumatic event for turfgrass. The recovery protocol you execute within 24 hours dictates the long-term health of your lawn. Penn State Extension emphasizes that exposing the soil surface post-dethatching creates an ideal seedbed for both desirable turf and opportunistic weeds.
- Final Raking: Use a flexible leaf rake to gather any residual thatch the machine missed, particularly around the perimeter and near garden beds.
- Core Aeration (Optional but Recommended): If soil compaction is present, follow dethatching with core aeration to pull 3-inch soil plugs, further improving oxygen exchange.
- Overseeding: Apply turfgrass seed at 50% of the standard new-lawn rate. The grooves left by the VonHaus tines provide excellent seed-to-soil contact.
- Fertilization: Apply a starter fertilizer containing 1 lb of nitrogen per 1,000 square feet and a minimum of 0.5 lbs of phosphorus to stimulate rapid root regeneration.
- Hydration: Water the lawn immediately after fertilizing to wash nutrients into the soil and initiate seed germination. Keep the top 1 inch of soil consistently moist for the next 14 days.
VonHaus vs. Competing Electric Dethatchers
When planning your seasonal maintenance budget, it is vital to compare the VonHaus against other prominent electric models on the market to ensure you are utilizing the right tool for your specific acreage and thatch volume.
| Feature | VonHaus 14" (1400W) | Greenworks 14" (10A) | Sun Joe 15" (13A) |
|---|---|---|---|
| Motor Amperage | 11.6 Amps | 10 Amps | 13 Amps |
| Bag Capacity | 8 Gallons | 4.8 Gallons | 7.5 Gallons |
| Deck Width | 14 Inches | 14 Inches | 15 Inches |
| Best Application | Lawns up to 1/4 acre with heavy thatch | Small urban lawns, light maintenance | Larger properties (1/3 acre+) |
| Approx. Price (2026) | $140 | $110 | $180 |
The VonHaus strikes the optimal balance between motor torque and collection capacity. While the Greenworks is cheaper, its 10-amp motor frequently bogs down in dense thatch, and the small bag requires constant emptying. The Sun Joe offers a wider deck but is significantly heavier, making it cumbersome to maneuver around tight landscaping features.
Post-Service Tool Maintenance
To extend the lifespan of your VonHaus dethatcher beyond the standard 3-year warranty period, execute these maintenance steps immediately after use:
- Tine Cleaning: Use a stiff wire brush to remove caked mud and wrapped grass roots from the spring tines. Accumulated debris retains moisture, accelerating rust on the carbon steel cylinder.
- Bearing Lubrication: Apply two drops of lightweight machine oil (like 3-in-One) to the cylinder axle bearings on both sides of the deck to prevent seizing.
- Cord Inspection: Check the power cord receptacle for heat warping or melted plastic, which indicates voltage drop from using an undersized extension cord.
- Storage: Store the unit indoors in a dry garage or shed. UV exposure degrades the plastic collection bag and the polypropylene wheels over time.
Frequently Asked Questions
Can I use the VonHaus dethatcher on wet grass?
No. Wet grass clumps together, wrapping tightly around the spinning cylinder and instantly clogging the 8-gallon bag. Furthermore, wet soil causes the machine's wheels to slip, resulting in uneven scalping of the turf.
Will dethatching pull up my newly laid sod?
Yes. Never use a mechanical dethatcher on sod that has been laid for less than 12 months. The root system must be fully established and anchored into the native subsoil before it can withstand the vertical pulling force of the steel tines.
How often should I dethatch my lawn?
Cool-season grasses (Fescue, Ryegrass) typically require dethatching only once every 2 to 3 years, as they produce less aggressive thatch. Warm-season grasses (Bermuda, Zoysia) spread via thick stolons and rhizomes, often requiring annual dethatching in early summer when the grass is actively growing and can recover rapidly.

