
Lawn Care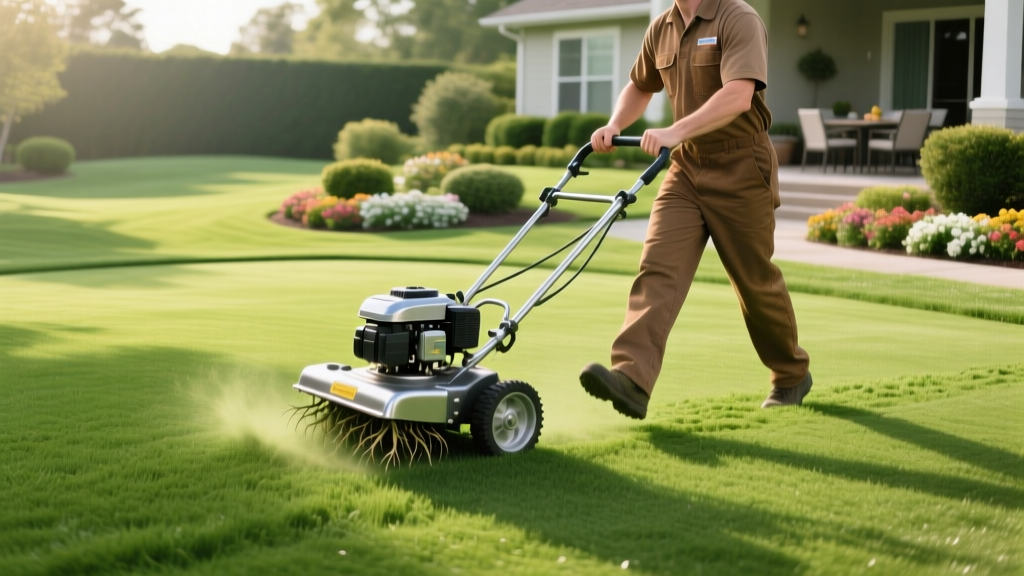
Greens Aerator Step-by-Step: Achieving Golf-Course Turf at Home
The "Greens" Difference: Why Standard Aerators Fall Short
Homeowners managing premium turfgrass—such as creeping bentgrass, fine fescue, or ultra-dwarf bermudagrass (like TifEagle or MiniVerde)—quickly discover that standard residential core aerators cause unacceptable surface disruption. A dedicated greens aerator, such as the Toro ProCore SR70S or the Jacobsen Greens King, utilizes narrower tines, higher operating speeds, and precise depth controls to relieve soil compaction while preserving the smooth, fast canopy required for golf-course-quality lawns.
Renting a specialized walk-behind greens aerator from a turf equipment dealer typically costs between $150 and $250 per day, compared to $70 for a standard residential unit. While the upfront cost is higher, the micro-tine technology prevents the severe canopy tearing and massive core dumping associated with consumer-grade machines. According to the University of Minnesota Extension, precise aeration timing and tine selection are the most critical factors in minimizing surface recovery time on fine turf.
Phase 1: Pre-Aeration Canopy and Soil Prep
Greens aeration fails if the soil moisture profile is incorrect. If the soil is too dry, hollow tines will shatter the clay substructure; if too wet, the tines will smear the pore walls, creating impermeable glaze layers.
Step 1: Mowing and Canopy Thinning
Forty-eight hours before aeration, mow your premium turf with a reel mower. Drop the cutting height by 20% from your normal maintenance height (e.g., from 0.125 inches down to 0.100 inches for bentgrass). This slight reduction prevents the aerator tines from catching excessive leaf tissue, which can lead to turf pulling.
Step 2: Soil Moisture Calibration
Water the lawn deeply 48 hours prior to the procedure. The target soil moisture is 20% to 25% (measured via a TDR probe). If you lack a TDR probe, use the screwdriver test: a 6-inch steel screwdriver should slide into the soil with moderate, consistent resistance. The surface must be firm to the touch, with no visible muddy footprinting.
Phase 2: Calibrating Your Greens Aerator
The core advantage of a greens aerator is its interchangeable tine bank. Selecting the wrong tine for your specific grass type and thatch depth will negate the benefits of the procedure. Set the machine's depth control to penetrate 2.5 to 3.0 inches, ensuring you bypass the thatch layer and reach the compacted soil interface.
| Tine Type & Size | Best Use Case | Target Grass Types | Surface Recovery Time |
|---|---|---|---|
| 1/4" Solid Tine | Mid-summer venting; minimal disruption | Creeping Bentgrass, Fine Fescue | 24 - 48 hours |
| 3/8" Hollow Tine | Standard spring/fall core removal | Ultra-Dwarf Bermuda, Zoysia | 7 - 10 days |
| 5/8" Hollow Tine | Severe compaction; heavy thatch extraction | Common Bermuda, Kentucky Bluegrass | 14 - 21 days |
Phase 3: Execution – The Overlap and Turn Technique
Operating a greens aerator requires a specific driving pattern to maintain uniform spacing and prevent turf tearing. Set the machine's ground speed to 2.5 to 3.0 mph. Operating faster than 3 mph on hollow tines causes the tines to angle backward in the soil, creating elongated, tear-drop-shaped holes rather than clean cylindrical cores.
The "Lift-and-Turn" Method
Never execute a zero-radius turn while the tines are engaged in the soil. The lateral torque will rip the turf canopy from the roots. Follow this sequence at the end of every pass:
- Disengage the tine drive and lift the tine bank completely clear of the turf.
- Drive forward three feet past the aeration boundary.
- Execute a wide, sweeping turn (minimum 4-foot radius).
- Align the machine for the return pass, overlapping the previous wheel track by exactly 2 inches to ensure uniform 2x2 inch hole spacing.
- Lower the tines and re-engage the drive only when moving straight forward.
⚠️ Warning: Avoid Core Dumping
If your greens aerator lacks an auto-eject or core-collection system, the hollow tines will eventually clog with wet clay. Stop every 1,500 square feet, lift the tine bank, and use a wire brush or compressed air to clear the tubes. Forcing clogged tines into the soil results in shallow, ineffective dimpling rather than true core extraction.
Phase 4: USGA-Spec Topdressing and Recovery
Aeration is only half the procedure; backfilling the holes with the correct material is what permanently alters the soil profile. The USGA Green Section Record strictly mandates specific sand profiles for topdressing to prevent layering and perched water tables.
Sand Selection and Application Rates
Do not use masonry sand, play sand, or river sand. These contain too many fine particles (silt and clay) that will bind with the native soil and create a concrete-like hardpan. You must source USGA-specification topdressing sand, which requires 60% or more of its particles to fall between 0.25mm and 1.0mm (medium sand), with less than 3% passing a #140 sieve. Expect to pay $45 to $60 per ton for properly graded USGA sand.
Apply the sand at a rate of 1 to 1.5 cubic feet per 1,000 square feet. Use a drop spreader for uniform distribution, ensuring the sand completely fills the aeration holes and sits flush with the turf canopy.
Drag Matting and Syringing
Pull a flexible cocoa mat or a lightweight steel drag mat across the lawn in two perpendicular directions to work the sand into the cores. Immediately after dragging, apply 0.1 inches of water to settle the sand. For the next 72 hours, switch from deep watering to daily syringing (applying 0.05 inches of water in the early afternoon) to prevent canopy desiccation while the compromised root system recovers.
Troubleshooting Common Greens Aerator Failures
Even with meticulous prep, fine turf can react poorly to aeration if environmental variables shift. Use this diagnostic framework to address post-aeration issues:
- Symptom: Turf turns gray-blue and wilts within 24 hours.
Cause: Root shearing due to dry soil or turning with tines engaged.
Fix: Increase daily syringing frequency to three times a day to cool the canopy, and apply a liquid seaweed extract (e.g., 3 oz per 1,000 sq ft) to reduce plant stress. - Symptom: Sand remains on the surface and will not wash into the holes.
Cause: The sand is too wet, or the aeration holes were shallow and clogged with thatch.
Fix: Allow the sand to dry for 24 hours, then re-drag with a stiff-bristled push broom. If holes are clogged, you must manually rake the surface to break the thatch barrier. - Symptom: Yellowing turf (chlorosis) two weeks post-aeration.
Cause: The topdressing sand has tied up soil nitrogen, or the aeration severed a significant portion of the feeder roots.
Fix: Apply a fast-acting foliar fertilizer containing 0.25 lbs of nitrogen per 1,000 sq ft and chelated iron to bypass the damaged root system and restore canopy color.
For ongoing maintenance, Penn State Extension recommends integrating solid-tine venting every 3 to 4 weeks during the peak summer growing season to maintain soil gas exchange without the recovery downtime required by hollow coring. By treating your home lawn with the same mechanical precision as a championship golf course, you will achieve a dense, resilient, and perfectly level turf canopy.

