
Lawn Care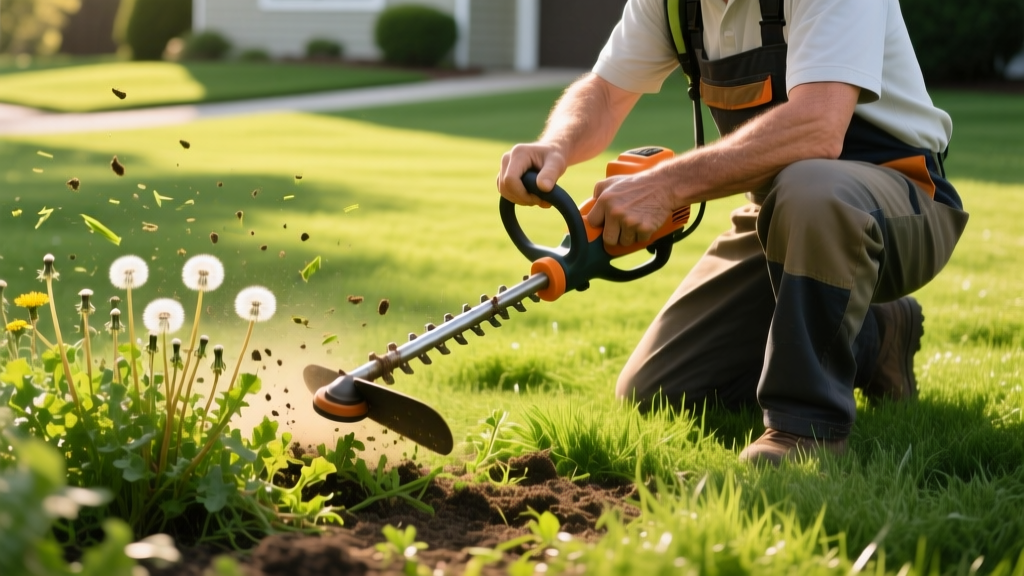
Strategic Weed Wacking Before Spot-Treating Mature Lawn Weeds
The Flaw in Traditional Weed Wacking
Most homeowners treat weed wacking as a standalone solution for overgrown lawn weeds. When mature dallisgrass, wild violet, or yellow nutsedge breach the turf canopy, the immediate instinct is to deploy a string trimmer, reduce the weed to ground level, and assume the problem is solved. From a turfgrass science perspective, this mechanical-only approach guarantees failure. Weed wacking removes the photosynthetic canopy but leaves the root system and crown entirely intact, forcing the weed to rapidly push out new, often more aggressive growth from basal meristems.
Conversely, applying a systemic herbicide directly to a mature, fully lignified weed is equally ineffective. Mature weeds develop thick cuticular waxes and highly lignified lower stems that prevent foliar herbicide absorption and inhibit downward translocation to the root zone. According to weed management protocols outlined by North Carolina State University TurfFiles, systemic herbicides require active, tender foliage to effectively enter the plant's phloem and translocate to the roots. This creates a critical operational gap: the weed is too tall and woody to spray effectively, but cutting it down removes the very foliage needed to absorb the chemical.
The 'Wack-and-Wait' Framework
To bridge this gap, professional turf managers utilize a sequential protocol: mechanical reduction (weed wacking) followed by a precise 72-to-96-hour biological window, concluding with a targeted chemical spot-treatment. This method exploits the weed's physiological response to decapitation, forcing it to push out highly permeable, un-lignified tissue that acts as a superhighway for systemic herbicides.
Matching Trimmer Line Gauge to Weed Stem Density
Before initiating the protocol, your string trimmer must be configured for the specific weed species. Using a standard 0.065-inch round nylon line on mature, thick-stemmed weeds like thistles or established dallisgrass will result in line breakage, uneven cuts, and excessive shredding of the plant tissue. Shredded tissue seals over rapidly with callus tissue, which can impede the subsequent herbicide uptake. You need a clean, sharp mechanical shear.
| Weed Species Profile | Stem Characteristics | Recommended Line Gauge | Line Shape |
|---|---|---|---|
| Mature Crabgrass / Dallisgrass | Fibrous, semi-lignified, high moisture | 0.080" - 0.095" | Square or Multi-sided |
| Yellow Nutsedge / Thistles | Thick, rigid, pithy or highly fibrous | 0.105" - 0.130" | Twisted or Serrated |
| Wild Violet / Broadleaf Plantain | Fleshy, low-growing, dense rosette | 0.080" - 0.095" | Round (to prevent turf scalping) |
For optimal results, operate the trimmer at mid-to-high RPMs to ensure the line maintains maximum kinetic energy through the cut. Cut the weed down to approximately 1.5 to 2 inches above the soil line. Do not scalp the weed down to the dirt; leaving a small amount of stem and basal leaf tissue is necessary to trigger the localized regrowth response without killing the crown outright before the herbicide is applied.
The 96-Hour Spot-Treatment Protocol
Once the mechanical reduction is complete, the biological clock starts. The timing of the subsequent spot-treatment is the most common failure point for DIY lawn care. Spraying immediately after weed wacking is useless; the plant's vascular system is in shock, and the remaining stubble lacks the surface area to absorb a lethal dose. Waiting too long (e.g., two weeks) allows the weed to rebuild its cuticular wax and lignify the new stems, returning you to square one.
Phase 1: The Re-growth Window (Hours 72 to 96)
Monitor the wacked weeds closely. Between 72 and 96 hours post-trimming, the weed will push out 1 to 2 inches of bright green, highly tender new growth. This tissue is devoid of protective waxes and features wide-open stomata. This is your application window. If the weather is exceptionally hot (above 85°F) and dry, the window may compress to 48 hours; if cool and overcast, it may extend to 120 hours. Look for the vivid green color contrast against the older, cut stems.
Phase 2: Chemical Formulation and Surfactant Integration
Because you are spot-treating, you must use a targeted systemic herbicide mixed with a high-quality non-ionic surfactant (NIS). The surfactant reduces the surface tension of the spray droplet, allowing it to spread across the leaf surface and penetrate the cuticle rather than beading up and rolling off. Mix your NIS at a rate of 0.25% to 0.5% by volume (approximately 1/2 to 1 teaspoon per gallon of mixed solution).
Phase 3: Precision Application
Use a 1-gallon or 2-gallon pump sprayer equipped with a cone nozzle or a shielded spray tip to prevent drift onto desirable turfgrass. Apply the solution until the new regrowth is thoroughly wet, but stop before the liquid begins to run off the leaves and pool on the soil. Systemic herbicides must be absorbed through the foliage, not the roots, for this specific protocol to work. As always, adhere strictly to the Environmental Protection Agency (EPA) label instructions regarding personal protective equipment (PPE) and environmental safety.
Chemical Spot-Treatment Matrix by Weed Type
Selecting the correct active ingredient is paramount. Using a broad-spectrum non-selective herbicide like glyphosate will kill the surrounding desirable turfgrass. Instead, utilize selective systemics that target the specific biology of the weed while sparing your lawn.
| Target Weed Species | Active Ingredient | Commercial Product Example | Spot-Treatment Mix Rate (per Gallon) | Safe for Turf Type |
|---|---|---|---|---|
| Dallisgrass / Crabgrass | Fluazifop-p-butyl | Ortho Grass B Gon | 1.5 fl oz + 1/2 tsp NIS | Fescue, Bluegrass, Ryegrass |
| Wild Violet / Ground Ivy | Triclopyr + 2,4-D + Dicamba | PBI/Gordon Trimec Classic | 1.5 fl oz + 1/2 tsp NIS | Most cool & warm-season grasses |
| Yellow Nutsedge | Sulfentrazone + Imazaquin | Image Kills Nutsedge | Ready-to-use (No NIS needed) | Bermuda, Zoysia, St. Augustine |
Edge Cases: When NOT to Weed Wack First
While the Wack-and-Wait protocol is highly effective for mature, deep-rooted perennials and established annual grasses, it is counterproductive for certain weed species. Understanding these edge cases prevents unnecessary labor and turf damage.
- Spurge (Prostrate and Spotted): Spurge grows low to the ground with a central taproot. Weed wacking often misses the low-lying meristems entirely, and the plant bleeds a milky latex sap that can seal off tissue and block herbicide uptake. Spot-treat spurge directly without prior mechanical reduction using a 2,4-D and MCPP mixture.
- Annual Bluegrass (Poa annua): This is a cool-season annual grass that thrives in compacted soil. Wacking it simply accelerates its seed-head production cycle. Instead, manage Poa annua through pre-emergent applications in late summer and early fall, rather than reactive spot-treatments.
- Seedling Weeds (Under 3 Inches): If the weed has not yet developed a lignified stem or a deep taproot, weed wacking is a waste of time. Young seedlings have thin cuticles and will readily absorb systemic herbicides directly. Spray them immediately upon identification.
Post-Treatment Turf Recovery
After the spot-treated weeds begin to yellow and curl (typically 7 to 14 days post-application), do not pull them manually. Allow the systemic herbicide to fully complete its translocation to the root zone. Once the weed is entirely necrotic and brittle, rake out the dead debris. The resulting bare spots in the turf canopy should be immediately filled with a targeted application of topsoil and overseeded with a grass variety that matches your existing lawn to prevent new weed seeds from colonizing the bare soil.

