
Lawn Care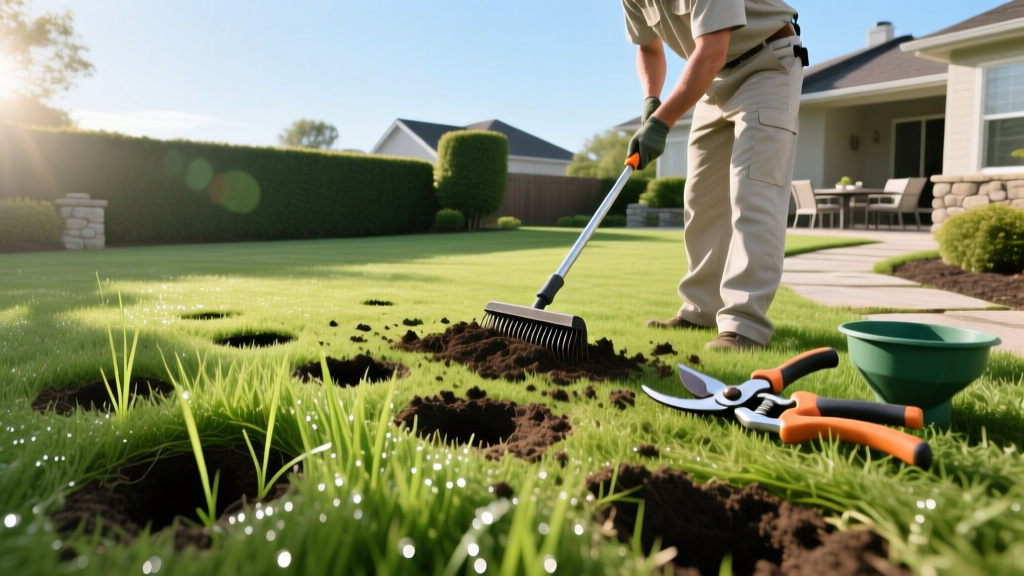
What to Do After Aerating Lawn: A 14-Day Recovery Guide
The Biological Window: Why the Next 14 Days Matter
Core aeration physically fractures compacted soil, pulling 0.5-inch to 0.75-inch diameter plugs that are typically 2 to 3 inches deep. This process instantly relieves soil compaction, increases oxygen flow to the root zone, and creates direct channels for water and nutrients. However, the physical holes created by the tines begin to collapse and close within 14 to 21 days due to foot traffic, mowing, and natural soil settling. If you do not execute a precise post-aeration protocol, the return on investment (ROI) for your aeration drops to near zero.
According to turfgrass researchers at the University of Minnesota, the primary goal after aeration is to capitalize on the exposed soil profile to establish seed-to-soil contact and drive nutrients deep into the root zone. This guide outlines the exact 14-day operational timeline to maximize turf density and soil biology following mechanical aeration.
Phase 1: The First 48 Hours (Observation and Plug Management)
The immediate aftermath of aeration requires restraint. The most common mistake homeowners make is immediately raking or removing the extracted soil cores.
CRITICAL WARNING: Do Not Rake the Plugs
Leave the soil cores on the lawn. As they dry and break apart over the next 7 to 10 days, they act as a natural topdressing, reintroducing beneficial soil microbes into the thatch layer and accelerating thatch decomposition. Raking them up removes this biological benefit and wastes the organic matter your lawn just produced.
Mowing Restrictions
Do not mow for at least 48 hours post-aeration. The soil structure is highly vulnerable, and the weight of a standard 200-pound walk-behind mower can cause micro-compaction around the freshly opened holes. Furthermore, mowing too soon will vacuum up and pulverize the soil cores, creating a muddy paste that can smother existing grass crowns if the soil moisture is high.
Phase 2: Days 3 to 7 (Seeding and Feeding Protocol)
Once the soil has settled and the cores have begun to dry and fracture, it is time to introduce seed and fertilizer. The aeration holes serve as protected micro-environments for seed germination, shielding seedlings from wind and surface drying.
Selecting the Right Post-Aeration Inputs
Standard lawn fertilizers are high in nitrogen to promote blade growth, but post-aeration requires a focus on root development and seedling establishment. You must use a starter fertilizer high in phosphorus (the middle number in the NPK ratio), provided your state does not have strict phosphorus runoff bans. If phosphorus is restricted, rely on a high-quality seed with a built-in seed coating or use a mesotrione-based weed preventer that is safe for new seed.
| Input Type | Recommended Specification | Application Rate | Purpose |
|---|---|---|---|
| Starter Fertilizer | NPK 18-24-12 or 24-25-4 | 3.0 lbs per 1,000 sq ft | Provides immediate phosphorus for root initiation and nitrogen for early blade growth. |
| Cool-Season Seed | TTTF Blend (e.g., Jonathan Green Black Beauty) | 3 to 5 lbs per 1,000 sq ft | Overseeding to thicken turf; TTTF offers deep rooting and drought tolerance. |
| Warm-Season Seed | Hulled Bermudagrass (e.g., Pennington Sahara) | 1 to 2 lbs per 1,000 sq ft | Fills bare spots in southern lawns; hulled seed germinates faster in warm soil. |
| Safe Pre-Emergent | Mesotrione (e.g., Tenacity) | 5 oz per acre (0.11 oz/1k sq ft) | Prevents crabgrass without inhibiting the germination of new turfgrass seed. |
Application Sequence
- Apply Seed: Use a broadcast spreader to distribute grass seed evenly across the lawn. The seed will naturally fall into the aeration holes.
- Apply Starter Fertilizer: Immediately follow with your starter fertilizer. The nutrients will wash down into the aeration channels with your first watering.
- Topdress (Optional but Ideal): Apply a thin layer (1/8 inch) of screened compost or peat moss over high-traffic areas to retain moisture around the seed.
Phase 3: Days 8 to 14 (The Watering Transition)
Watering after aeration and overseeding requires a complete departure from standard deep-and-infrequent irrigation practices. New seed requires constant surface moisture, while established roots need to avoid rot.
The Colorado State University Extension emphasizes that seed germination fails if the seed dries out even once during the initial sprouting phase. Follow this precise 14-day watering matrix:
- Days 1 to 7 (Germination Phase): Water 2 to 3 times per day for 5 to 10 minutes per zone. The goal is to apply roughly 0.1 inches of water per session. You are keeping the top 1 inch of soil and the aeration holes consistently damp, not flooded. Flooding will wash the seed out of the holes and pool it in low spots.
- Days 8 to 10 (Sprout Establishment): Reduce frequency to once per day, but increase duration to 15 to 20 minutes. This encourages the new radicle (primary root) to chase the moisture deeper into the aeration channels.
- Days 11 to 14 (Root Hardening): Transition to watering every other day for 30 minutes. This prepares the new seedlings for the standard deep-watering schedule of 1 inch per week, applied in 1 or 2 sessions.
Troubleshooting Edge Cases and Failure Modes
Even with a perfect plan, environmental variables can disrupt post-aeration recovery. Here is how to handle the most common complications.
Scenario A: Heavy Rainfall Washout
If a severe thunderstorm drops more than 0.5 inches of rain within an hour immediately after seeding, the seed will likely wash out of the aeration holes and accumulate in drainage paths. The Fix: Wait for the lawn to dry completely, then run a slit-seeder or drop spreader at 50% of the original seeding rate specifically over the low-lying areas where seed pooled, and lightly rake it into the soil.
Scenario B: Pre-Emergent Herbicide Conflict
If you applied a standard pre-emergent (like Prodiamine or Dithiopyr) in early spring, it creates a chemical barrier in the top 1 inch of soil that will kill new grass seed just as effectively as it kills crabgrass. Aeration does not break this chemical barrier sufficiently to guarantee seed survival. The Fix: Do not seed. Instead, use the aeration solely for deep-root fertilization and soil conditioning. Apply a high-nitrogen organic fertilizer like Milorganite (5-2-0) at 15 lbs per 1,000 sq ft to feed the existing turf, and save your overseeding for the fall window.
The ROI of Post-Aeration Care
Renting a core aerator costs between $70 and $100 for four hours, while hiring a professional lawn care service averages $150 to $300 depending on lot size. If you aerate and simply resume your normal mowing schedule, the soil holes will close in three weeks, yielding a negligible improvement in turf density. By investing an additional $40 to $80 in high-quality TTTF seed and a bag of starter fertilizer, you increase the biological ROI of the aeration by over 400%, resulting in a measurable 15% to 20% increase in turf thickness by the end of the growing season. The aeration is merely the preparation; the 14-day recovery protocol is where the actual lawn renovation occurs.

