
Lawn Care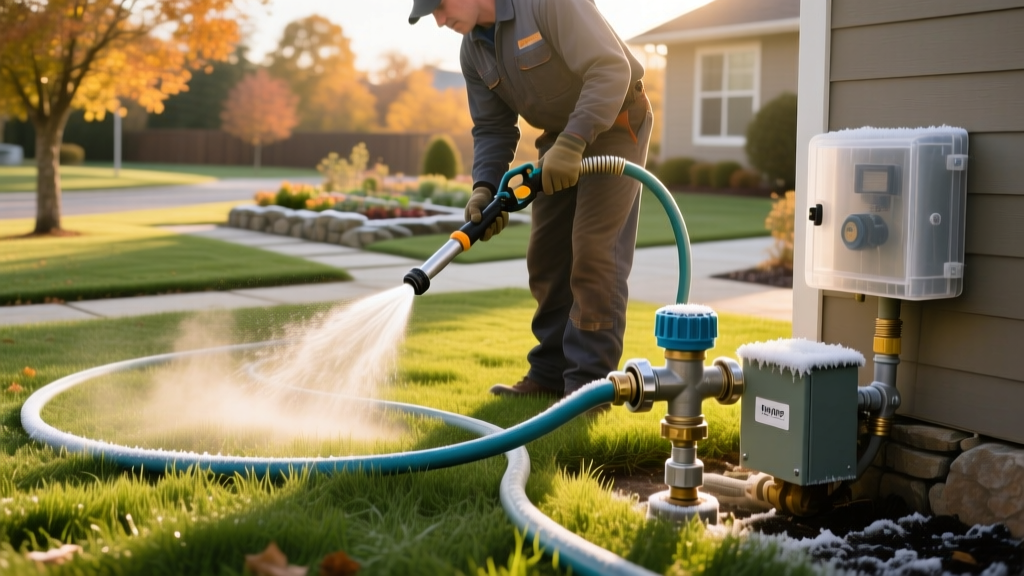
How to Winterise Sprinkler Systems with an Air Compressor Blowout
Freezing temperatures are the leading cause of catastrophic failure in underground irrigation networks. When water trapped inside lateral lines, valves, and sprinkler heads transitions to ice, it expands, generating enough radial force to shatter rigid pipes and crack brass fittings. While manual drain systems exist in some regions, the most reliable method to protect your infrastructure is a compressed air blowout. This guide details the exact physics, equipment specifications, and step-by-step procedures required to safely winterise sprinkler systems without causing friction-heat damage to your PVC manifolds.
The Physics of Freeze Damage: Why Gravity Draining Fails
Many homeowners assume that simply turning off the main water supply and opening the manual drain valves at the end of the zones is sufficient. However, subsurface lateral lines rarely sit at a perfect, continuous downward slope. Soil settling over the years creates low points, or 'bellies', in the trenches where water pools.
⚠️ The 9% Expansion Rule: Water expands by exactly 9.05% in volume when freezing. In a capped 1-inch Schedule 40 PVC pipe, this phase change generates upwards of 40,000 PSI of outward radial stress. Because Schedule 40 PVC is only rated for roughly 400 PSI at 73°F, freeze expansion will instantly rupture the pipe walls, split the glue joints, and crack the internal diaphragms of your anti-siphon valves.
According to research published by the Colorado State University Extension, compressed air blowouts are the only guaranteed method to evacuate water from these low-point bellies, as the air pressure physically pushes the pooled water out through the sprinkler nozzles.
Equipment Checklist: Sizing Your Air Compressor
The most common mistake DIYers make is using a standard 6-gallon 'pancake' air compressor. These units typically deliver 2.5 to 3.0 CFM (Cubic Feet per Minute). To effectively push water out of a 1-inch lateral line without exceeding safe pressure limits, you need high volume (CFM), not just high pressure (PSI). Using a low-CFM compressor forces you to raise the PSI to dangerous levels to maintain airflow, which risks blowing the sprinkler heads off their risers.
CFM Requirements by Pipe Diameter
| Lateral Pipe Size | Minimum CFM Required | Recommended Compressor Type |
|---|---|---|
| 1/2 inch | 5 - 8 CFM | Large portable electric (20-30 gal tank) |
| 3/4 inch | 10 - 15 CFM | Tow-behind gas compressor (Rental) |
| 1 inch | 15 - 20 CFM | Tow-behind gas compressor (Rental) |
| 1.5 inch (Mainline) | 25+ CFM | Commercial rotary screw compressor |
Pro Tip: Rent an 80-gallon, 15-CFM portable gas compressor from a local equipment yard (typically $85–$130 per day in 2026). This provides the sustained volume needed for residential 3/4-inch and 1-inch poly or PVC systems.
Step-by-Step Winterise Sprinkler Blowout Procedure
Follow this exact sequence to evacuate the system safely. Ensure you are wearing ANSI Z87.1-rated safety glasses, as blowing out lines frequently launches small rocks and debris from the sprinkler nozzles.
Step 1: Isolate and Drain the Mainline
- Locate the main irrigation shut-off valve (usually in the basement, crawlspace, or an exterior pit) and turn it to the closed position.
- Open the manual drain valve or the boiler drain located immediately downstream of the shut-off valve to relieve static water pressure and drain the indoor piping.
- Leave this drain valve open for the duration of the blowout to prevent air from pushing water back into your home's plumbing.
Step 2: Connect the Compressor to the Blowout Port
Never connect your air compressor directly to a standard garden hose bib (hose thread). Hose bibs restrict airflow and are not rated for the sustained lateral stress of compressed air. Instead, connect the compressor hose to the dedicated brass blowout port located on the backflow preventer or manifold assembly using a quick-connect fitting.
Step 3: Set the Pressure Regulator
🛑 CRITICAL PSI LIMITS:
• Polyethylene (Flex) Pipe: Maximum 50 PSI.
• Rigid PVC (Schedule 40): Maximum 80 PSI.
Exceeding these limits can cause the pipes to burst underground or turn shattered PVC into subterranean shrapnel.
• Polyethylene (Flex) Pipe: Maximum 50 PSI.
• Rigid PVC (Schedule 40): Maximum 80 PSI.
Exceeding these limits can cause the pipes to burst underground or turn shattered PVC into subterranean shrapnel.
Step 4: Cycle the Zones
- With the compressor running and the tank fully charged, slowly open the ball valve on the blowout port. Never open it all at once, as the sudden pressure spike (water hammer effect) can shatter the backflow preventer's internal plastic components.
- Activate the zone furthest from the compressor, or the zone at the highest elevation, using your smart controller's manual test mode.
- Allow the zone to run until the water spray transitions into a fine, white mist. This typically takes 2 to 3 minutes.
- Close the blowout ball valve, move to the next zone on the controller, and repeat.
The Friction Heat Danger (The 2-Minute Rule)
As noted by the Utah State University Extension, pushing high-velocity air through dry PVC pipes generates significant friction heat. If you run air through a single zone for more than two to three minutes continuously after the water is gone, the air temperature inside the pipe can exceed 140°F. This is hot enough to warp thin-walled PVC, melt the glue joints, and destroy the rubber diaphragms inside your zone valves. If a zone isn't clearing, cycle to another zone to let the pipes cool, then return to it later.
Smart Controller Winterisation Settings
Do not simply turn off the circuit breaker to your irrigation controller. Cutting power completely will drain the internal backup battery, wiping out your custom zone runtimes and seasonal adjustments for the following spring. Furthermore, the controller's transformer requires a constant micro-draw to prevent internal capacitor degradation over the winter.
- Rachio 3 / Rachio 3e: Navigate to the 'More' tab and select 'Winterize'. This puts the controller into a deep sleep mode, disabling all schedules while keeping the Wi-Fi module active for firmware updates.
- Hunter Hydrawise Pro-HC: Use the 'Suspend All Zones' feature in the dashboard, or physically turn the dial to 'Off' while leaving the 24VAC transformer plugged into the wall.
- Rain Bird ESP-TM2: Turn the physical dial to the 'Off' position. The transformer will remain powered, preserving the non-volatile memory.
Cost Breakdown: DIY vs. Professional Irrigation Winterisation
Deciding whether to rent equipment or hire a licensed irrigation contractor depends on your system's complexity and your access to heavy-duty compressors.
| Service Type | Estimated Cost (2026) | Pros & Cons |
|---|---|---|
| DIY Compressor Rental | $110 - $180 / day | Requires towing a heavy gas compressor; high risk of user error regarding PSI limits. |
| Professional Blowout (Up to 8 zones) | $85 - $140 flat rate | Contractor carries liability insurance for broken pipes; uses commercial 185-CFM tow-behind units. |
| Professional Blowout (9+ zones) | $10 - $15 per extra zone | Ideal for large estates; includes a visual inspection of all above-ground brass and backflow preventers. |
Common Blowout Mistakes That Crack Manifolds
- Blowing out through the backflow test cocks: The small brass test cocks on a Reduced Pressure Zone (RPZ) or Pressure Vacuum Breaker (PVB) are not designed for the volume of air required. Forcing air through them will strip the internal threads and ruin the assembly.
- Leaving the mainline valve partially open: If the main water shut-off is not 100% closed, the compressor will push air back into your home's municipal water supply, potentially causing water hammer in your indoor plumbing or contaminating the city line if the backflow preventer fails.
- Forgetting to insulate the backflow preventer: Even after a perfect blowout, residual moisture condenses inside the brass body of the above-ground backflow preventer. You must wrap the entire brass assembly in a dedicated foam insulation pouch or self-adhesive fiberglass tape to prevent micro-fractures during deep freezes.
Final Verification
Once all zones have been cycled and are blowing pure mist, close the blowout port ball valve, disconnect the air hose, and leave all manual drain valves in the open position for the winter. This ensures that any condensation or minor precipitation that enters the system through the sprinkler heads has a clear path to escape, keeping your infrastructure intact until the spring activation.

