
Lawn Care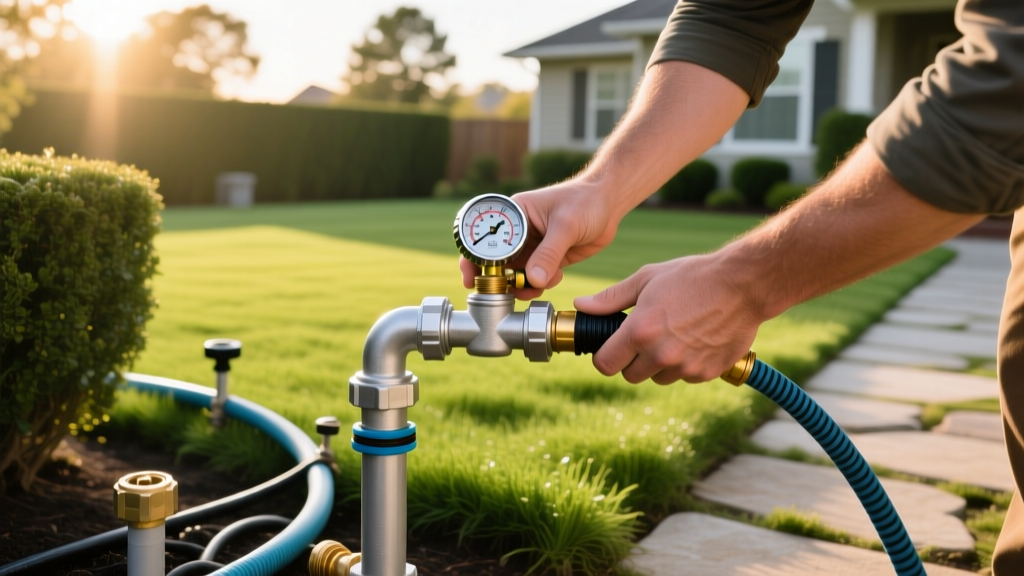
How to Winterize Sprinkler System With Air Compressor Safely
The Physics of the Blow-Out Method: Why CFM Matters More Than PSI
Freezing water expands by roughly 9%. When trapped inside an irrigation line, this expansion generates thousands of pounds of outward force, easily shattering PVC mainlines and splitting polyethylene lateral pipes. While manual and automatic drain valves work in specific topographies, the blow-out method remains the industry standard for regions experiencing hard freezes. However, attempting to winterize sprinkler system with air compressor equipment that is improperly sized is the leading cause of DIY irrigation damage.
The most critical misconception in irrigation winterization is confusing pressure (PSI) with volume (CFM). A standard 6-gallon pancake compressor might generate 150 PSI, but it only delivers 2.6 Cubic Feet per Minute (CFM). To effectively push a solid slug of water out of a 1-inch pipe and atomize the remaining droplets, you need high volume. Insufficient CFM results in air simply bypassing the water (friction loss), leaving pockets of water in low-elevation dips that will freeze and crack your pipes.
⚠️ CRITICAL WARNING: The Friction Heat Danger
Running high-velocity, dry air through PVC pipes for more than 60 seconds generates immense friction heat. This heat can soften Schedule 40 PVC at the joints, causing the pipe to deform, melt, or blow apart under pressure. Never leave a compressor running unattended on a single zone.
Compressor Sizing Matrix: Matching CFM to Pipe Diameter
According to guidelines published by Colorado State University Extension, the compressor must be sized to the largest pipe diameter in your irrigation zone. Use the matrix below to determine the minimum equipment requirements for your specific system layout.
| Lateral Pipe Size | Minimum Required CFM | Ideal Compressor Type | Estimated DIY Rental Cost (2026) |
|---|---|---|---|
| 3/4-inch Poly/PVC | 10 - 15 CFM | Large Stationary (80-Gallon) | $60 - $85 / day |
| 1-inch Poly/PVC | 15 - 20 CFM | Tow-Behind (125-185 CFM) | $120 - $160 / day |
| 1.5-inch Mainline | 20 - 50 CFM | Tow-Behind (185+ CFM) | $140 - $185 / day |
Establishing Safe Pressure Limits (PSI)
While CFM dictates the compressor size, PSI dictates the safety of your pipes. Exceeding the working pressure rating of your lateral lines will cause catastrophic failure. As noted in manufacturer winterization guides by Rain Bird, you must strictly regulate the air pressure at the point of connection using a high-flow pressure regulator.
- Polyethylene (Black Poly Pipe): Maximum 50 PSI. Poly pipe is flexible and can expand slightly, but the rigid barbed fittings and insert clamps will blow apart if pressure spikes above 50 PSI.
- PVC (Schedule 40 or Class 200): Maximum 80 PSI. PVC is rigid and brittle. While rated for higher static water pressure, the dynamic shock of compressed air requires an 80 PSI hard limit to prevent shattering.
- Drip Irrigation Zones: Maximum 25 PSI. Drip emitters and 1/4-inch micro-tubing will blow off their barbs instantly if subjected to standard zone pressures.
Step-by-Step Execution Sequence
Proper sequencing ensures that water is pushed out of the mainline before addressing individual lateral zones. Follow this exact order to prevent water from migrating back into cleared lines.
Phase 1: System Isolation and Prep
- Shut off the main water supply to the irrigation system at the interior shut-off valve or exterior pit.
- Relieve system pressure by manually activating one sprinkler zone from the controller until the heads pop up and water flow stops.
- Prepare the backflow preventer. Turn the two main ball valves to the 45-degree (half-open) position. Open all four test cocks using a flathead screwdriver. This prevents trapped water from freezing inside the brass housing.
Phase 2: Compressor Connection
- Connect your air hose to the dedicated blow-out port (usually a brass hose bib located downstream of the backflow preventer and upstream of the zone valves). Never connect air directly to the backflow test cocks, as the small orifices will restrict CFM and damage the internal seats.
- Ensure your inline pressure regulator is dialed down to zero before starting the compressor.
- Start the compressor and allow the tank to build reserve pressure.
Phase 3: The Zone Blow-Out
- Activate the furthest zone from the compressor using your irrigation controller. Starting far away forces the air to travel through the entire mainline, pushing out standing water.
- Slowly open the air regulator valve. Watch the gauge and stop precisely at 50 PSI (for poly) or 80 PSI (for PVC).
- Monitor the sprinkler heads. Initially, heavy slugs of water will erupt. As the line clears, the spray will transition to a fine, white mist.
- The 60-Second Rule: Once you see a consistent fine mist, run the air for no more than 30 to 60 seconds to clear residual droplets, then shut the air valve and move to the next zone.
- Repeat this process for all zones, working your way from the furthest zone back to the closest zone.
💡 Pro Tip: The Two-Pass Method
For systems with complex topography or low-elevation dips, perform a "two-pass" blowout. Run through all zones once to clear the bulk of the water. Wait 15 minutes to allow residual water to pool in low spots, then run through all zones a second time for 30 seconds each to atomize the remaining pockets.
Common Failure Modes and Edge Cases
Even with the correct equipment, specific system configurations require specialized handling to avoid costly spring repairs.
1. Blowing Out Drip Zones
Drip lines lack the structural integrity to handle 50 PSI. If your system mixes rotor zones and drip zones on the same manifold, you must install a dedicated pressure regulator for the drip zones, or manually dial the compressor regulator down to 20 PSI when blowing out the drip circuits. Furthermore, leave the drip zone valves open during the winter to prevent thermal expansion of trapped air from splitting the lateral lines.
2. The Mainline Trap
If your system does not have a dedicated blow-out port and relies on a hose bib located before the zone valves, you must blow out the mainline separately. To do this, disconnect the mainline union at the first zone valve, attach a temporary blow-out adapter, and push air through the mainline until it runs clear before reassembling and blowing out the individual zones.
3. Backflow Preventer Drainage
Compressed air will not evacuate water trapped inside the complex internal chambers of a Pressure Vacuum Breaker (PVB) or Reduced Pressure Zone (RPZ) assembly. After the blow-out is complete, you must manually unscrew the petcocks and drain plugs on the backflow device, or wrap it in an insulated foam cover if you leave it pressurized (not recommended for hard freeze climates).
Cost Analysis: DIY Rental vs. Professional Service
Deciding whether to rent a commercial compressor or hire a licensed irrigation contractor depends on your system size and mechanical comfort level.
- DIY Tow-Behind Rental: Expect to pay $130 to $180 for a 24-hour rental of a 185 CFM diesel tow-behind compressor from equipment rental yards, plus $25 in diesel fuel. This is cost-effective only if you have 8 or more zones and possess the heavy-duty truck required to tow the 1,500 lb unit.
- DIY Stationary Rental: Renting a 10-15 CFM stationary electric compressor costs roughly $75 per day. This requires a 220V outlet near your blow-out port, which most residential exteriors lack.
- Professional Contractor: In 2026, licensed irrigation technicians charge between $65 and $110 per zone, or a flat rate of $350 to $550 for standard 6-to-8 zone residential systems. Professionals carry commercial liability insurance, meaning if a mainline shatters during the blow-out, the repair costs are covered by their policy, not your homeowner's insurance.
Winterizing your system correctly is not merely about preventing frozen pipes; it is about preserving the hydraulic integrity of your joints and emitters. By strictly adhering to CFM volume requirements and hard PSI limits, you ensure your irrigation system will pressurize cleanly when the spring thaw arrives.

