
Lawn Care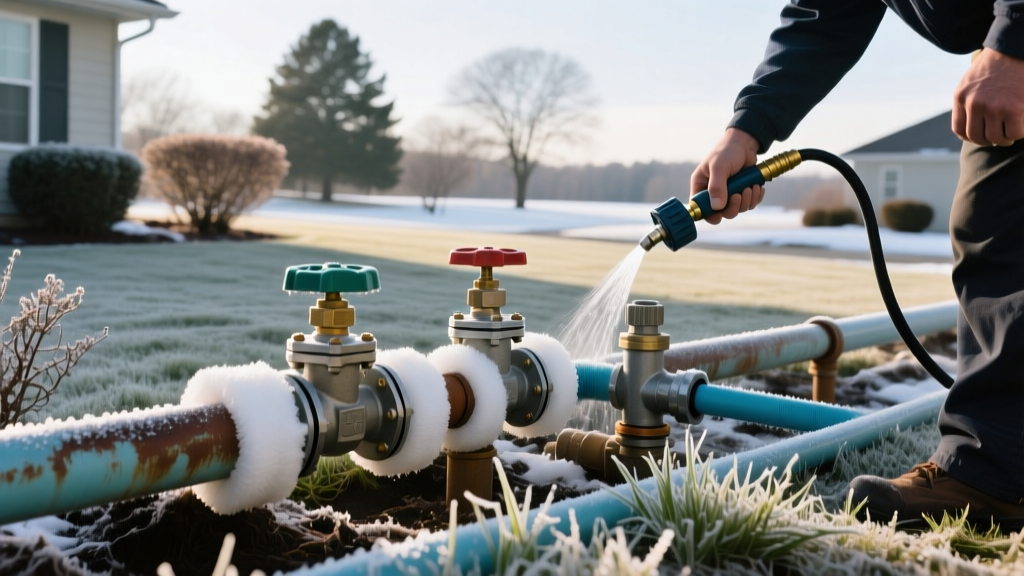
Step-by-Step Guide to Winterizing Irrigation System Pipes and Valves
The Physics of Frozen Pipes: Why Winterizing is Non-Negotiable
Water expands by approximately 9% in volume when it freezes. In a closed underground PVC or polyethylene pipe, this expansion generates thousands of pounds of outward pressure, easily exceeding the 200 PSI burst rating of standard Schedule 40 PVC. When homeowners skip winterizing their irrigation system, the resulting micro-fractures often remain invisible until the spring pressurization, leading to massive underground leaks, washed-out soil, and ruined landscaping.
The critical trigger for winterization is not the first snowfall, but the first sustained drop in nighttime soil temperatures. Once the ambient air temperature consistently dips below 32°F for more than 72 hours, the frost line begins to penetrate the top 6 to 12 inches of soil—exactly where lateral irrigation lines and valve manifolds are buried. According to the University of Minnesota Extension, completing the blow-out process before the ground freezes solid prevents the catastrophic shattering of lateral lines and anti-siphon valves.
Choosing Your Method: Drain vs. Blow-Out
Not all systems are built the same. The topography of your yard and the type of valves installed dictate which winterization method is safe and effective. Below is a decision matrix to help you identify the correct protocol for your specific setup.
| Method | System Requirements | Effectiveness | Best For |
|---|---|---|---|
| Manual Drain | Requires manual drain valves at every low point and end of mainline. | Moderate (water often pools in sagging pipes) | Flat yards with perfectly sloped, modern PVC installations. |
| Auto Drain | Requires automatic drain valves that open when pressure drops below 10 PSI. | Low-Moderate (valves frequently clog with debris over time) | Sandy, well-draining soils with minimal clay content. |
| Compressor Blow-Out | Requires a blow-out port (boiler drain or hose bib) downstream of the backflow. | Extremely High (forces 99% of water out) | All systems, especially those with clay soil, varying elevations, or poly pipe. |
For 95% of residential properties, the compressor blow-out method is the only reliable way to ensure complete water evacuation. The Irrigation Association strongly recommends compressed air evacuation for regions that experience hard freezes, as gravity-based draining rarely clears water trapped in low-lying lateral lines or sprinkler head funnels.
The Blow-Out Method: Equipment and PSI Limits
The most common mistake DIYers make is using an undersized air compressor. A standard 6-gallon pancake compressor used for nail guns delivers roughly 2.5 CFM (Cubic Feet per Minute) at 90 PSI. This is entirely inadequate. To safely clear a standard 4-inch rotor head (which flows at roughly 3 to 4 Gallons Per Minute), you need a minimum of 10 to 25 CFM to create the necessary 'surge' effect that pushes the water slug through the pipe.
⚠️ CRITICAL WARNING: The CFM vs. PSI Trade-off
Never compensate for low CFM by cranking up the PSI. High pressure with low volume will simply atomize the water into a fine mist that clings to the pipe walls, while risking a catastrophic pipe burst. You must prioritize volume (CFM) over pressure (PSI).
Material-Specific Pressure Limits
- Polyethylene (Poly) Pipe: Common in the Northeast and Midwest. Max blow-out pressure: 50 PSI. Poly pipe expands and contracts, but its barbed fittings will blow apart under high air pressure.
- PVC Pipe: Common in the South and West. Max blow-out pressure: 80 PSI (Schedule 40).
- Flexible Spa Tubing (Spa Flex): Often used for short runs. Max blow-out pressure: 50 PSI.
Step-by-Step Blow-Out Execution
If you are renting a tow-behind 185 CFM gas compressor (typically $150–$200 per day from equipment rental yards), follow this exact sequence to prevent thermal expansion damage to your PVC.
- Shut Off the Water Supply: Locate the main shut-off valve to the irrigation system (usually in the basement or a buried pit near the water meter) and turn it off.
- Depressurize the Backflow: Open the test cocks on the backflow preventer to 45 degrees. Close the main shut-off valves on the backflow device itself.
- Connect the Air Compressor: Attach your air hose to the designated blow-out port. Never connect the compressor directly to the backflow preventer test cocks—the internal rubber check valves will shred under high-velocity air.
- Set the Pressure Regulator: Dial the regulator to 50 PSI for poly pipe or 80 PSI for PVC. Always keep the compressor's onboard safety valve set 10 PSI higher than your target working pressure.
- Blow Out Zone by Zone: Turn on the compressor and let it build pressure. Using your sprinkler controller, manually activate the zone furthest from the compressor first.
- Monitor the Spray Pattern: Watch the sprinkler heads. The water will initially spray normally, then transition to a heavy mist, and finally to a fine, dry fog. Once only a fine mist is visible for 60 seconds, shut off that zone at the controller and move to the next.
- Prevent Thermal Melting: Friction from high-velocity air moving through dry PVC generates immense heat. Never run compressed air through a single dry zone for more than 2 minutes. If the zone isn't clear, move to the next zone to let the pipe cool, then cycle back.
Protecting Above-Ground Components
Evacuating the underground pipes is only half the battle. The above-ground components remain highly vulnerable to ambient freezing and UV degradation during the winter months.
Backflow Preventer Insulation
Drain the backflow preventer by opening the ball valves to a 45-degree angle (half-open) so water doesn't pool in the brass cavities. Do not wrap the brass device in standard fiberglass insulation, which holds moisture and accelerates oxidation. Instead, use a closed-cell foam insulation pouch, such as the Frost King SP60/50 or a dedicated rigid foam backflow cover. These cost between $25 and $45 and provide an R-value sufficient to protect against ambient wind chill without trapping ground moisture.
Smart Controller Winter Settings
Do not unplug your irrigation controller from the wall. Unplugging modern controllers like the Rain Bird ESP-TM2 or Hunter Pro-C will wipe the volatile memory, forcing you to completely reprogram your seasonal adjust percentages and run times in the spring. Instead, switch the dial to the 'Rain Off' or 'Off' position. This keeps the transformer powered, maintaining the memory and internal clock, while ensuring the system cannot accidentally trigger if a rogue wire shorts out during a winter storm.
Cost Analysis: DIY vs. Professional Winterization
Deciding whether to hire a professional or rent equipment depends heavily on your zone count and access to heavy machinery. According to EPA WaterSense maintenance guidelines, annual professional servicing ensures optimal spring startup efficiency.
- Professional Service: Expect to pay $50 to $150 for a standard 4-to-8 zone residential system. Pros use truck-mounted, industrial-grade compressors (100+ CFM) and carry liability insurance if a pipe bursts during the process.
- DIY Rental: Renting a 185 CFM tow-behind compressor costs roughly $150 to $200 per day, plus the cost of a heavy-duty vehicle to tow it, and brass quick-connect fittings ($30). Unless you are coordinating a neighborhood blow-out day with 3 or 4 neighbors to split the rental cost, DIY blow-outs are generally more expensive and significantly more labor-intensive than hiring a licensed irrigation contractor.
Pro Tip for Spring Startup: When reactivating your system in the spring, never throw the main valve open instantly. The resulting water hammer can shatter winter-weakened PVC joints. Open the main shut-off valve exactly one-quarter turn, wait 60 seconds for the pipes to pressurize slowly, and then open it fully.

