
Pest Control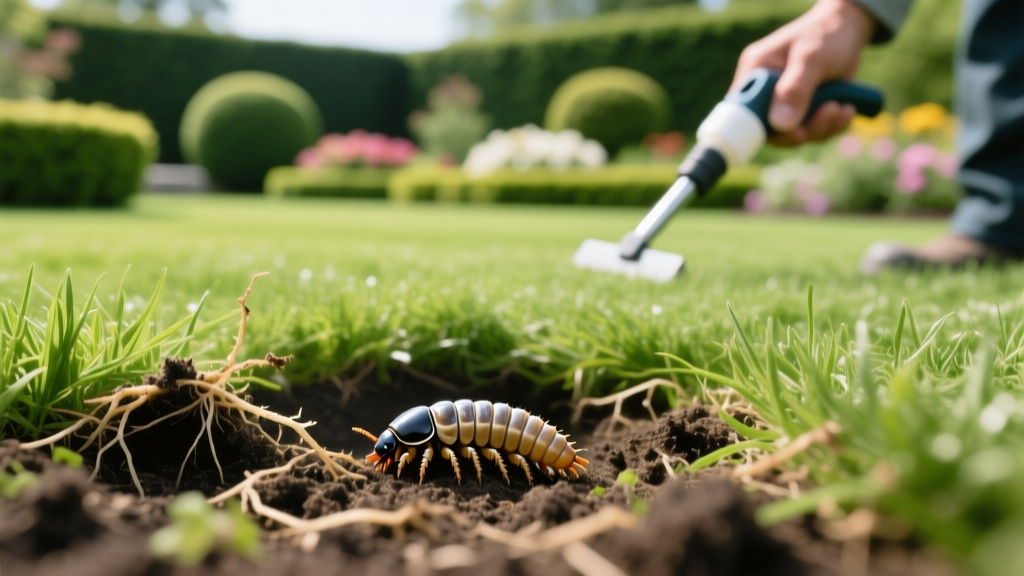
The Ultimate Grub Killing Guide: Timing, Products, and Prevention
The Hidden Threat Beneath Your Turf
If your lawn feels spongy underfoot, rolls back like a carpet, or has been torn up by nocturnal foragers, you are likely dealing with a white grub infestation. White grubs are the larval stage of scarab beetles, including Japanese beetles, European chafers, and June bugs. They feed aggressively on grassroots, severing the plant's ability to uptake water and nutrients. Effective grub killing is not just about spraying a chemical and walking away; it requires precise timing, an understanding of soil chemistry, and selecting the correct active ingredient for the grub's current life stage.
According to turfgrass entomologists at Purdue University, the most common mistake homeowners make is applying the wrong product at the wrong time of year. A preventative treatment applied in September will fail, just as a fast-acting curative applied in May will degrade before eggs hatch. This guide breaks down the exact science, product formulations, and biological alternatives required for successful grub killing in 2026.
Identifying the Culprit: Species and Raster Patterns
Before initiating any grub killing protocol, identify the species. While treatments are largely similar, biological controls like Milky Spore are highly species-specific. Dig up a 1-square-foot section of damaged turf and examine the grub's raster (the bristle pattern on its underside near the tail).
- Japanese Beetle: V-shaped raster pattern. Approximately 1/2 inch long when mature. Highly susceptible to Milky Spore disease.
- European Chafer: Y-shaped raster pattern. Similar size to Japanese beetles but causes more severe root pruning in cooler northern climates.
- June Bug (Phyllophaga): Larger, up to 1 inch long. Parallel rows of bristles on the raster. Often found deeper in the soil profile during winter.
Preventative vs. Curative Grub Killing: A Decision Matrix
The foundation of modern grub control relies on two distinct chemical strategies. Choosing between them depends entirely on the time of year and the size of the grubs currently in your soil.
| Strategy | Active Ingredient | Optimal Application Window | Target Grub Stage | Estimated Cost (per 5k sq ft) |
|---|---|---|---|---|
| Preventative | Chlorantraniliprole (e.g., Scotts GrubEx1) | May 15 – July 15 | Eggs and 1st instar larvae | $14.00 – $18.00 |
| Preventative | Imidacloprid / Clothianidin | June 1 – July 30 | Eggs and early instars | $12.00 – $16.00 |
| Curative | Trichlorfon (e.g., Dylox) | August – October or early Spring | 2nd and 3rd instar (large grubs) | $30.00 – $38.00 |
| Biological | Heterorhabditis bacteriophora (Nematodes) | Mid-August – September | Active feeding stages | $35.00 – $45.00 |
The Case for Chlorantraniliprole
Chlorantraniliprole has become the gold standard for preventative grub killing. Unlike older neonicotinoids (Imidacloprid), it is highly targeted, poses minimal risk to pollinators when applied correctly, and remains active in the soil profile for up to four months. However, it takes 60 to 90 days to fully activate and move into the root zone. If you apply it in July, it will not protect against grubs hatching in August unless it is watered in deeply and consistently.
The Biological Approach: Nematodes and Milky Spore
For homeowners managing organic lawns or those near sensitive watersheds, chemical grub killing is not an option. Biological controls offer a highly effective, albeit more labor-intensive, alternative.
Beneficial Nematodes (Hb strain): Heterorhabditis bacteriophora are microscopic worms that seek out grubs, enter their bodies, and release bacteria that kill the host within 48 hours. The nematodes then reproduce inside the dead grub and disperse to find new hosts. Research highlighted by Michigan State University Extension confirms that Hb nematodes can achieve 80% to 95% grub mortality when applied correctly. They must be applied to moist soil in the late evening to avoid UV degradation, and the lawn must be kept moist for 7 to 10 days post-application.
Milky Spore: This is a bacterium (Paenibacillus popilliae) that specifically targets Japanese beetle grubs. It is not a quick fix. Milky spore requires 2 to 3 years to build up in the soil to effective levels, and it will not control European chafers or June bugs. It is best used as a long-term neighborhood-wide strategy rather than an immediate rescue treatment.
Step-by-Step: Executing a Chemical Grub Kill
When using a curative product like Trichlorfon (Dylox) to stop an active fall infestation, precision is critical. Trichlorfon degrades rapidly in water and highly alkaline soils.
- Test Your Soil pH: If your soil pH is above 7.2, Trichlorfon will degrade before it reaches the root zone. If your pH is high, you must use a different curative or apply a soil acidifier weeks in advance.
- Mow and Dethatch: Grub killers must reach the soil. If your thatch layer exceeds 0.5 inches, the chemical will bind to the thatch and never reach the grubs. Core aerate or use a dethatching rake before application.
- Apply the Product: Use a rotary spreader for granular Trichlorfon. Ensure even overlap to prevent striping and missed zones.
- Water In Immediately: This is the most critical step. You must apply at least 0.5 inches of irrigation immediately after spreading. This washes the active ingredient off the grass blades and into the top 2 inches of soil where the grubs are feeding. Use a tuna can placed on the lawn to measure when 0.5 inches of water has accumulated.
Warning: Secondary Pest Damage
If your lawn looks like it has been rototilled, the grubs are not the only problem. Skunks, raccoons, and crows will tear up healthy turf to access the protein-rich grubs beneath. A fast-acting curative grub kill (like Dylox or Hb nematodes) will eliminate the food source, causing these secondary foragers to abandon your yard within 3 to 5 days.
If your lawn looks like it has been rototilled, the grubs are not the only problem. Skunks, raccoons, and crows will tear up healthy turf to access the protein-rich grubs beneath. A fast-acting curative grub kill (like Dylox or Hb nematodes) will eliminate the food source, causing these secondary foragers to abandon your yard within 3 to 5 days.
Troubleshooting: Why Your Grub Killing Failed
Even experienced landscapers occasionally face treatment failures. If you applied a grub killer and still see dead patches or active larvae, review these common edge cases.
Symptom vs. Cause vs. Fix
- Symptom: Grass is brown, but roots are intact and no grubs are found.
Cause: Misdiagnosis. The damage is likely from chinch bugs, sod webworms, or a fungal disease like brown patch, not grubs.
Fix: Perform a soap flush test (mix 2 tbsp of dish soap in a gallon of water and pour over a 1-square-yard area) to identify surface-feeding insects. - Symptom: Grubs are still alive 5 days after applying a curative.
Cause: Insufficient watering or excessive thatch blocked the chemical.
Fix: Apply a second, lighter application of a liquid curative (like bifenthrin) and aggressively aerate the soil to ensure penetration. - Symptom: Preventative applied in June, but grubs appeared in September.
Cause: The product was applied too early and degraded, or the region experienced an unusually late, drought-delayed egg hatch.
Fix: Switch to a late-season curative treatment immediately to salvage the root system before winter dormancy.
Pro-Tip: Soil Temperature Monitoring
Do not rely on the calendar alone. Purchase a basic soil probe thermometer. Preventative grub killers should be applied when soil temperatures at a 2-inch depth consistently reach 60°F to 65°F in late spring. Curative treatments are most effective when soil temperatures drop back below 70°F in late summer, forcing grubs closer to the surface to feed before winter.
Do not rely on the calendar alone. Purchase a basic soil probe thermometer. Preventative grub killers should be applied when soil temperatures at a 2-inch depth consistently reach 60°F to 65°F in late spring. Curative treatments are most effective when soil temperatures drop back below 70°F in late summer, forcing grubs closer to the surface to feed before winter.
Post-Treatment Lawn Recovery
Killing the grubs is only half the battle. Severed roots require immediate intervention to prevent total turf loss. After confirming the grubs are dead (they will turn milky white or brown and become lethargic), overseed the damaged areas with a turf-type tall fescue or Kentucky bluegrass blend. Apply a starter fertilizer high in phosphorus (e.g., 10-18-10) to stimulate rapid root regeneration. Keep the repaired areas consistently moist for the first 14 days to ensure seed germination and root establishment before the next frost or heat wave.

