
Pest Control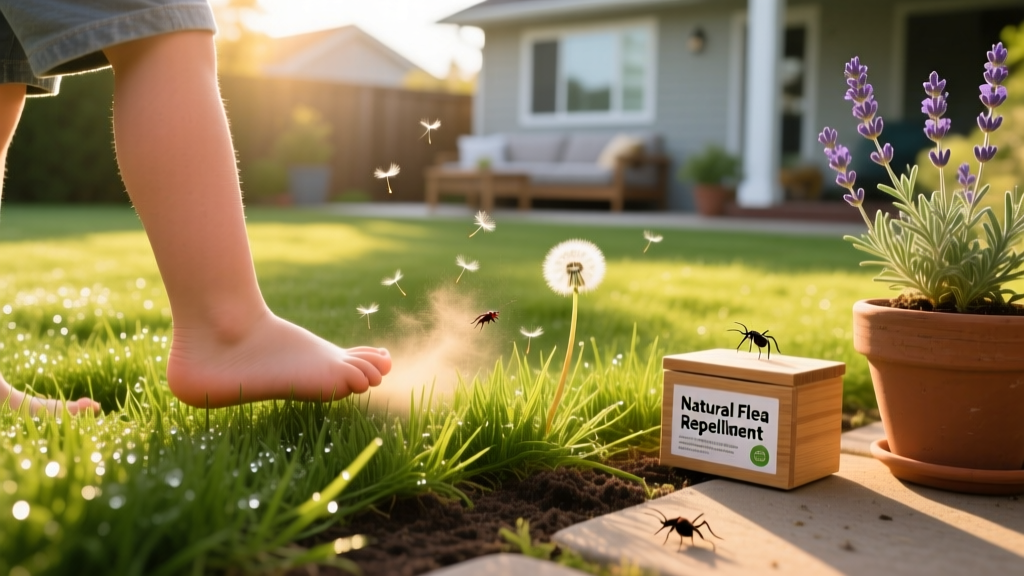
How to Get Rid of Fleas in House Fast Naturally: A Chemical-Free Guide
The Biology of an Infestation: Why Quick Fixes Fail
When you spot an adult flea on your pet or carpet, you are looking at only 5% of the total infestation. The remaining 95% consists of eggs (50%), larvae (35%), and pupae (10%) hidden deep within carpet fibers, upholstery, and floorboard cracks. According to the Centers for Disease Control and Prevention (CDC), the cat flea (Ctenocephalides felis) is the most common species infesting homes, and its pupal stage can remain dormant in a protective cocoon for up to five months, waiting for vibrations and carbon dioxide to trigger emergence.
To successfully execute a natural eradication protocol, you must attack all four life stages simultaneously without relying on synthetic insect growth regulators (IGRs) or neurotoxic foggers. The following 72-hour chemical-free protocol leverages mechanical desiccation, thermal shock, and botanical repellents to collapse the population.
The 72-Hour Natural Flea Eradication Protocol
This intensive three-day process requires strict adherence to timing. Flea eggs hatch in 2 to 12 days depending on humidity; our goal is to desiccate the environment before the next generation matures.
Day 1: Mechanical Desiccation and Thermal Shock
- Deploy Food-Grade Diatomaceous Earth (DE): Purchase OMRI-listed food-grade DE (costs approximately $15 for a 4lb bag). Using a bulb duster, apply a barely visible layer (no more than 1/16th of an inch thick) to all carpets, rugs, and pet bedding. Note: Thicker layers allow fleas to walk around the powder. DE works mechanically by absorbing the waxy outer cuticle of the flea's exoskeleton, causing fatal dehydration within 4 to 12 hours.
- Isolate and Heat-Treat Fabrics: Strip all bedding, throw blankets, and slipcovers. Wash them in water heated to a minimum of 140°F (60°C). The thermal threshold to instantly kill flea eggs and larvae is 130°F. Transfer immediately to a dryer set to high heat for at least 45 minutes.
- Seal the Perimeter: Sprinkle a heavy line of DE along baseboards, under radiators, and in the gaps of hardwood floors where larvae migrate to avoid light.
⚠️ Respiratory Safety Warning: While food-grade DE is non-toxic if ingested, inhaling fine silica dust can cause respiratory irritation or long-term lung damage. Always wear an N95 respirator mask during application and keep pets out of the room until the dust settles (approximately 30 minutes).
Day 2: The Deep Extraction
After 24 hours, the DE will have dehydrated the adult fleas and larvae. Now, you must remove the physical debris and stimulate the pupae to emerge.
- Vacuuming Mechanics: Use a vacuum with a motorized beater-bar (such as the Shark Stratos or Dyson Gen5detect). The rotating bristles physically damage the pupal cocoons and generate the heat and vibration that trick dormant pupae into hatching. Once they hatch, they are exposed to the residual DE.
- The Slow-Pass Technique: Move the vacuum head at a rate of 1 foot per second. Overlap each stroke by 50%. Pay special attention to the "hot zones": the areas where pets sleep, under sofas, and the corners of stair treads.
- Immediate Disposal: Fleas can survive inside a vacuum canister and crawl back out. If using a bagless vacuum, empty the canister directly into an outdoor trash bin. If using a bagged vacuum, freeze the bag in a sealed plastic sack for 24 hours before disposal.
Day 3: Botanical Repellent Application
With the active population decimated, apply a natural repellent to prevent re-infestation from outdoor sources.
Formulating a Safe Cedarwood Oil Emulsion
Essential oils are highly effective natural insecticides, but they must be properly emulsified to mix with water and safely applied. Cedarwood oil (Juniperus virginiana) contains cedrol and thujopsene, which disrupt the octopamine receptors in insects, causing fatal neurological failure in fleas but remaining safe for mammals.
DIY Cedarwood Spray Recipe:
- 2 oz distilled water
- 2 oz witch hazel (acts as a carrier and mild astringent)
- 1/2 tsp Polysorbate 20 (crucial emulsifier to prevent oil separation)
- 20 drops Texas Cedarwood essential oil
- 10 drops Rosemary essential oil
Shake vigorously before every use. Mist lightly over carpets and upholstery. Do not soak the fibers; a fine mist is sufficient to create a repellent barrier.
🚫 CRITICAL CAT TOXICITY WARNING: Cats lack the liver enzyme glucuronyl transferase, making them unable to metabolize certain terpenes and phenols found in essential oils (especially citrus, tea tree, and peppermint). While cedarwood is generally considered safer, never apply essential oil sprays directly to a cat, and ensure the room is well-ventilated and dry before allowing felines back inside. Always consult your veterinarian before using botanical treatments in multi-pet homes.
Engineering a DIY Flea Light Trap
To monitor the success of your eradication and catch newly hatched stragglers, deploy light traps. Fleas exhibit positive phototaxis, meaning they are naturally drawn to light sources, specifically in the warm, green-yellow spectrum.
How to Build and Calibrate Your Trap
- The Light Source: Use a desk lamp fitted with a 7-watt to 9-watt LED bulb in a "warm white" (2700K - 3000K) color temperature. Avoid cool white or daylight bulbs, as fleas are less attracted to blue-heavy spectrums.
- The Catch Basin: Place a shallow, wide ceramic dish (like a pie plate) directly under the lamp. The rim should be no higher than 1/2 inch to allow easy access for jumping fleas.
- The Surface Tension Breaker: Fill the dish with 1/2 inch of warm water and add exactly 3 drops of liquid dish soap (Dawn Ultra works best due to its high surfactant concentration). Why this matters: Fleas are incredibly light and can bounce off the surface tension of plain water. The soap breaks the surface tension, causing the flea to sink and drown instantly upon contact.
- Deployment: Place traps in dark rooms at night. Run them for 8 hours while you sleep. Empty and refresh the soapy water daily.
Heat and Fabric Treatment Matrix
Different household textiles require specific thermal treatments to ensure flea eggs are destroyed without damaging the material. Use the Environmental Protection Agency (EPA) guidelines for safe pest management as a baseline for integrating non-chemical controls.
| Textile Type | Wash Temperature | Dryer Setting & Time | Alternative Non-Wash Method |
|---|---|---|---|
| Cotton Bedding & Towels | 140°F (60°C) Hot | High Heat, 45 mins | N/A |
| Wool Rugs & Blankets | Cold (Do not wash) | N/A | Freeze in sealed bag at 0°F for 72 hours |
| Synthetic Upholstery | N/A | N/A | Steam clean at 200°F+ (slow passes) |
| Pet Plush Toys | 130°F (54°C) Warm | Medium Heat, 30 mins | Discard if heavily infested |
Breaking the Pupae Barrier: The Hardest Stage to Kill
The pupal stage is the ultimate survival mechanism of the flea. The cocoon is coated in environmental debris and features a sticky exterior that repels liquids, making it entirely immune to DE, soapy water, and botanical sprays. The only way to eliminate pupae naturally is to force them to hatch.
Pupae detect emergence cues through two primary signals: vibration and increased carbon dioxide. This is why the slow-pass vacuuming technique on Day 2 is non-negotiable. The mechanical vibration of the beater-bar mimics the footsteps of a host, while the heat from the vacuum motor simulates body warmth. By forcing the pupae to hatch into an environment treated with DE and cedarwood oil, you ensure they die before they can reproduce.
Perimeter Defense: Stopping the Outdoor Source
Indoor treatments will fail if your yard remains a breeding ground. Fleas thrive in shaded, humid microclimates beneath decks, in leaf litter, and around dog houses. To create a natural outdoor barrier without harming local pollinators, apply Steinernema carpocapsae (beneficial nematodes) to your lawn and garden beds.
These microscopic, soil-dwelling worms actively seek out and infect flea larvae in the soil, releasing bacteria that kill the host within 48 hours. Purchase a concentrated spray hose-end bottle (typically $25-$35 for 10 million nematodes) and apply to shaded yard areas during the early morning or late evening when UV exposure is lowest and soil moisture is high. Keep the soil moist for the next 7 days to allow the nematodes to establish and hunt.
"Successful organic flea control is not about finding a single magic bullet; it is about executing a synchronized, multi-modal attack that targets the environment, the host, and the perimeter simultaneously." — Integrated Pest Management (IPM) Principles
By combining mechanical desiccation, thermal shock, botanical repellents, and biological outdoor controls, you can彻底 eradicate a flea infestation naturally, ensuring a safe, chemical-free environment for your family and pets.

