
Pest Control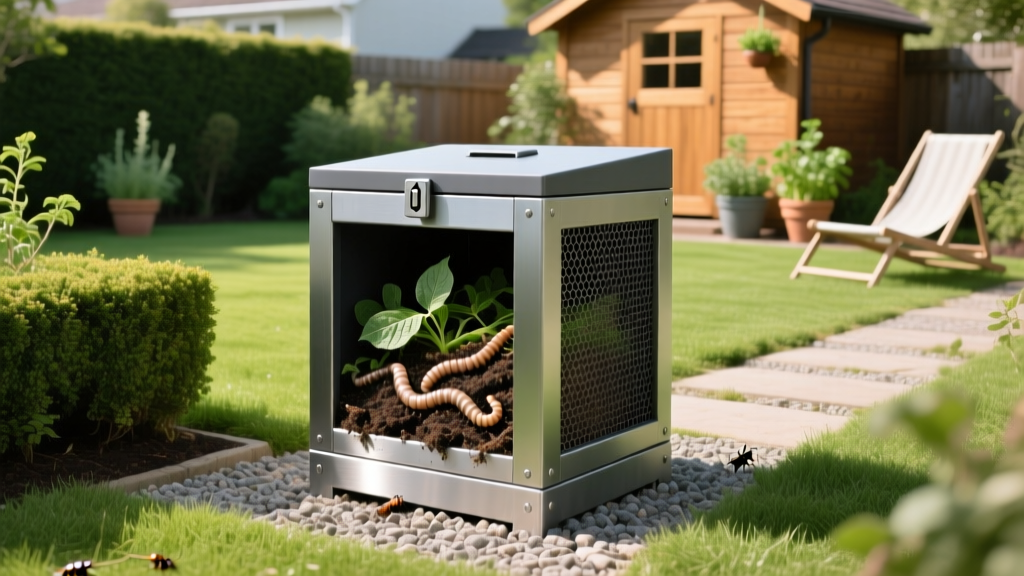
Gardening With Worms: Pest-Proofing Bins Against Rodents & Insects
Integrating vermicomposting into your yard care routine yields unparalleled organic fertilizer, but the decaying organic matter required to sustain Eisenia fetida (red wigglers) acts as a powerful beacon for urban and suburban wildlife. When gardening with worms, the primary pest control challenge shifts from protecting the plants to protecting the compost. Rats, mice, raccoons, fruit flies, and predatory ants will actively exploit poorly secured worm bins, turning a sustainable soil-building project into a neighborhood nuisance.
The Pest Vulnerability of Vermicompost Systems
Unlike traditional hot compost piles that reach 130°F–160°F and deter many pests through heat and rapid decomposition, vermicomposting is a cold process. Bins operate at ambient temperatures (ideally 55°F–77°F), which perfectly overlaps with the comfort zones of most rodents and insects. Furthermore, the high-moisture environment required for worm respiration creates the exact breeding conditions for fungus gnats and fruit flies.
⚠️ Critical Pest Vector Warning: Unsecured worm bins are a leading cause of localized rat infestations in urban gardens. According to municipal vector control reports, compost bins containing unburied food scraps account for nearly 20% of residential rodent complaints during the fall and winter months when natural forage declines.
Rodent Exclusion: Fortifying Your Worm Bin
Rodents possess incisors that can easily chew through standard plastic totes, untreated wood, and thin wire mesh. Effective exclusion requires physical barriers that exceed their biting and burrowing capabilities.
Hardware Cloth Specifications
Do not use chicken wire (poultry netting). Mice can compress their skulls to fit through the 1-inch hexagonal gaps, and rats can easily bite through the thin gauge. Instead, line the bottom, sides, and drainage holes of your bin with 1/4-inch (0.6 cm) 19-gauge galvanized hardware cloth. This specific mesh size prevents even the smallest mice from entering, while the 19-gauge thickness resists gnawing. Secure the mesh using heavy-duty galvanized staples or stainless steel screws with washers every 4 inches.
Elevation and Baffle Cones
If your bin rests directly on the soil, rats will burrow underneath and chew through the floor. Elevate the bin at least 18 inches off the ground using sturdy cinder blocks or steel legs. For added defense, install inverted metal baffle cones (at least 12 inches in diameter) on the support legs. Rodents cannot climb past the downward-facing overhang, rendering the bin physically inaccessible from the ground.
Dietary Restrictions for Pest Deterrence
The contents of your bin dictate its attractiveness to mammals. Never add meat, dairy, bones, or oily foods to a worm bin. These items putrefy rather than decompose, releasing volatile organic compounds (VOCs) that rodents can detect from over a mile away. Stick to fruit and vegetable scraps, coffee grounds, and shredded corrugated cardboard.
Insect Control: Managing Flies, Ants, and Mites
Insect invasions in worm bins are usually symptoms of mismanagement rather than external attacks. By controlling the microclimate, you can eliminate the vectors that attract them.
Fruit Fly Eradication Protocol
Fruit flies (Drosophila melanogaster) lay eggs on the skins of fermenting fruit. If you add raw scraps directly to the bin, you are introducing eggs that will hatch into a swarm within 8 days. To break this cycle, place all incoming food scraps in a sealed container and freeze them at 0°F for a minimum of 48 hours before feeding them to your worms. Freezing destroys all eggs and larvae. When adding the thawed scraps to the bin, bury them at least 2 to 3 inches deep beneath the bedding layer to mask the odor and physically block emerging flies.
Ant Deterrence via Moat Systems
Ants invade worm bins seeking moisture and carbohydrates. If your bin is elevated on legs, place the legs inside shallow cans filled with water and a few drops of dish soap (to break the surface tension). This creates a moat that ants cannot cross. For ground-level bins, apply a 2-inch band of food-grade diatomaceous earth (DE) around the perimeter. Reapply the DE after every rainfall, as it loses its desiccating properties when wet.
Bin Material and Design Vulnerability Matrix
Not all worm bins offer the same baseline defense against yard pests. Use this matrix to evaluate your current setup or choose a new one.
| Bin Type | Rodent Vulnerability | Insect Vulnerability | Required Pest-Proofing Upgrades | Estimated 2026 Cost |
|---|---|---|---|---|
| DIY Plastic Tote (18-gal) | High (Plastic is easily chewed) | Moderate (Lids often warp and gap) | Line interior with 1/4" hardware cloth; add bungee cord to lid. | $35 - $55 |
| Cedar Tiered Tray | Moderate (Wood resists chewing but gaps form) | Low (Tight-fitting trays block light/flies) | Staple hardware cloth to the bottom tray floor; seal corner joints. | $120 - $180 |
| Sealed Tumbler Bin | Very Low (Thick plastic, elevated, no ground access) | Very Low (Fully enclosed, latched hatches) | None typically required; ensure drainage holes have mesh screens. | $160 - $300 |
Lawn Earthworms as Natural Pest Defense
While vermicomposting manages pests around the bin, encouraging native earthworms (Lumbricus terrestris) in your actual lawn provides a biological defense against surface-dwelling turf pests. Earthworms are aggressive thatch-decomposers. They pull surface organic matter down into their burrows, digesting it and excreting nutrient-rich castings.
Thatch layers thicker than 0.5 inches create an ideal, moisture-retaining habitat for destructive insects like chinch bugs, sod webworms, and fungus gnats. A robust earthworm population naturally aerates the soil and consumes the thatch, effectively destroying the breeding ground for these turf pests. To support native lawn worms without attracting surface pests, avoid broad-spectrum insecticides (like carbaryl) which are highly toxic to earthworms, and top-dress your lawn with a thin (1/8 inch) layer of finished vermicompost in the spring to inoculate the soil with beneficial microbes.
Troubleshooting Guide: Symptom to Solution
Use this diagnostic framework to identify and neutralize active pest incursions in your worm farm.
- Symptom: Tiny white worms multiplying rapidly in the bin.
Cause: Pot worms (Enchytraeidae) thriving in highly acidic, overfed conditions.
Fix: Stop feeding for 14 days. Mix in 2 cups of pulverized oyster shell or agricultural lime to raise the pH above 6.5. Pot worms are harmless but compete with red wigglers for food. - Symptom: Foul, anaerobic odor and presence of soldier fly larvae.
Cause: Overfeeding and waterlogging; food is rotting before worms can process it.
Fix: Remove all unprocessed food. Add 3 inches of dry, shredded corrugated cardboard to absorb excess moisture. Soldier fly larvae are beneficial decomposers but indicate a failing worm population. - Symptom: Chewed plastic edges or burrowed soil beneath the bin.
Cause: Rats or mice attempting to access the food source.
Fix: Immediately halt food additions. Wrap the entire exterior base and lid seams in 19-gauge hardware cloth. Relocate the bin to an elevated, open area away from fence lines or dense shrubbery that provides rodent cover.
Successful pest management in vermicomposting relies on physical exclusion and strict dietary discipline. By implementing 1/4-inch hardware cloth barriers, freezing scraps to eliminate fruit fly vectors, and maintaining proper moisture levels, you can harness the soil-building power of worms without compromising your yard's broader pest defense strategy. For foundational guidelines on maintaining healthy composting ecosystems, refer to the Cornell Waste Management Institute's vermicomposting protocols and the EPA's official composting basics documentation.

