
Pest Control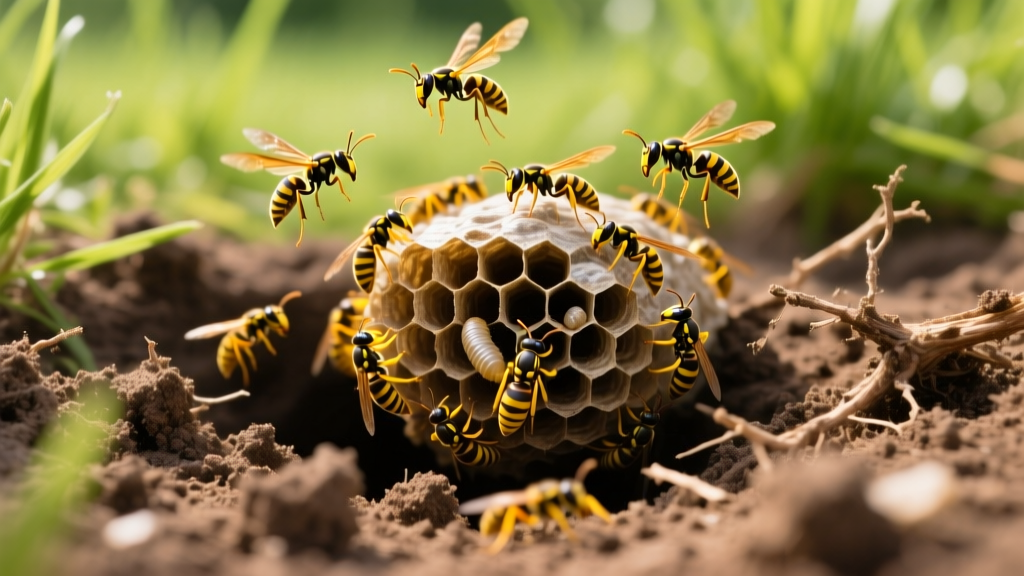
Yellow Jacket Hive in Ground: Diagnosis and Safe Rescue Fixes
A sudden depression in your turf surrounded by a fan-shaped mound of loose soil and aggressive, low-flying insects is the hallmark of a subterranean Vespula colony. Finding a yellow jacket hive in ground is a high-stakes landscaping issue. Unlike benign ground-nesting bees, yellow jackets are fiercely territorial scavengers capable of delivering multiple, venomous stings. Mowing over or accidentally stepping on an active ground nest can trigger a mass swarm response, posing severe anaphylactic risks to humans and pets.
Symptom Diagnosis: Confirming the Ground Intruder
Before deploying any treatment, you must confirm the hole actually houses yellow jackets. Homeowners frequently mistake solitary ground-nesting bees (like Andrena species) or cicada killers for yellow jackets, leading to the unnecessary eradication of beneficial pollinators. According to the University of Minnesota Extension, correct identification hinges on observing flight patterns, mound architecture, and aggression levels from a safe distance.Diagnostic Comparison Matrix
| Trait | Yellow Jackets (Vespula spp.) | Ground-Nesting Bees (Andrena) | Cicada Killers (Sphecius speciosus) |
|---|---|---|---|
| Entrance Mound | Fan-shaped, loose dirt, no central chimney | Small, neat piles of granular soil with a distinct central hole | Large mound of loose soil, often near pavement edges |
| Flight Pattern | Rapid, erratic, hovering directly over the hole | Low, steady cruising just above turf canopy | Heavy, loud, buzzing flight; dives directly into burrow |
| Aggression Level | Extreme; will swarm and pursue threats for 50+ feet | Docile; females rarely sting, males lack stingers | Low; females only sting if physically restrained |
| Traffic Volume | High; dozens of workers entering/exiting per minute | Low; usually one female per burrow | Low; solitary hunters returning with prey |
If you observe a high-traffic hole with a chaotic, hovering flight pattern and immediate defensive posturing when you approach within 10 feet, you are dealing with a yellow jacket hive in ground.
Why Liquid Sprays Fail in Soil
A critical mistake homeowners make is flooding the nest entrance with liquid aerosol sprays (such as standard Ortho BugClear or Raid Wasp & Hornet). Soil percolation rates dictate that liquids absorb into the thatch and topsoil layers, failing to reach the primary nest cavity, which can sit 8 to 14 inches below the surface. More dangerously, the sudden influx of moisture triggers an evacuation response. The colony will rapidly dig secondary exit holes in a wider radius, resulting in a surface-level swarm. The Penn State Extension explicitly recommends insecticidal dusts for subterranean nests because dust particles adhere to the setae (hairs) on the yellow jacket's exoskeleton. The workers carry the toxic dust deep into the cavity, spreading it throughout the colony via physical contact and trophallaxis (food sharing).The Nighttime Rescue Fix Protocol
Eradication must occur when the colony's thermoregulation limits flight activity. The optimal treatment window is between 8:00 PM and 11:00 PM, when ambient temperatures drop below 65°F and all foraging workers have returned to the nest.
⚠️ SAFETY WARNING: The CDC guidelines on outdoor stinging insects emphasize that individuals with known Hymenoptera venom allergies must never attempt DIY nest removal. If you carry an EpiPen, hire a licensed pest control professional. For all others, wear thick canvas clothing, tuck pant legs into socks, and use leather gloves.
Required Equipment and Materials
- Insecticidal Dust: Delta Dust (0.06% Deltamethrin, approx. $28 per 1lb bottle) or Drione Dust (Silica Gel + Pyrethrins, approx. $45 per 1lb bottle). Delta Dust is highly recommended for its moisture resistance in damp soil.
- Application Tool: JT Eaton Hand Bellow Duster ($15). Do not use a makeshift shaker; you need targeted, pressurized puffs.
- Lighting: Headlamp equipped with a red light filter. Yellow jackets have poor visual acuity in the red light spectrum, preventing them from targeting your light source.
- Marking Flag: A wire landscape flag to mark the hole during the day for easy nighttime location.
Step-by-Step Execution
- Daytime Prep: Locate the active hole from a safe distance (15+ feet). Gently toss a wire landscape flag near the entrance to mark it. Do not step on or disturb the mound.
- Nighttime Approach: After dusk, approach the marked hole slowly with your red-filtered headlamp. Keep the beam pointed at the ground, not sweeping across the sky.
- Dust Injection: Insert the metal tube of the bellow duster directly into the hole. Squeeze the bellows 3 to 4 times to inject a thick cloud of dust deep into the tunnel. Coat the immediate lip of the entrance lightly.
- Immediate Retreat: Back away slowly without turning your back on the hole. Do not stomp the ground, as vibrations will trigger guard wasps.
- The 48-Hour Wait: Leave the hole completely open. Do not plug it with dirt or a rock. Plugging the hole traps the contaminated workers outside and forces the queen to dig a new exit. Allow 48 hours for the dust to circulate and collapse the colony.
Lawn Rescue: Filling the Subterranean Void
Once you have confirmed zero wasp activity for 72 hours, you must address the structural damage to your lawn. A mature yellow jacket hive in ground excavates a cavity roughly the size of a basketball, leaving a fragile crust of topsoil that will inevitably collapse under the weight of a lawnmower or foot traffic, creating a hazardous divot.The Structural Fill Recipe
Do not simply fill the void with pure topsoil; it will compact and settle over time, leaving a permanent depression. Use a 70/30 mix of screened loam and masonry sand. The sand provides structural drainage and prevents future settling, while the loam retains moisture for turf roots.- Debris Clearance: Use a hand trowel to break the fragile crust over the nest cavity and remove any dead insects or papery comb fragments.
- Void Filling: Shovel the 70/30 soil-sand mix into the cavity. Tamp it down firmly with the end of a 4x4 post every 3 inches of depth to eliminate air pockets.
- Surface Grading: Mound the final half-inch of fill slightly above the surrounding grade to account for initial watering settlement.
- Overseeding: Apply a patching product like Scotts EZ Seed Patch & Repair (approx. $22 for 3.15 lbs). Water heavily twice daily for 14 days until the new grass blades reach 2 inches in height.
Decision Framework: DIY vs. Professional Extermination
Not every ground nest is a candidate for DIY rescue fixes. Use this framework to determine if you should hire a licensed exterminator (average cost: $150–$350 per visit) versus executing the $43 DIY dust protocol.| Scenario Variable | Execute DIY Dust Protocol | Hire Professional Exterminator |
|---|---|---|
| Nest Location | Open lawn, 20+ feet from doors, patios, and play areas | Underneath concrete slabs, near HVAC units, or inside retaining walls |
| Colony Size | Small to medium (fewer than 20 workers visible per minute) | Massive (continuous stream of traffic, multiple entrance holes) |
| Household Risk | No known allergies, no small children or outdoor pets | Known venom allergies in the home, high-traffic play zones |
| Time of Year | Early to mid-summer (colony still growing) | Late summer/fall (colonies peak at 4,000+ members and are hyper-aggressive) |
By accurately diagnosing the intruder, utilizing moisture-resistant insecticidal dusts, and properly backfilling the subterranean void, you can safely eliminate a yellow jacket hive in ground and restore your turf to a pristine, hazard-free state.

