
Pest Control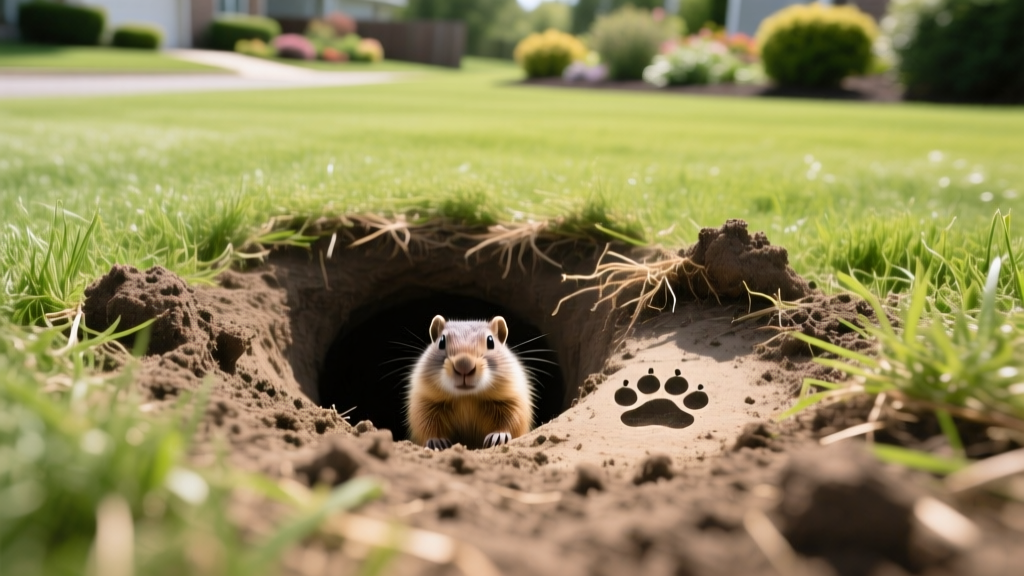
Groundhog Holes in Yard: How to Identify, Fill, and Deter
The Anatomy of Groundhog Holes in Yard Spaces
Groundhogs (Marmota monax), commonly known as woodchucks, are prolific excavators. A single adult groundhog can move over 700 pounds of soil to construct a single burrow system. When you discover groundhog holes in yard areas, you are rarely looking at a simple shallow divot; you are looking at the entrance to a complex, multi-chambered subterranean network that can extend 2 to 4 feet deep and span up to 60 feet in length.
Proper identification of the entrance type is critical before attempting any repair or deterrence strategy. Groundhogs utilize three distinct types of entrances:
- Primary Entrances: These are the main thoroughfares, typically 10 to 12 inches in diameter. They are easily identified by a large, crescent-shaped mound of excavated dirt (the 'porch') directly outside the opening.
- Secondary Entrances: Used for quick escapes and ventilation, these holes are slightly smaller (8 to 10 inches) and are deliberately kept clear of dirt mounds to remain hidden from predators.
- Plunge Holes: Vertical shafts dug straight down, often ending in a blind chamber. These are usually 6 to 8 inches wide and lack surface mounds.
⚠️ CRITICAL WARNING: Verify Vacancy Before Filling
Never blindly fill a groundhog burrow. Trapping a groundhog (or non-target wildlife like skunks or rabbits) inside a sealed tunnel creates severe animal welfare issues and will result in the animal frantically digging a new exit, causing double the lawn damage. Always perform a 'paper wad test' or 'sand tracking test' for 48 hours to confirm the burrow is abandoned before proceeding with structural repairs.
Risk Assessment: The Hidden Costs of Unfilled Burrows
Leaving groundhog holes in yard environments unresolved is a significant liability. Beyond the aesthetic degradation of your turf, these voids pose mechanical and structural threats to your property. According to wildlife management data from Cornell University's NYSIPM, woodchuck burrows frequently undermine patios, retaining walls, and shallow foundations.
| Risk Category | Mechanism of Damage | Estimated Repair Cost (2026) |
|---|---|---|
| Mower & Equipment Damage | Mower wheels drop into hidden secondary holes, snapping spindles or bending decks. | $250 - $600 |
| Structural Undermining | Burrows beneath concrete slabs or retaining walls cause soil subsidence and cracking. | $800 - $3,500+ |
| Equine/Livestock Injury | Horses or livestock step into voids, resulting in broken legs or severe tendon tears. | $2,000 - $10,000+ |
| Secondary Pest Infestation | Abandoned burrows are colonized by skunks, rattlesnakes, or yellowjackets. | $150 - $400 (Extermination) |
Step-by-Step Framework: Safely Filling Groundhog Holes
The most common mistake homeowners make is shoveling loose topsoil into a groundhog hole. Groundhogs prefer loose, well-drained soil; filling a hole with premium topsoil essentially provides them with a pre-dug, easy-to-excavate starter kit. To permanently fill groundhog holes in yard areas, you must alter the soil mechanics.
Phase 1: Eviction and Verification
- The Sand Tracking Test: Clear the dirt mound away from the primary entrance. Sprinkle a 2-foot layer of fine play sand over the opening. Check for footprints at dawn and dusk for three consecutive days. If the sand remains undisturbed, the burrow is likely vacant.
- Excavate the Collar: Use a spade to remove the top 6 inches of soil in a 12-inch radius around the hole. This removes the loose, aerated 'collar' dirt the groundhog originally excavated.
Phase 2: The Heavy Fill Technique
To deter re-digging, the fill material must be dense, heavy, and poorly drained. The ideal mixture is 70% heavy clay soil and 30% crushed limestone or 3/4-inch minus gravel. This mixture compacts into a concrete-like density that groundhogs cannot easily penetrate with their claws.
- Source the Material: Contact a local landscape supply yard and request 'heavy clay fill' or 'road base'. Expect to pay between $40 and $65 per cubic yard in 2026. For a standard burrow system (approx. 15 cubic feet of void space), you will need roughly 0.6 cubic yards, costing around $35 to $50.
- Tamp in Lifts: Shovel the clay-gravel mix into the hole in 4-inch layers (lifts). Use a manual hand tamper or a 4x4 wooden post to aggressively compact each layer. Do not pour water into the hole, as this can create mud boils and weaken the surrounding soil structure.
- Cap and Grade: Once the heavy fill is within 3 inches of the surface grade, cap the hole with native topsoil. Mound the soil slightly above the surrounding grade to account for natural settling over the next 60 days.
- Reseed: Apply a high-traffic turfgrass seed blend (such as Kentucky Bluegrass mixed with Perennial Ryegrass) and cover with a thin layer of peat moss to retain moisture.
Long-Term Deterrence: Exclusion and Habitat Modification
Filling existing groundhog holes in yard spaces is only a reactive measure. If your property borders a woodlot, field, or creek bed, new groundhogs will inevitably attempt to colonize the area. Permanent deterrence requires physical exclusion and habitat modification.
Deterrence Method Comparison
| Method | Effectiveness | Cost & Effort | Best Use Case |
|---|---|---|---|
| L-Footer Fencing | Very High (95%+) | High ($2-$4/linear ft) | Protecting gardens, sheds, and specific lawn zones. |
| Chemical Repellents | Low to Moderate | Low ($20-$40/bottle) | Temporary protection for ornamental plants. |
| Habitat Modification | High (Long-term) | Variable (Labor intensive) | Making the entire property unattractive to foraging. |
Installing an L-Footer Exclusion Fence
According to guidelines published by Penn State Extension, the most reliable method for excluding woodchucks is the L-footer fence. Groundhogs are poor climbers and typically dig directly downward when they encounter a barrier. An L-footer exploits this behavioral flaw.
- Material: Use 19-gauge, 1-inch hexagonal galvanized woven wire (often labeled as heavy-duty poultry netting). Do not use standard 2-inch chicken wire, as juvenile groundhogs can squeeze through.
- Above Ground: Install wooden posts and attach the wire so it stands at least 3 feet above ground level. Add a 1-foot unattached section at the top that flops outward to deter any attempted climbing.
- The 'L' Trench: Dig a trench 12 inches deep and 12 inches wide along the outside perimeter of the fence. Bury the bottom 12 inches of the wire into the trench, but bend it outward at a 90-degree angle so it lies flat at the bottom of the trench, pointing away from the protected area. Backfill the trench. When a groundhog digs at the fence line, they will hit the buried horizontal wire and stop.
Habitat Modification Tactics
Groundhogs require dense cover to feel safe from aerial predators like hawks and coyotes. Remove brush piles, tall weedy borders, and overgrown shrubbery within 50 feet of your primary lawn area. Keep grass mowed to a height of 2.5 inches or lower in perimeter zones to eliminate the cover they need to travel safely.
Frequently Asked Questions
Can I use expanding foam or concrete to fill groundhog holes?
No. Expanding polyurethane foam is an environmental hazard when injected into raw soil and will not stop a determined groundhog from digging around it. Pouring wet concrete is equally ineffective; it will follow the path of least resistance, potentially flooding secondary tunnels and creating a jagged, hazardous subterranean concrete mass that will ruin your soil profile and damage future landscaping equipment.
Do sonic repellent spikes work for groundhogs?
Independent testing consistently shows that ultrasonic or sonic repellent spikes are highly ineffective against groundhogs. Woodchucks quickly habituate to the noise, and the acoustic waves do not penetrate dense clay soil effectively. Relying on sonic spikes will result in continued lawn damage.
What time of year is best for filling groundhog holes?
The optimal window is late fall (November) or early spring (March), before the breeding season and before young groundhogs disperse to dig new burrows. Avoid filling holes in May and June, as this is peak birthing season; filling a nursery burrow will almost certainly trap blind, immobile pups inside.
Expert Summary
Successfully managing groundhog holes in yard environments requires a two-pronged approach: structural repair using dense, clay-heavy fill materials, and physical exclusion via L-footer fencing. Avoid the temptation to use loose topsoil or chemical repellents, and always verify the burrow is vacant before initiating repairs to ensure humane and effective wildlife management.

