
Pest Control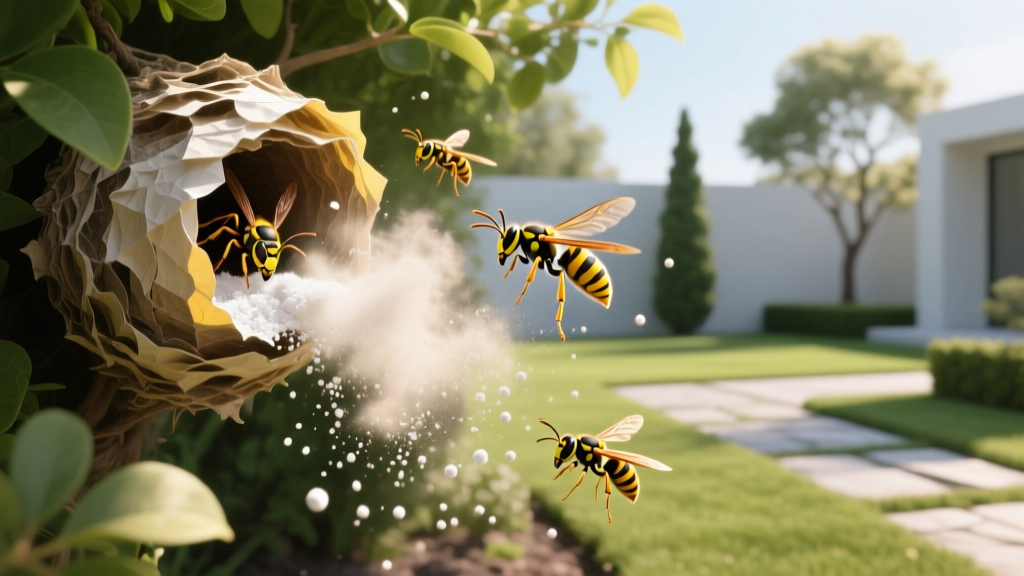
Insecticidal Dust for Yellow Jackets: Diagnosis & Rescue Fixes
Symptom Check: Diagnosing a Subterranean Yellow Jacket Nest
Before deploying any chemical treatment, you must confirm the pest and locate the primary nest entrance. Ground-nesting yellow jackets (often Vespula maculifrons or Vespula pensylvanica) are frequently misidentified as cicada killers or ground bees. Misdiagnosis leads to ineffective treatments and unnecessary stings.
Key Diagnostic Indicators
- The Entrance Hole: Look for a clean, circular opening roughly 1/4 to 1/2 inch in diameter. Unlike cicada killer wasps, yellow jackets do not push large mounds of loose soil out of the entrance. The dirt around the hole is usually bare and heavily compacted from foot traffic.
- Flight Patterns: According to the University of Minnesota Extension, late-summer colonies can house up to 5,000 workers. You will see a steady, continuous stream of wasps entering and exiting the hole, often flying low to the ground before dropping directly into the void.
- Aggression Radius: If mowing the lawn or walking within 3 to 5 feet of the hole triggers a defensive swarm, you are dealing with a mature yellow jacket colony, not a solitary ground bee.
Rescue Trigger: If you have already attempted liquid aerosol sprays and the wasps are still active 24 hours later, the spray likely only killed the outer guard wasps. The queen and deep-nest workers remain untouched. This is the exact scenario requiring a dust-based rescue protocol.
Why Liquid Sprays Fail (And Dust Succeeds)
Liquid wasp sprays rely on direct contact and immediate knockdown. When injected into a ground void, liquids soak into the surrounding soil, failing to reach the deeper paper combs where the queen resides. Furthermore, the sudden die-off of guard wasps alerts the colony to seal off deeper tunnels, trapping the poison outside the main chamber.
An insecticidal dust for yellow jackets operates on an entirely different mechanical principle. Dust particles carry a slight electrostatic charge, causing them to cling to the hairs on a wasp's exoskeleton. When foraging workers return to the nest, they physically track the dust deep into the colony. Through physical contact and trophallaxis (food sharing), the active ingredient is distributed to the queen and the brood, resulting in total colony collapse within 24 to 48 hours.
Product Matrix: Choosing the Right Dust Formulation
Not all dusts are created equal. The wrong formulation will cake up in damp soil or fail to transfer properly. Below is a comparison of the three most effective professional-grade dusts available to homeowners.
| Product Name | Active Ingredient | Moisture Resistance | Avg. Price (1 lb) | Best Use Case |
|---|---|---|---|---|
| Delta Dust | Deltamethrin (0.05%) | 100% Waterproof | $22 - $28 | Damp soil, irrigation zones, wall voids |
| Drione Dust | Pyrethrins + PBO + Silica Gel | Low (Fails in wet soil) | $28 - $35 | Dry wall voids, attic eaves, dry soil |
| Tempo Dust | Cyfluthrin (11%) | Moderate | $20 - $25 | Standard dry ground nests, perimeter cracks |
Expert Recommendation: For subterranean ground nests, Delta Dust is the undisputed champion. Ground voids naturally accumulate condensation and moisture. Because Delta Dust is completely waterproof, it will not clump or lose its efficacy when exposed to damp soil, ensuring the wasps continue to track it into the nest.
Step-by-Step Rescue Application Protocol
Executing a dust treatment requires precision, proper personal protective equipment (PPE), and strict adherence to timing. The Environmental Protection Agency (EPA) strongly advises using protective clothing and following all label directions when treating stinging insects to prevent severe allergic reactions.
Phase 1: Preparation and Timing
- Wait for Dusk or Dawn: Treat the nest only when temperatures drop below 65°F. At these temperatures, yellow jackets are sluggish, and nearly all foragers have returned to the nest for the night.
- Equip Proper PPE: Wear a thick canvas jacket, heavy leather gloves, long pants tucked into socks, and a veil or bee hat. Do not rely on standard rain gear, as stingers can pierce thin vinyl.
- Prepare the Duster: Use a bellows hand duster (such as the JT Eaton 365 or the Harris Red Tip). Critical Rule: Fill the duster only 1/3 full of dust. If you overfill it, the dust will pack tightly and blow out in a solid clump rather than a fine, airborne cloud.
Phase 2: The Application
- Use a Red Light: Yellow jackets cannot see the red spectrum of light well. Wrap your flashlight lens in red cellophane or use a red-filtered headlamp. Standard white LED flashlights will trigger an immediate defensive swarm.
- Approach from the Side: Do not stand directly over the hole or block the flight path. Approach from a 45-degree angle.
- Puff, Don't Squeeze: Insert the duster tip about 1 inch from the hole opening. Give 2 to 3 quick, sharp puffs. You want to create a small cloud of dust that gets sucked into the nest as the wasps breathe and move.
- Leave the Hole Open: Do NOT plug the hole with dirt or a rock. Plugging the hole traps the surviving wasps inside, forcing them to chew alternative exit routes—which often leads them directly up into your lawn or, worse, into your home's foundation.
Pro Tip: Apply a light dusting of the product in a 12-inch radius around the entrance hole. As wasps land and walk into the nest, they will pick up this secondary layer of dust, drastically increasing the transfer rate.
Troubleshooting: Wall Voids and Structural Nests
Ground nests are dangerous, but yellow jackets nesting inside structural wall voids or attic soffits present a severe property risk. The rescue protocol changes slightly for these scenarios.
The Drywall Chew-Through Hazard
If you discover yellow jackets entering through a weep hole, a torn screen, or a gap in your siding, they are likely nesting inside the wall insulation. If you apply a liquid spray or plug the exterior hole, the colony will panic. Trapped yellow jackets will follow the heat and light gradients of your home, frequently chewing straight through the interior drywall into your living space within 24 hours.
The Fix: Use Drione Dust or Delta Dust applied via a crack-and-crevice straw attachment directly into the exterior entry point. Apply a very light puff, and leave the exterior hole completely unsealed. Allow the wasps to freely track the dust into the insulation batts. The colony will die off within 3 to 5 days. Once you confirm zero activity for 48 hours, seal the exterior gap with copper mesh and expandable polyurethane foam to prevent future overwintering queens from claiming the void.
When to Call a Professional
While insecticidal dusts are highly effective, certain scenarios require professional extermination. If the nest is located deeper than 4 feet underground, if it is inside a chimney flue, or if the homeowner has a known history of anaphylaxis to hymenoptera venom, do not attempt a DIY rescue. Hire a licensed pest control operator equipped with commercial-grade micro-injection dusting rigs and full apiary suits.

