
Pest Control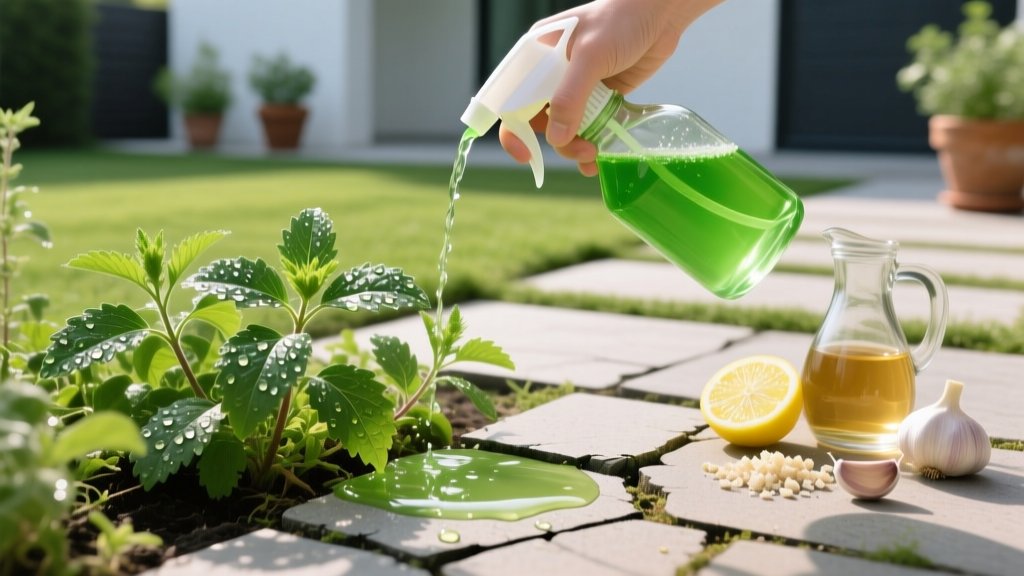
The Science of Natural Home Made Weed Killer: Recipes, Soil Safety, and Efficacy
The shift toward organic lawn care has driven massive interest in DIY herbicide solutions. However, formulating an effective natural home made weed killer requires more than dumping leftover kitchen vinegar on a dandelion. True efficacy relies on understanding plant cell biology, surfactant chemistry, and the long-term impact of acidic compounds on your soil microbiome. Unlike synthetic systemic herbicides like glyphosate, which travel through the phloem to kill taproots, natural DIY alternatives are strictly contact herbicides. They destroy the waxy cuticle and cell membranes of foliage, causing rapid desiccation. This guide provides exact formulations, application parameters, and a critical analysis of soil health impacts for the 2026 growing season.
The Chemistry of DIY Contact Herbicides
To kill a weed organically, you must compromise its epidermal layer. Plant leaves are protected by a waxy cuticle that repels water. A successful natural home made weed killer requires two components: an active desiccant and a surfactant to break the water's surface tension.
- Acetic Acid (Vinegar): Causes rapid cell membrane collapse and cytoplasm leakage. Standard 5% culinary vinegar is ineffective on mature weeds; horticultural grade (20% to 30%) is required for reliable burn-down.
- d-Limonene (Citrus Oil): A potent solvent that strips the waxy leaf cuticle, exposing the plant's inner tissues to rapid dehydration.
- Eugenol (Clove Oil): Disrupts cellular respiration and works synergistically with d-limonene to accelerate tissue necrosis.
- Surfactants: Pure liquid castile soap or non-ionic agricultural surfactants reduce the contact angle of the spray droplet, ensuring the solution spreads across the leaf rather than beading up and rolling off.
3 Proven Natural Home Made Weed Killer Formulations
1. The 20% Acetic Acid Desiccant (For Broadleaf Weeds)
This is the most cost-effective recipe for large driveway cracks and patio pavers. It works best on young annual weeds and broadleaf perennials with shallow root systems.
- Pour 1 gallon of 20% horticultural vinegar into a pump sprayer.
- Add 1 tablespoon (15 ml) of pure liquid castile soap. Avoid commercial dish detergents, as their synthetic degreasers can harm soil biology.
- Add 1 cup (240 ml) of citric acid powder to lower the pH further and accelerate the burn.
- Agitate gently to mix without creating excessive suds.
⚠️ SAFETY WARNING: 20% to 30% acetic acid is highly corrosive and can cause severe corneal damage and skin burns. You must wear ANSI Z87.1-rated splash goggles and nitrile gloves when mixing and applying. The EPA Minimum Risk Pesticides guidelines exempt certain natural ingredients from registration, but high-concentration acetic acid still requires strict handling protocols.
2. d-Limonene and Clove Oil Emulsion (For Waxy-Leaved Weeds)
Weeds like purslane and plantain have thick, waxy cuticles that repel water-based vinegar solutions. Oil-based emulsions penetrate these defenses effectively.
- 2 ounces (60 ml) cold-pressed d-limonene (orange oil)
- 1 ounce (30 ml) clove essential oil (minimum 80% eugenol content)
- 2 ounces (60 ml) liquid castile soap (acts as an emulsifier to bind oils to water)
- 1 gallon of warm water
Mixing Protocol: Blend the d-limonene, clove oil, and castile soap in a separate jar first. Shake vigorously until the mixture turns cloudy and opaque. Only then add this emulsion to the water in your sprayer. If you add oils directly to water, they will float to the top and clog your spray nozzle.
3. The Hardscape Thermal Strike (For Deep Taproots in Gravel)
For stubborn perennials like bindweed (*Convolvulus arvensis*) growing in gravel driveways where soil health is not a concern, thermal shock combined with osmotic stress is highly effective.
- Boil 2 gallons of water.
- Dissolve 1 cup of non-iodized sodium chloride (table salt) into the boiling water.
- Carefully pour the solution directly over the crown of the weed.
Note: Never use salt-based recipes in garden beds or lawns. Sodium destroys soil structure by dispersing clay particles, leading to permanent compaction and sterility.
Application Protocols: Temperature and Technique
The efficacy of a natural home made weed killer is heavily dependent on environmental conditions. Because these solutions rely on rapid evaporation and cellular dehydration, applying them in cool or humid weather will result in failure.
- Temperature Threshold: Apply only when ambient temperatures are above 75°F (24°C). Efficacy drops by up to 40% when temperatures fall below 65°F.
- UV Index: Spray between 10:00 AM and 2:00 PM when solar radiation is at its peak. The sun's UV rays accelerate the oxidative stress caused by the acids and oils.
- Nozzle Selection: Use a fan-pattern nozzle rather than a jet stream. You need complete, even coverage of the leaf surface. Drenching the soil is wasteful and increases the risk of altering your soil pH.
- Rainfastness: DIY organic herbicides have zero rainfastness. You must have a minimum 24-hour dry window post-application. If it rains within 4 hours of spraying, the treatment will be completely washed away.
The Hidden Cost: Soil Microbiome and pH Alteration
Many homeowners assume that because a natural home made weed killer is 'organic,' it is entirely safe for the surrounding environment. This is a critical misconception. Repeated application of high-strength acids and salts fundamentally alters soil chemistry.
| Active Ingredient | Immediate Soil Impact | Microbiome Recovery Time | Long-Term Risk |
|---|---|---|---|
| 20% Acetic Acid | Drops topsoil pH by 0.5 - 1.0 | 3 to 6 weeks | Aluminum toxicity in acid-sensitive plants |
| d-Limonene | Mild antimicrobial suppression | 1 to 2 weeks | Minimal; degrades rapidly via UV and bacteria |
| Sodium Chloride | Massive osmotic stress, clay dispersion | 1 to 3 years (requires gypsum leaching) | Permanent soil sterility and structural collapse |
| Clove Oil (Eugenol) | Suppresses beneficial mycorrhizal fungi | 4 to 8 weeks | Reduced nutrient uptake in adjacent desirable plants |
To mitigate soil damage, restrict DIY vinegar applications strictly to hardscapes, driveway edges, and isolated spot treatments. Avoid broadcast spraying over your lawn. According to the National Pesticide Information Center (NPIC), while acetic acid breaks down relatively quickly in the environment, the immediate localized pH crash can harm earthworm populations and nitrogen-fixing bacteria.
DIY vs. Commercial Organic: 2026 Cost Matrix
Is mixing your own natural home made weed killer actually cheaper than buying commercial OMRI-listed (Organic Materials Review Institute) products? Here is a breakdown based on current 2026 market pricing.
| Product Type | Active Ingredients | Cost Per Ready-to-Use Gallon | Efficacy on Mature Taproots |
|---|---|---|---|
| DIY 20% Vinegar Mix | Acetic Acid, Soap | $8.50 - $11.00 | Low (Top-growth only) |
| DIY Citrus/Clove Mix | d-Limonene, Eugenol | $18.00 - $24.00 | Moderate (Better cuticle penetration) |
| Commercial BurnOut III | Citric Acid, Clove Oil | $38.00 - $45.00 | Moderate to High |
| Commercial Captain Jack's Lawnweed Brew | Iron HEDTA (Chelated Iron) | $42.00 - $50.00 | High (Systemic action in broadleaves) |
The Verdict: DIY vinegar mixes win on pure cost for driveway maintenance. However, if you are trying to selectively kill dandelions in a Bermuda grass lawn without harming the grass, DIY acids will kill the turf. In that scenario, commercial Iron HEDTA products, while more expensive, exploit the physiological differences between monocot (grass) and dicot (broadleaf weed) metabolism, offering a selective, systemic kill that DIY contact herbicides cannot achieve.
Troubleshooting Common Failure Modes
The Weed Turned Brown but Grew Back Two Weeks Later
Cause: Contact herbicides only destroy the tissue they touch. Perennial weeds like thistle, bindweed, and mature dandelions store massive energy reserves in deep taproots. When the top growth dies, the root simply pushes up a new rosette of leaves.
Solution: You must adopt a 'depletion strategy.' Repeatedly spray the new growth every time it reaches 2 inches in height. This forces the taproot to continually expend stored carbohydrates to rebuild foliage. After 3 to 4 cycles over a single season, the root will exhaust its energy reserves and die.
The Spray Beaded Up and Rolled Off the Leaves
Cause: Insufficient surfactant or applying to a heavily dust-covered leaf.
Solution: Increase your castile soap ratio by 50%. Alternatively, if the weeds are near a dirt road or heavily dusted, lightly mist them with plain water first to wash off the particulate matter, wait 30 minutes for the leaf to dry slightly, and then apply your herbicide.
Adjacent Desirable Plants Showed Yellowing (Chlorosis)
Cause: Herbicide drift or soil splash. Vinegar and clove oil do not distinguish between a weed and a prized tomato plant.
Solution: Always use a physical spray shield (a piece of cardboard or a commercial plastic shield) when spraying near garden beds. If soil splash occurs, immediately flush the affected soil with 5 gallons of plain water to dilute the acid concentration below the root zone.

