
Pest Control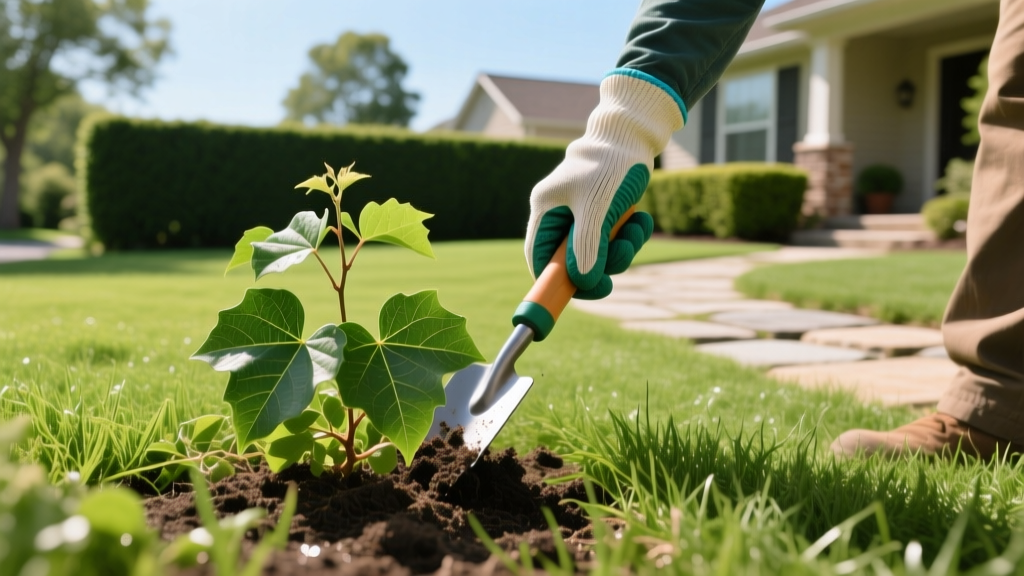
How to Get Rid of Poison Ivy in the Yard Safely and Permanently
Learning how to get rid of poison ivy in the yard requires more than just yanking vines from the soil. Toxicodendron radicans is a highly resilient woody perennial equipped with an aggressive lateral rhizome system and a deep taproot. When disturbed improperly, it releases urushiol, a potent organic allergen that causes severe contact dermatitis in 85% of the human population. Successful eradication demands a strategic approach combining botanical timing, targeted chemistry, and strict decontamination protocols.
The Botany of the Enemy: Why Poison Ivy Survives
Poison ivy thrives in disturbed soils, forest edges, and fence lines. While the above-ground vines can grow up to 50 feet when climbing trees via aerial rootlets, the real threat lies beneath the surface. The plant stores massive energy reserves in its root system. If you merely snap the vine at the soil line, the rhizomes will push up new shoots within 14 to 21 days. Furthermore, urushiol oil remains active on dead vines, roots, and gardening tools for up to five years, meaning dormant patches still pose a severe biological hazard.
CRITICAL SAFETY WARNING: Never Mow, Trim, or Burn
Never use a string trimmer, lawnmower, or leaf blower on poison ivy. These tools aerosolize the urushiol oil, which can be inhaled and cause life-threatening pulmonary edema. Similarly, never burn poison ivy. Inhaling the smoke introduces the toxin directly into your respiratory tract, requiring immediate emergency medical intervention.
The 3-Tiered Eradication Playbook
The method you choose depends on the patch size, its proximity to desirable plants, and your tolerance for synthetic chemicals. For maximum systemic kill, apply all treatments in late summer to early fall (August through October). During this window, the plant is actively translocating carbohydrates from the leaves down into the root system for winter dormancy, carrying herbicides directly to the taproot.
Tier 1: Targeted Foliar Herbicides (For Dense Patches & Vines)
For large infestations or vines climbing trees where manual extraction is impossible, systemic herbicides are the most effective tool. You must select a chemical that translocates through the phloem.
| Active Ingredient | Common Brand | Mechanism & Best Use | Est. Cost (Consumer) |
|---|---|---|---|
| Triclopyr (8%) | Ortho MAX Poison Ivy & Tough Brush Killer | Synthetic auxin. Highly lethal to broadleaf woody plants; generally safe for use over dormant or established turfgrass. | $12 - $18 (Quart) |
| Glyphosate (41% - 50%) | Roundup Pro Concentrate / Super Concentrate | Non-selective EPSP synthase inhibitor. Kills all green tissue it touches. Best for painted application on cut stumps. | $35 - $55 (Gallon) |
| Imazapyr (2% - 4%) | Ortho GroundClear Vegetation Killer | Root and shoot inhibitor. Highly persistent in soil (up to 1 year). Use ONLY in non-crop areas like gravel driveways. | $20 - $30 (Gallon) |
Application Technique: Do not spray on windy days. Use a pump sprayer with a cone nozzle to coat the leaves until just before runoff. For thick vines climbing trees, use the cut-stump method: sever the vine 3 inches above the soil line using loppers, and immediately paint the exposed top of the severed stump with undiluted 41% glyphosate using a disposable foam brush. The plant will draw the chemical straight into the root ball.
Tier 2: Manual Taproot Extraction (For Flower Beds & High-Traffic Zones)
If the poison ivy is growing among desirable shrubs where herbicide drift is unacceptable, manual extraction is required. This method demands physical barriers and precise digging.
- Suit Up: Wear a disposable Tyvek suit, heavy-duty 8-mil nitrile gloves (cotton and leather absorb urushiol), and safety goggles.
- Soil Softening: Water the area deeply with 1 inch of water 24 hours prior to extraction. Dry soil shatters and leaves root fragments behind.
- The 12-Inch Rule: Using a sharp spade or a Japanese hori-hori knife, dig a 12-inch radius around the base of the main vine. The taproot typically descends 6 to 8 inches, but lateral rhizomes can spread horizontally for several feet.
- Extract and Bag: Lever the root mass out intact. Do not shake the soil off. Place the entire root mass and vine directly into a heavy-duty contractor trash bag. Seal it and dispose of it with household waste. Never compost poison ivy.
Tier 3: Solarization and Smothering (The Organic Protocol)
For homeowners strictly avoiding synthetic herbicides, smothering is viable but requires patience. This process starves the roots of sunlight and physically blocks shoot emergence. According to Penn State Extension, complete eradication via smothering can take one to two full growing seasons.
- Cut the existing vines as close to the ground as possible using dedicated loppers.
- Lay down overlapping layers of heavy, uncoated corrugated cardboard over the entire patch, extending 3 feet beyond the visible perimeter.
- Wet the cardboard thoroughly to conform to the soil contour.
- Cover the cardboard with a minimum of 4 to 6 inches of heavy arborist wood chips or bark mulch. Do not use straw, which is too light and allows shoots to penetrate.
Urushiol Decontamination and Tool Sterilization
Urushiol is a lipid-soluble oil, not a water-soluble toxin. Washing with plain water will only spread the oil across your skin. You have a 10 to 15-minute window after exposure to remove the oil before it binds to your skin proteins.
The 15-Minute Wash Protocol:
- Skin: Use a specialized surfactant like Tecnu Extreme Poison Ivy Scrub ($15 for 4 oz) or Zanfel. If unavailable, use a heavy grease-cutting dish soap like Dawn Ultra. Apply the soap dry, lather vigorously without water for 3 minutes, then rinse with cool water. Hot water opens pores and accelerates absorption.
- Clothing: Wash exposed clothing separately in a washing machine using hot water, heavy-duty detergent, and a full cup of baking soda to emulsify the oils. Run an empty rinse cycle afterward to clean the drum.
- Tools: Wipe down shovels, loppers, and gloves with 70% isopropyl alcohol or a 1:10 bleach-to-water solution. Urushiol degrades rapidly when exposed to alkaline solutions like bleach.
Cost Analysis: DIY vs. Professional Abatement
Deciding whether to tackle the removal yourself or hire a professional depends on the scale of the infestation and your personal sensitivity to urushiol. The FDA notes that severe allergic reactions can escalate quickly, making professional removal a safer bet for highly sensitive individuals.
| Method | Estimated Cost | Time to Eradication | Risk Level |
|---|---|---|---|
| DIY Herbicide Application | $25 - $75 (Materials & PPE) | 2 - 4 weeks | Moderate (Spray drift/exposure) |
| DIY Manual Extraction | $30 - $50 (PPE & Disposal) | Immediate (with monitoring) | High (Direct root contact) |
| Professional Landscaper Abatement | $300 - $800 per 1,000 sq ft | 1 - 3 weeks | Low (Handled by insured pros) |
Post-Eradication Monitoring and Soil Recovery
Eradication is rarely a one-and-done event. Poison ivy seeds are distributed by birds and can remain viable in the soil seed bank for several years. Furthermore, missed root fragments as small as one inch can regenerate a new plant.
For the first 12 months following treatment, inspect the area bi-weekly during the growing season. Look for the characteristic cluster of three glossy, almond-shaped leaflets. If new shoots emerge from the soil, do not pull them; immediately spot-treat the new foliage with a targeted triclopyr spray or manually dig out the fragment. If you used the smothering method, leave the cardboard and mulch in place for a full two years before planting anything new in that bed. For comprehensive data on herbicide environmental impact and soil recovery, refer to the EPA Glyphosate Overview to ensure your soil remains safe for future landscaping.

