
Pest Control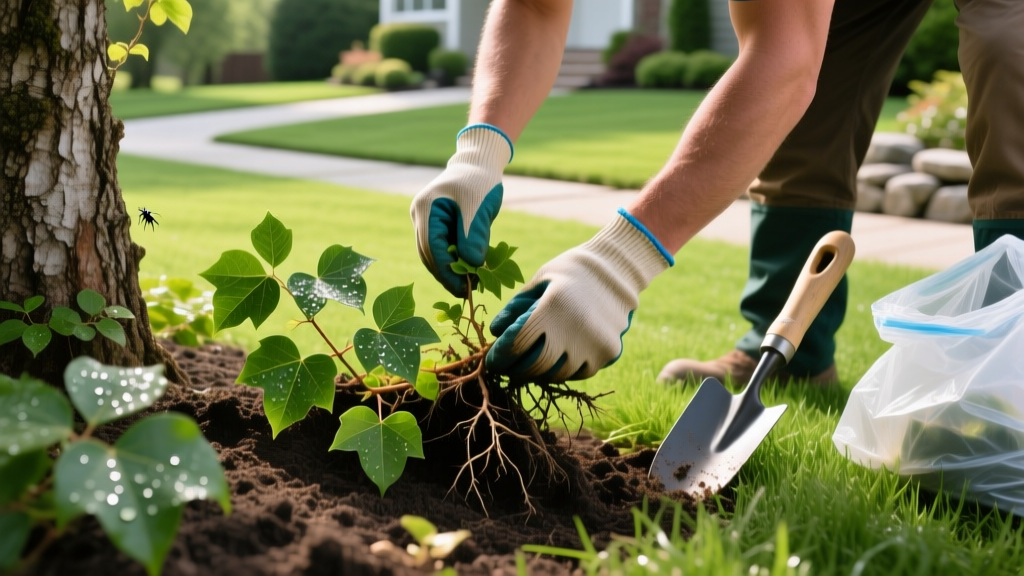
How to Remove Poison Ivy From Yard: The Eradication Playbook
The Anatomy of a Toxicodendron Infestation
Removing poison ivy (Toxicodendron radicans) is not a standard weeding task; it is a hazardous materials operation. The plant's defensive compound, urushiol oil, causes severe contact dermatitis in 85% of the population. More importantly, poison ivy spreads via an extensive, woody rhizome network that can extend several feet laterally beneath the soil surface. Simply pulling the visible vines guarantees a rapid resurgence. To permanently eliminate this weed, you must target the root system while strictly managing urushiol exposure.
Identification Pro-Tip: While the 'leaves of three' rule is common, it is insufficient. Look for the aerial roots. When poison ivy climbs a tree, it produces dense, fuzzy, brown hair-like roots that grip the bark. Additionally, in late summer, the plant produces clusters of dull, greenish-white berries. If you see fuzzy ropes on a tree trunk, the entire base is likely compromised.
For a comprehensive botanical breakdown and regional growth patterns, the University of Maryland Extension provides excellent visual guides to differentiate poison ivy from harmless look-alikes like Virginia creeper or boxelder seedlings.
Pre-Removal Preparation & Safety Gear
Before touching a single leaf, you must establish a decontamination protocol. Urushiol oil can remain active on dead vines, gardening tools, and clothing for up to five years. According to the National Institute for Occupational Safety and Health (NIOSH), barrier protection and immediate post-exposure washing are the only reliable ways to prevent systemic allergic reactions.
The Eradication PPE Checklist
- Base Layer Barrier: Apply a bentoquatam-based lotion (e.g., IvyX Pre-Wash, ~$15) to exposed skin 15 minutes before starting. This binds to skin receptors before urushiol can.
- Hand Protection: Wear tight-fitting nitrile gloves (to block oil penetration) underneath heavy, gauntlet-style leather work gloves (to prevent thorn/vine punctures).
- Body Armor: Disposable Tyvek coveralls (~$15-$20 per suit). Do not wear your standard gardening clothes; the oil will embed in the fabric weave.
- Eye & Face Protection: Wraparound safety goggles to prevent sweat from carrying microscopic oil droplets into your eyes.
- Footwear: Rubber boots that can be aggressively scrubbed with a degreaser afterward. Tape the bottom of your Tyvek suit to your boots with duct tape.
Tactical Eradication Methods
Choose your eradication method based on the size of the infestation and your tolerance for chemical herbicides. The Penn State Extension notes that timing is critical: late summer to early fall (August through October) is the optimal window. During this period, the plant is actively pulling carbohydrates down into its rhizomes, which will carry systemic herbicides directly to the root crown.
Method 1: Manual Extraction (For Small, Organic Yards)
Manual removal is labor-intensive and carries the highest risk of urushiol exposure, but it is necessary for organic gardens or areas near water sources.
- Sever the Vine: Using loppers, cut climbing vines at the base and again 3 feet up. Leave the upper vine on the tree to die and dry out (it will eventually fall off). Do not pull live vines down, as this showers you with urushiol-laden dust and sap.
- Excavate the Crown: Using a sharp, flat-edged transfer shovel, dig a trench 12 inches deep and 18 inches wide around the base of the plant.
- Extract the Rhizomes: Lift the entire root ball. You must remove the thick, woody taproot and all lateral white rhizomes. Any root fragment left in the soil will sprout a new plant.
- Smother the Zone: Cover the excavated area with overlapping layers of heavy, UV-stabilized landscape fabric, topped with 3 inches of wood mulch. Leave it in place for a full 12 months to starve any microscopic root remnants.
Method 2: Targeted Chemical Application (For Large Infestations)
For sprawling ground covers or dense thickets, a targeted herbicide application is the most efficient playbook.
- The Chemistry: Glyphosate alone is often insufficient for mature poison ivy. You need a product containing Triclopyr (often mixed with 2,4-D), such as Crossbow Herbicide or Ortho GroundClear Poison Ivy Killer. Triclopyr specifically targets broadleaf woody plants.
- The Mix: For a 2-gallon pump sprayer, mix 2.5 ounces of Crossbow concentrate with 2 gallons of water. Crucially, add 0.5 ounces of a non-ionic surfactant (like Dyne-Amic). Poison ivy leaves have a thick, waxy cuticle; the surfactant breaks this surface tension, allowing the herbicide to penetrate the leaf tissue.
- Application: Spray the foliage until it is visibly wet but not dripping. Apply on a calm, dry day when temperatures are between 65°F and 85°F. Expect to see wilting within 48 hours and total root death within 3 to 4 weeks. A second spot-treatment is usually required for aggressive patches.
Treatment Comparison Matrix
| Method | Best For | Cost Estimate | Time to Eradication |
|---|---|---|---|
| Manual Digging | Small patches, organic yards | $30 (PPE & Bags) | Immediate (12-mo monitoring) |
| Triclopyr Spray | Large ground covers, thickets | $90-$110 (Concentrate) | 3 to 6 weeks |
| Cut-Stump Treatment | Thick, mature climbing vines | $15 (Herbicide gel) | 2 to 4 weeks |
| Smothering (Tarping) | Flat lawn areas, garden beds | $40 (Heavy tarp & pins) | 6 to 12 months |
Post-Removal Disposal and Decontamination
How you handle the aftermath is just as critical as the removal itself. Improper disposal leads to secondary exposure or neighborhood spread.
CRITICAL WARNING: Never burn poison ivy. Inhaling the smoke vaporizes the urushiol oil, which can cause severe, potentially fatal pulmonary edema (fluid in the lungs). Never put poison ivy in a municipal compost bin or chip it with a wood chipper, as this will aerosolize the oils and contaminate the machinery.
The Decontamination Sequence
- Tool Wipe-Down: While still wearing your PPE, wipe down all shovels, loppers, and boots with rubbing alcohol (isopropyl 70% or higher). Alcohol dissolves urushiol oil. Follow up with a wash using hot water and a heavy-duty degreasing dish soap like Dawn.
- PPE Disposal: Carefully peel off your Tyvek suit and nitrile gloves from the inside out, treating them as hazardous waste. Seal them in a heavy-duty contractor trash bag. Dispose of them in your regular household trash, not recycling.
- Personal Washing: Take a shower using cold water and a specialized urushiol-removal soap (like Tecnu or Zanfel, ~$18). Hot water opens your pores, allowing any residual oil on your skin to absorb deeper and trigger a worse rash. Wash your hair twice with standard shampoo.
- Vine Disposal: Place all dead vines and root balls into thick, black contractor bags. Seal them tightly and place them in the regular trash. If local regulations prohibit yard waste in standard trash, contact your municipal waste authority for specific hazardous weed drop-off protocols.
By following this structured playbook, you neutralize the immediate threat of urushiol exposure while systematically destroying the subterranean rhizome network. Monitor the treated area monthly during the next spring growing season, and immediately spot-treat any new shoots with a targeted Triclopyr application to ensure total eradication.

