
Pest Control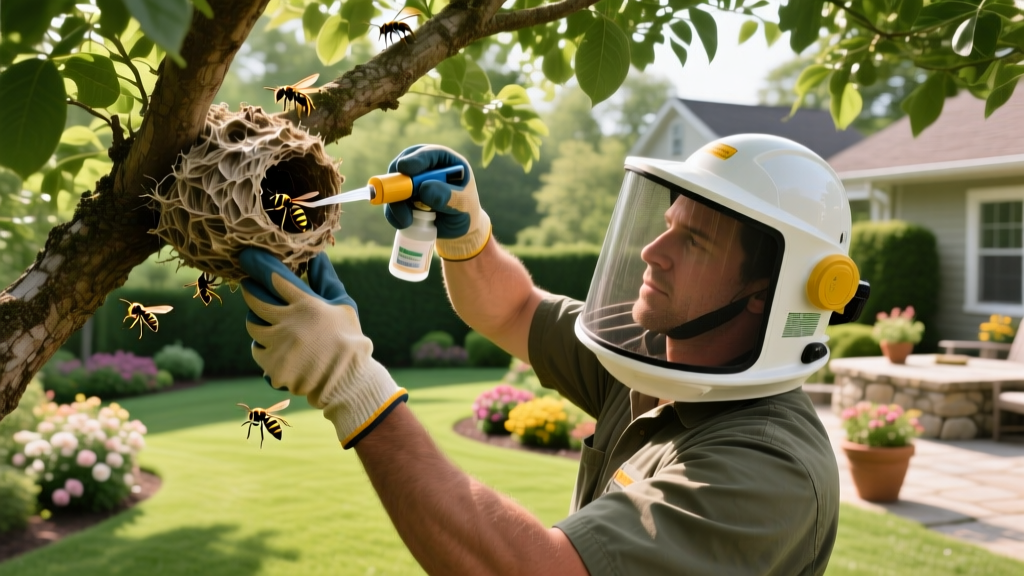
How to Get Rid of a Hornets Nest: Safe Yard Defense Guide
Encountering a hornets nest in your yard transforms a peaceful outdoor space into a high-stakes hazard zone. Unlike docile honeybees, hornets (specifically Vespa and Dolichovespula species) are aggressive, territorial apex predators capable of delivering multiple, venom-rich stings without dying. When defending your property, understanding the exact biology, nest architecture, and chemical vulnerabilities of these insects is the difference between a successful removal and a trip to the emergency room.
This guide provides a precise, actionable framework for identifying, neutralizing, and preventing hornet colonies in your yard, utilizing current 2026 integrated pest management (IPM) standards.
Identify the Threat: Hornets vs. Yellowjackets vs. Paper Wasps
Homeowners frequently misidentify stinging insects, leading to the wrong treatment protocol. True hornets build large, enclosed paper nests, typically high in trees or under eaves. Yellowjackets often nest in the ground, while paper wasps build open, umbrella-shaped combs. According to the University of Minnesota Extension, correct identification dictates your approach to removal and the level of protective gear required.
| Species | Nest Architecture | Typical Location | Aggression Level | Colony Size (Peak) |
|---|---|---|---|---|
| Bald-Faced Hornet | Enclosed, teardrop-shaped paper envelope | Shrubs, trees, eaves (3-15 ft high) | Moderate (defends nest fiercely) | 100 - 400 workers |
| European Hornet | Large, brown/gray paper envelope | Hollow trees, wall voids, high eaves | High (forages at night, easily provoked) | 200 - 800 workers |
| Ground Yellowjacket (Often misidentified) | Subterranean paper cells in abandoned rodent burrows | Ground level, under debris, lawn edges | Extreme (vibration triggers mass swarming) | 1,000 - 5,000+ workers |
The Decision Matrix: DIY Removal vs. Professional Extermination
Not every nest should be handled by a homeowner. Use this decision framework to determine if you should deploy DIY treatments or hire a licensed pest control operator (PCO).
⚠ Call a Professional If:
- The nest is located higher than 12 feet (ladder use while spraying is a primary cause of severe stinging incidents).
- The nest is inside a wall void or attic (sealing the exterior hole will force them to chew through drywall into your living space).
- The colony is a ground-nesting yellowjacket larger than a basketball.
- Anyone in the household has a known anaphylactic allergy to Hymenoptera venom.
- Estimated Professional Cost (2026): $450 to $850, depending on height, species, and required equipment like boom lifts.
Step-by-Step DIY Hornet Nest Removal Protocol
If your nest meets the DIY criteria (accessible, under 12 feet high, aerial), you must execute the removal with military precision. Hornets rely heavily on visual cues and pheromones to coordinate attacks.
1. Procure the Correct Gear and Chemistry
Do not rely on standard bug spray or household items. You need specialized knockdown chemistry and physical barriers.
- Chemical: PT Wasp-Freeze II ($22 per can). This formulation uses a synergized pyrethroid (trans-resmethrin) combined with a freezing agent. It shoots a focused stream up to 15 feet and provides immediate nervous system knockdown, preventing the release of alarm pheromones.
- Suit: Tyvek 400 Disposable Hooded Coverall ($15-$20). Ensure it is zipped fully and taped at the wrists and ankles with duct tape.
- Veil: Bee Smart Designs Ultimate Bee Veil ($35). A standard mosquito head net is insufficient; hornets can sting through thin mesh if it rests against your skin.
- Lighting: A tactical flashlight fitted with red cellophane. Hornet ommatidia (compound eyes) lack red photoreceptors. White light will instantly trigger a defensive swarm; red light allows you to see the nest without alerting the guards.
2. The Nighttime Strike Execution
Timing is non-negotiable. You must treat the nest exactly two hours after sunset. At this time, all foraging workers have returned, and their metabolic rate and core temperature have dropped, making them sluggish.
- Approach Angle: Never stand directly beneath the nest. Approach from the side or at an angle to ensure that if the nest detaches, it does not fall onto you.
- Target the Single Entry: Aerial hornet nests have only one entry/exit hole at the very bottom. Do not spray the top or sides of the paper envelope; the chemical will not penetrate the layers fast enough.
- The 10-Second Burst: Shine your red-filtered light on the bottom hole. Insert the nozzle of the PT Wasp-Freeze into the stream range and spray directly into the hole for 8 to 10 continuous seconds.
- Immediate Retreat: Back away slowly. Do not turn your back and run, as rapid movement triggers pursuit instincts.
- Do Not Plug the Hole: Never seal the entry point with caulk or foam. Surviving hornets trapped inside will chew a new exit, often in an unpredictable direction.
Handling Subterranean Ground Nests
Ground nests require a completely different chemical approach. Never use liquid sprays, boiling water, or soapy water on a ground nest. Flooding the burrow causes immediate mass evacuation and swarming. Instead, use a desiccant dust like Delta Dust or Sevin Insect Killer Dust ($12). Using a hand duster, puff a small cloud of dust directly into the entrance hole at night. The foragers will track the dust deep into the subterranean gallery, coating the queen and brood. The colony will collapse within 48 to 72 hours. For more details on subterranean stinging insects, refer to the Penn State Extension guidelines on stinging insect management.
Post-Removal Yard Defense: Preventing Re-Nesting
Once a nest is dead, the immediate threat is neutralized, but your yard may still be attractive to new queens in the spring. Implement these structural and botanical defenses:
- Deploy Decoy Nests Early: Hornets are highly territorial and will not build a nest within 200 feet of an existing colony. Hang commercial decoys like the Waspinator ($15) under your eaves in early April before the first queens emerge from hibernation.
- Eliminate Protein and Sugar Sources: Hornets hunt caterpillars, flies, and spiders to feed their larvae. Keep your lawn mowed and trim dense shrubs to reduce the habitat for their prey. Secure compost bins and use tight-fitting lids on outdoor trash receptacles.
- Seal Eaves and Vents: Inspect your roofline, soffit vents, and attic gables. Install 1/8-inch hardware cloth over any gaps larger than a dime to prevent European hornets from establishing hidden wall-void colonies.
- Botanical Deterrents: While essential oils (peppermint, clove, lemongrass) are heavily marketed online, their efficacy in an open-air yard is negligible due to rapid UV degradation and wind dispersion. Rely on physical exclusion and prey-reduction instead.
Safe Nest Disposal and Winter Considerations
Wait a full 72 hours after treatment before removing the physical nest. Knock it down with a long pole, place it in a heavy-duty contractor trash bag, and dispose of it in your municipal waste bin.
💡 Expert Insight: The Winter Nest Myth
Homeowners frequently panic when finding large, gray, papery nests in bare trees during the winter months. These nests are abandoned and completely harmless. Hornet colonies are annual. In late autumn, the old queen, all workers, and all males die off. Only the newly mated queens survive by burrowing into leaf litter or under bark to hibernate. They will never return to the old nest the following spring. You can safely knock down winter nests with a broomstick for aesthetic purposes without any protective gear.
Successfully managing hornets requires respecting their biology and utilizing targeted, professional-grade strategies rather than anecdotal home remedies. By executing precise nighttime treatments and fortifying your yard's perimeter, you maintain a safe, defensible outdoor environment throughout the season.

