
Pest Control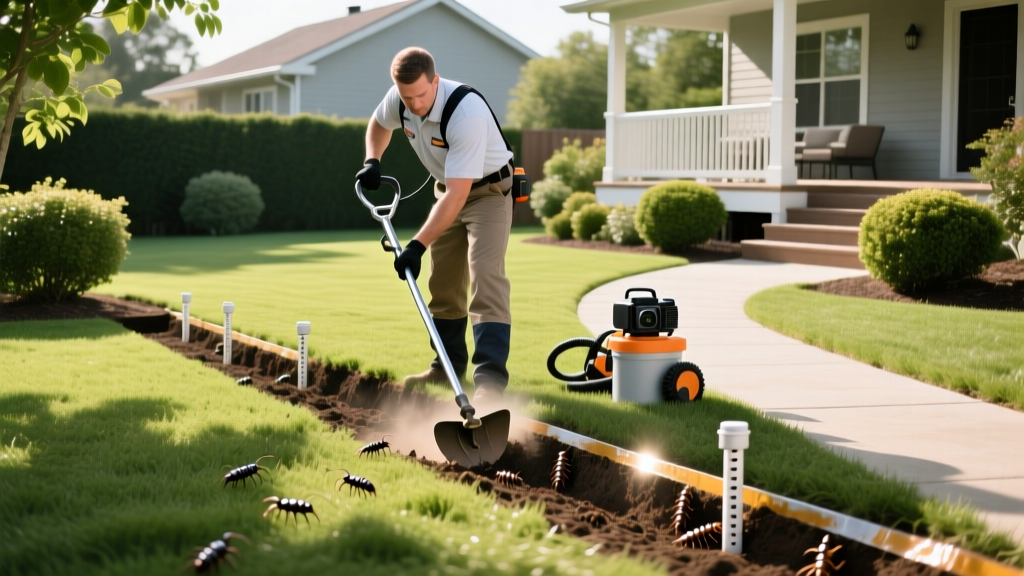
Termite Ground Treatment: Trenching, Baits, and Chemical Barriers
The Perimeter Defense Strategy Against Subterranean Termites
Subterranean termites (Reticulitermes and Coptotermes species) are responsible for the vast majority of the billions of dollars in structural damage reported annually in the United States. Because these insects forage blindly through the soil seeking cellulose, intercepting them before they reach your home's wooden framing is critical. A properly executed termite ground treatment creates an invisible, continuous chemical or biological barrier in the soil surrounding your foundation. According to the Environmental Protection Agency (EPA), soil-applied liquid termiticides and in-ground bait systems remain the most effective, scientifically validated methods for structural protection.
Unlike localized spot treatments for drywood termites, subterranean termite defense requires a holistic approach to the yard and foundation perimeter. This guide details the exact measurements, active ingredients, and application protocols required to establish a robust termite ground treatment, whether you are utilizing non-repellent liquid barriers or advanced bait matrices.
Liquid Soil Barriers vs. In-Ground Bait Systems
Choosing the right termite ground treatment depends on your soil composition, the immediacy of the threat, and your environmental preferences. Below is a technical comparison of the primary defense mechanisms available to homeowners and pest management professionals.
| Treatment Type | Active Ingredient Examples | Mechanism of Action | Speed of Control | Longevity in Soil |
|---|---|---|---|---|
| Non-Repellent Liquid | Fipronil (e.g., Termidor SC), Imidacloprid | Termites cannot detect the chemical, tunnel through it, and transfer it to the colony via grooming (transfer effect). | 30 to 90 days for colony elimination | 5 to 10+ years |
| Repellent Liquid | Bifenthrin, Cypermethrin | Creates a toxic barrier that termites detect and avoid. Kills on contact but does not eliminate the main colony. | Immediate contact kill | 5 to 8 years |
| In-Ground Bait Stations | Noviflumuron (Sentricon), Novaluron (Trelona) | Termites consume chitin synthesis inhibitors, preventing them from molting, which eventually collapses the colony. | 60 to 120+ days | Indefinite (with annual monitoring and matrix replacement) |
Executing the Trench: Measurements and Application Rates
For liquid termite ground treatment, the industry standard is the trenching method. This ensures the termiticide penetrates deep enough to intercept foraging workers before they reach the foundation wall. As of 2026, Fipronil-based products like Termidor SC remain the gold standard due to their proven colony-elimination transfer effect.
Step 1: Calculate Your Linear Footage and Volume
Measure the entire perimeter of your home's foundation, including attached garages and porches. The standard application rate for a 0.06% Fipronil suspension is 4 gallons of finished solution per 10 linear feet per foot of depth. For a standard single-story home with 160 linear feet of foundation, you will need to mix and apply 64 gallons of solution.
Step 2: Digging the Perimeter Trench
Using a trenching shovel or a motorized mini-trencher, dig a continuous trench directly against the foundation wall. The trench must be exactly 6 inches wide and 6 inches deep. If your home has a basement or deep footer, you must trench down to the footer, which may require digging 12 to 24 inches deep and adjusting your application volume accordingly (4 gallons per 10 linear feet for every foot of depth).
Step 3: Mixing and Application
Mix the termiticide in a 5-gallon bucket or a dedicated 15-gallon pump sprayer tank. For Termidor SC, the standard dilution rate is 0.8 fluid ounces of concentrate per gallon of water. Agitate the mixture thoroughly. Apply the solution evenly into the bottom of the trench using a low-pressure, high-volume nozzle to prevent splashing and airborne drift.
Step 4: Backfilling and Soil Integration
Once the liquid has soaked into the trench bottom (usually within 15 to 30 minutes depending on soil porosity), backfill the trench with the excavated soil. As you shovel the soil back in, lightly mix it with the treated trench walls to create a uniform, treated soil matrix. Do not pack the soil too tightly, as this can create voids where termites might bypass the barrier.
Environmental Warning: Never apply liquid termiticides to saturated soil, during active rainfall, or where the water table is within 5 feet of the surface. The National Pest Management Association (NPMA) strictly advises against treating soil that may experience immediate surface runoff, as this can carry active ingredients into storm drains and local waterways.
Navigating Concrete Aprons and Plumbing Penetrations
A continuous trench is rarely possible around an entire structure. Concrete patios, driveways, and slab foundations require alternative ground treatment techniques to maintain an unbroken barrier.
- Drilling Concrete Slabs: Where a concrete apron abuts the foundation, you must drill 1/2-inch diameter holes every 12 inches, approximately 2 to 3 inches away from the foundation wall. Inject the termiticide solution directly into these holes at a rate of 2 gallons per 10 linear feet, then seal the holes with concrete patch or silicone caulk.
- Soil Rodding: In areas with dense clay soil or heavy landscaping where trenching is impossible, use a soil rodding tool (a hollow metal pipe attached to a sprayer). Push the rod 6 to 12 inches into the soil every 12 inches along the foundation and inject the solution under pressure to create a vertical chemical column.
- Plumbing and Utility Penetrations: Termites frequently exploit the gaps around PVC water lines, sewer pipes, and electrical conduits entering the foundation. Excavate the soil around these pipes and apply 1 to 2 gallons of termiticide directly into the backfill zone. If the pipe enters through a hollow concrete block, drill the block and inject the void.
Common Trenching Failure Modes and How to Avoid Them
Even with premium chemicals, a termite ground treatment will fail if the physical application is flawed. Understanding these edge cases is what separates a successful defense from a costly structural repair.
1. The "Untreated Backfill" Mistake
Many DIYers dig the trench, apply the chemical, and then backfill with new soil brought in from another part of the yard. This creates an untreated bridge over the chemical barrier. Always backfill using the soil you originally excavated from the trench, ensuring the treated soil is integrated throughout the backfill process.
2. Disturbing the Barrier with Landscaping
Planting shrubs, installing edging, or laying thick layers of wood mulch directly against the foundation after treatment compromises the barrier. Mulch retains moisture and provides an alternate food source, encouraging termites to forage above the treated soil line. Maintain a strict 12-inch mulch-free zone between your landscaping and the foundation wall.
3. Ignoring Crawl Space Piers
If your home has a crawl space, treating the exterior perimeter is only half the battle. Interior masonry piers that support the floor joists must also be trenched and treated. Apply 2 gallons of solution per pier, ensuring the soil around the base of the concrete or brick pier is fully saturated.
Integrating In-Ground Bait Stations for Long-Term Monitoring
For homeowners who prefer not to trench or who have properties with extensive hardscaping, in-ground bait stations like the Trelona ATBS (Advanced Termite Baiting System) or Sentricon Always Active offer a highly effective alternative or supplemental ground treatment. These stations are installed flush with the soil surface every 10 to 20 feet around the perimeter.
Unlike older bait systems that required termites to "hit" the station before a toxic matrix was inserted, modern 2026-era stations contain a durable, always-active cellulose matrix laced with a chitin synthesis inhibitor (like Novaluron). When foraging workers encounter the station, they consume the matrix and share it with the colony. Because the active ingredient disrupts molting, the colony collapses as nymphs and workers attempt to shed their exoskeletons. While bait systems take longer to achieve total colony elimination than liquid Fipronil barriers, they require significantly less physical labor and introduce far less chemical volume into the yard ecosystem.

