
Pest Control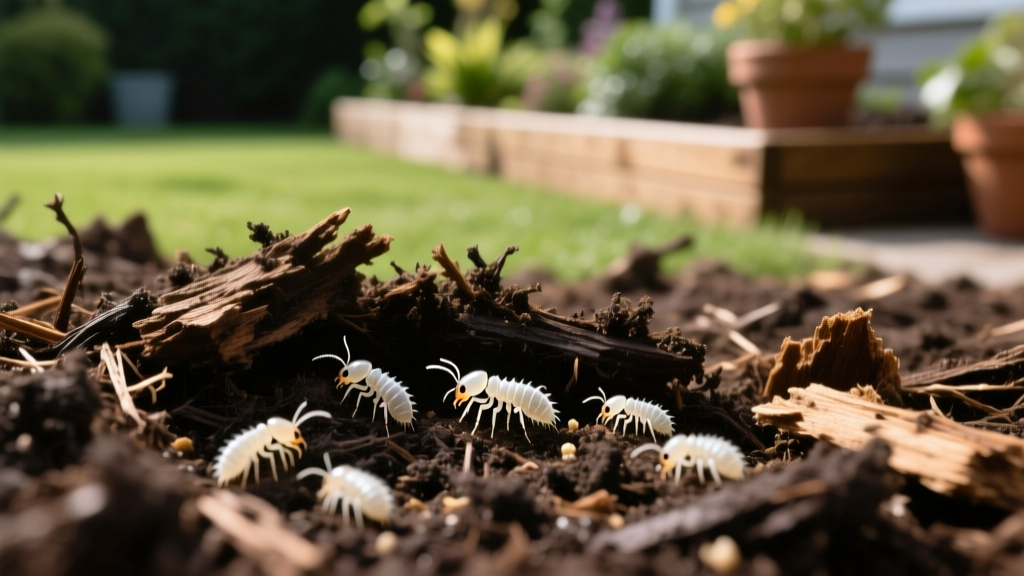
Spotting Tiny Termites in Mulch and Soil: A Yard Defense Guide
Decoding the 'Tiny Termite': What Are You Actually Looking At?
Finding tiny, pale insects in your garden mulch or soil triggers immediate concern for structural damage. However, the term 'tiny termites' generally refers to the worker and nymph stages of subterranean termites (Reticulitermes species), which measure only 1/8 to 3/16 of an inch long. Unlike the dark, winged swarmers (alates) that homeowners typically notice during spring mating flights, these microscopic foragers are blind, creamy-white, and entirely dependent on high-moisture soil environments to survive.
Accurate identification is the first critical step in yard defense. Homeowners frequently mistake pavement ants, acorn ants, or fungus gnat larvae for termite workers. Misidentification leads to wasted chemical applications and unchecked colony growth. According to Penn State Extension, subterranean termite workers possess a distinct lack of a pinched waist, whereas ants feature a pronounced constriction between the thorax and abdomen.
Morphological Comparison: Tiny Termites vs. Lookalikes
| Feature | Subterranean Termite Workers | Pavement / Acorn Ants | Fungus Gnat Larvae |
|---|---|---|---|
| Body Length | 1/8" to 3/16" (3-5mm) | 1/16" to 1/8" | Up to 1/4" |
| Coloration | Creamy white, translucent | Dark brown to black | Clear/white with black head capsule |
| Waist Structure | Broad, no constriction | Pinched, distinct node | Segmented, worm-like |
| Antennae | Straight, bead-like (moniliform) | Elbowed (geniculate) | None (larval stage) |
| Primary Habitat | Inside damp wood, soil tunnels | Under pavers, sidewalk cracks | Top layer of overwatered potting soil |
High-Risk Yard Zones for Micro-Termite Colonies
Subterranean termites require constant contact with soil moisture to prevent desiccation. In a landscaped yard, they establish satellite foraging networks in specific microclimates. Identifying these zones allows you to target treatments precisely rather than broadcasting chemicals across the entire property.
⚠️ The Cedar Mulch Myth: Many homeowners believe cedar or cypress mulch repels termites due to natural resins. While these woods contain some deterrent compounds (like thujaplicatin), the repellency degrades within 1 to 2 years as the wood breaks down. Once decomposed, cedar mulch becomes a prime cellulose food source. Never rely on wood type alone for yard defense.
Primary Foraging Hotspots:
- Wood-to-Soil Contact Zones: Wooden retaining walls, fence posts set directly in dirt, and landscape timbers. Termites enter through the buried end-cap grain.
- Over-Mulched Foundation Beds: Mulch piled deeper than 3 inches or pushed directly against vinyl siding or brick weep holes creates a hidden, moisture-rich bridge over existing termiticide barriers.
- Stump Grindings: Leftover root systems and buried wood chips from removed trees act as massive carbohydrate sinks, drawing foragers from hundreds of feet away.
- Irrigation Drip Lines: Leaky drip emitters or poorly graded soil that pools near the foundation provide the exact hydration levels colonies need to expand.
Liquid Termiticide Trenching: The Chemical Barrier Method
For immediate eradication of active foraging networks in the yard, applying a non-repellent liquid termiticide creates an invisible, lethal perimeter. Fipronil-based products, such as Taurus SC (9.1% Fipronil) or Termidor SC, utilize a transfer effect. Tiny workers crawl through the treated soil, pick up the active ingredient, and transfer it to nestmates via trophallaxis (food sharing), ultimately collapsing the local colony.
Step-by-Step Trenching Protocol
- Calculate Linear Footage: Measure the perimeter of the specific yard zone (e.g., around a wooden shed or specific garden bed). Do not trench the entire house perimeter unless treating the foundation.
- Dig the Trench: Excavate a trench exactly 6 inches wide and 6 inches deep directly adjacent to the target structure or wooden border.
- Mix the Solution: For Taurus SC, the standard dilution rate is 0.8 fluid ounces of concentrate per 1 gallon of water. Mix thoroughly in a 2-gallon or 4-gallon pump sprayer.
- Apply the Termiticide: Apply exactly 4 gallons of the mixed solution per 10 linear feet of trench. Pour slowly to ensure deep soil penetration without runoff.
- Backfill and Treat: As you push the excavated soil back into the trench, spray the backfill soil with the remaining solution to ensure a continuous chemical envelope.
Note: Fipronil is highly toxic to aquatic life and bees. Never apply near ponds, streams, or blooming flowers. Always consult NC State Extension guidelines for local environmental restrictions before application.
Strategic Bait Station Deployment
If you prefer not to dig trenches or want a long-term monitoring and elimination system, in-ground bait stations utilize chitin synthesis inhibitors (CSI) like Noviflumuron or Hexaflumuron. These compounds prevent tiny termites from molting, leading to a gradual colony collapse.
Deployment Strategy:
- Spacing: Install stations 10 to 20 feet apart around the perimeter of the yard zone or structure.
- Placement: Position stations 2 to 4 feet away from the foundation, avoiding areas directly under roof drip lines where heavy water flow will wash out the bait matrix.
- Installation: Use a 2-inch auger or post-hole digger to create a hole 12 inches deep. Insert the station housing so the cap sits flush with the soil surface.
- Inspection Cadence: Inspect the wooden monitoring bases every 30 days during spring and fall. Once active feeding is confirmed, swap the monitoring wood for the CSI bait cartridge.
Moisture Management: Starving the Colony
Chemical treatments fail if the yard environment remains overly saturated. Subterranean termites construct mud tubes to travel above ground specifically to seek out moisture sources. Altering the yard's hydrology is a permanent defense mechanism.
💡 The 5-Foot Rule: Ensure all gutter downspouts are fitted with rigid extensions that discharge water at least 5 feet away from any wooden landscape feature or foundation. Termites rarely establish primary colonies in soil that undergoes frequent, deep drying cycles.
Grade the soil around wooden retaining walls and garden beds to achieve a minimum slope of 1/4 inch per foot. Replace standard sprinkler heads near wooden borders with drip irrigation lines, and cap any unused irrigation risers that leak at the base.
Cost Breakdown: DIY Yard Defense vs. Professional Intervention
Understanding the financial commitment helps homeowners decide between weekend DIY projects and hiring licensed structural pest control operators.
| Treatment Method | Material/Service Cost | Labor / Time Investment | Longevity |
|---|---|---|---|
| DIY Liquid Trench (Taurus SC) | ~$130 (20 oz bottle treats ~60 linear ft) | 4-6 hours of digging and mixing | 5 to 10 years in undisturbed soil |
| DIY Bait Stations (Advance System) | ~$160 (10-station starter kit) + $80/yr bait | 2 hours installation, 1 hr/month checks | Indefinite (requires active monitoring) |
| Professional Liquid Treatment | $800 - $1,500 (varies by linear footage) | Zero (handled by crew) | 10+ years (often includes warranty) |
| Professional Bait System (Sentricon) | $1,200 - $2,000 initial + $300/yr renewal | Zero (handled by technician) | Indefinite (with annual renewal) |
Escalation Thresholds: When Yard Defense Isn't Enough
Treating tiny termites in the yard is highly effective for protecting detached structures, garden beds, and fences. However, you must escalate to a licensed professional if you observe any of the following critical failure modes:
- Mud Tubes on the Foundation: If you find 1/4-inch wide earthen shelter tubes climbing your home's concrete foundation or brick veneer, the colony has already bridged the gap to the structure.
- Frass Accumulation: Finding tiny, hexagonal wood pellets (frass) on patios or windowsills indicates a Drywood termite infestation (Incisitermes), which does not require soil contact and cannot be treated with ground trenching.
- Swarmers Inside the Home: Discarded wings on interior windowsills mean a mature colony is actively reproducing inside your structural timbers.
By accurately identifying the insects, altering the moisture profile of your landscape, and applying targeted fipronil or CSI treatments, you can successfully neutralize tiny termite foragers before they transition from a yard nuisance to a structural catastrophe.

