
Pest Control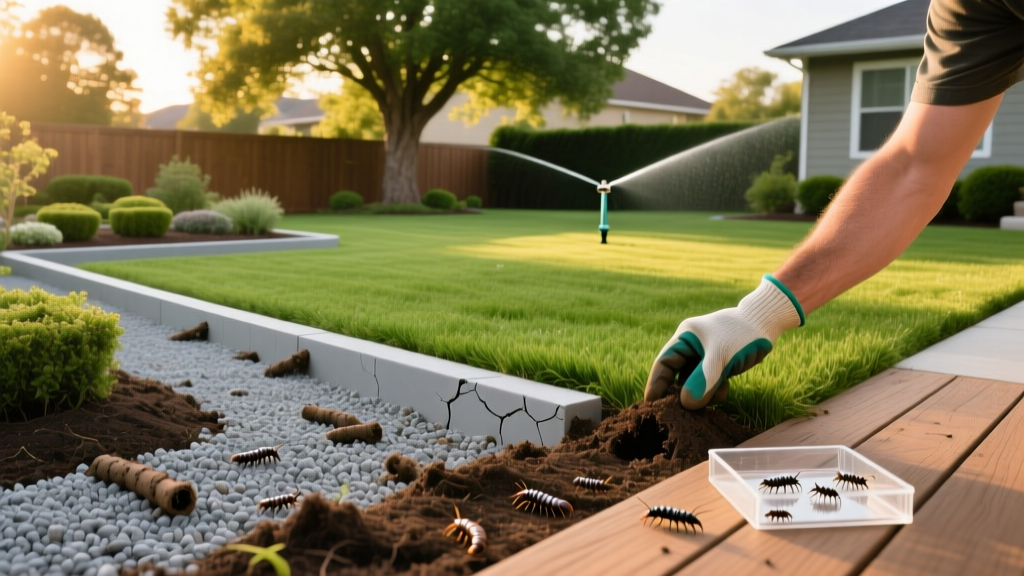
How to Treat Termites: Yard Perimeter and Mulch Defense
The Hidden Threat in Your Landscape
Subterranean termites do not just attack the wooden framing of your house; they use your yard as a staging ground. Mulch beds, decorative tree stumps, and wooden fencing provide the exact moisture and cellulose profiles these pests require to build massive satellite colonies. When homeowners ask how to treat termites in the yard, the answer requires shifting focus from reactive spot-treatments to proactive perimeter defense. Ignoring yard colonies guarantees they will eventually bridge the gap to your home's foundation.
This guide details the exact chemical protocols, trenching mathematics, and baiting strategies required to establish an impenetrable yard perimeter, utilizing non-repellent transfer technologies that eradicate colonies at the source.
Identifying Yard Termite Hotspots
Before applying any termiticide, you must map the foraging zones. Subterranean termites require constant contact with soil moisture. Inspect your property for the following high-risk vectors:
- Deep Mulch Beds: Mulch piled deeper than 3 inches against siding retains excessive moisture and hides mud tubes.
- Wood-to-Soil Contact: Fence posts, deck stairs, and retaining wall timbers buried directly in the earth.
- Irrigation Leaks: Drip lines or leaking spigots that create perpetually saturated soil zones near the foundation.
- Tree Stumps and Root Systems: Decaying subterranean roots act as hidden highways connecting the yard to your structure.
The Decision Matrix: DIY Liquid vs. Bait Systems
Choosing the right defense mechanism depends on your soil type, budget, and the proximity of the infestation to your home. Below is a comparative analysis of the primary yard treatment methodologies available in 2026.
| Treatment Type | Active Ingredient | Avg. Cost (200ft Perimeter) | Efficacy & Mechanism | Best Use Case |
|---|---|---|---|---|
| DIY Liquid Trenching | Fipronil (9.1%) | $200 - $250 | Non-repellent; transfer effect kills colony over 30-90 days. | Clay/loam soils, immediate foundation protection. |
| DIY Bait Stations | Diflubenzuron | $350 - $450 | Chitin synthesis inhibitor; disrupts molting, slow colony collapse. | Sandy soils, properties with wells or water features. |
| Professional Liquid | Fipronil / Imidacloprid | $1,200 - $1,800 | High-pressure rodding and trenching; commercial-grade warranty. | Active structural infestations originating from the yard. |
| Professional Bait (e.g., Sentricon) | Noviflumuron | $1,500 - $2,500+ | Monitored and maintained by pros; highly effective foraging disruption. | High-end landscaping where trenching would destroy hardscaping. |
Step-by-Step Trenching and Liquid Termiticide Application
The gold standard for yard perimeter defense is the application of a non-repellent liquid termiticide like Taurus SC or Termidor SC. Unlike older repellent chemicals (like Bifenthrin) that simply push termites to find a gap in the chemical barrier, Fipronil-based products are undetectable. Termites tunnel through the treated soil, pick up the chemical, and transfer it to the rest of the colony through grooming and trophallaxis (food sharing).
Step 1: Calculate Your Trenching Volume
The standard application rate requires 4 gallons of finished solution per 10 linear feet of trench. The trench must be 6 inches wide and 6 inches deep, placed directly against the foundation or the perimeter of the hardscaping.
Data Highlight: The Trenching Math
For a home with 200 linear feet of perimeter:
• Total Volume Needed: 80 gallons of finished solution.
• Mixing Ratio: 0.8 fluid ounces of Taurus SC per 1 gallon of water.
• Total Chemical Needed: 64 fluid ounces.
• Purchasing Requirement: Three 20oz bottles and one 8oz bottle (approx. $210 total).
For a home with 200 linear feet of perimeter:
• Total Volume Needed: 80 gallons of finished solution.
• Mixing Ratio: 0.8 fluid ounces of Taurus SC per 1 gallon of water.
• Total Chemical Needed: 64 fluid ounces.
• Purchasing Requirement: Three 20oz bottles and one 8oz bottle (approx. $210 total).
Step 2: Mixing and Safety Protocols
Always wear chemical-resistant nitrile gloves and safety goggles. Fill a 2-gallon or 4-gallon pump sprayer halfway with water, add the precise amount of Fipronil concentrate, agitate gently, and fill the rest with water. Never mix this chemical near storm drains, wells, or bodies of water.
Step 3: Digging and Treating the Trench
Using a narrow trenching shovel, dig a 6x6 inch trench around the target area. For every 10 feet of trench, pour 4 gallons of the mixed solution evenly along the soil. Once the liquid has absorbed into the earth (usually 2-4 hours), backfill the trench with the excavated soil, mixing the treated dirt back into the top layer to create a continuous chemical zone.
Termite Bait Station Installation for Perimeter Defense
If your yard features extensive hardscaping, mature tree root systems, or sandy soil where liquid trenching might leach too quickly, termite bait stations are the superior alternative. Systems like the Advance Termite Bait System utilize a two-stage process: monitoring and baiting.
- Station Placement: Install stations 10 feet apart around the perimeter of the yard and home. Place them near known termite activity zones, such as moist soil near downspouts or adjacent to wooden fences.
- Drilling Hardscapes: If a station must be placed on a concrete patio or driveway, use a hammer drill with a 5/8-inch masonry bit to core through the concrete, ensuring the station reaches the underlying soil.
- The Monitoring Phase: Insert the wooden monitoring base and the inspection cartridge. Check stations every 45 days. You are looking for termite feeding on the wood monitor, characterized by hollowed-out galleries packed with fecal matter and soil.
- The Baiting Phase: Once active foraging is confirmed, remove the inspection cartridge and replace it with the bait cartridge containing 0.25% Diflubenzuron. This insect growth regulator prevents termites from molting, systematically collapsing the colony over 60 to 120 days.
WARNING: The Mulch Gap Rule
Never apply liquid termiticide and immediately cover it with 4 inches of wood mulch. Mulch provides an alternative food source and retains moisture that can degrade the chemical barrier over time. Maintain a strict 6-inch mulch-free gap between your landscape beds and the home's siding or foundation to ensure the treated soil remains exposed and effective.
Never apply liquid termiticide and immediately cover it with 4 inches of wood mulch. Mulch provides an alternative food source and retains moisture that can degrade the chemical barrier over time. Maintain a strict 6-inch mulch-free gap between your landscape beds and the home's siding or foundation to ensure the treated soil remains exposed and effective.
Addressing Yard Outbuildings and Fencing
Homeowners often treat the main house but forget the yard structures. Detached sheds, pergolas, and wooden privacy fences are highly susceptible to Formosan and native subterranean termites. To protect a wooden fence line, apply a localized liquid trench along the inside of the fence posts. For existing wooden posts showing signs of damage (hollow sounding when tapped with a screwdriver), drill 1/4-inch holes into the post at a downward angle and inject a foaming termiticide (like Alpine Ant and Termite Foam) directly into the galleries to kill the active foragers inside the wood.
When to Abandon DIY and Call a Professional
While yard perimeter defense is highly manageable for a diligent homeowner, certain scenarios mandate professional intervention. According to the University of Kentucky Entomology Department, structural treatments require specialized high-pressure rodding equipment to inject termiticide deep into the soil beneath concrete slabs and hollow block foundations. If your yard inspection reveals mud tubes actively crossing the foundation wall and entering the home's weep holes or sill plates, the infestation has already breached the perimeter. In this case, yard treatment alone is insufficient; a licensed pest control operator must perform a full structural treatment backed by a damage repair warranty.
Furthermore, the Environmental Protection Agency (EPA) strictly regulates termiticide applications near private wells, cisterns, and swimming pools. If your yard layout includes these features within 5 feet of the treatment zone, professional applicators are required to use specialized void-sealing and rodding techniques to prevent groundwater contamination.
Final Perimeter Checklist
To maintain your yard defense grid throughout the year, adhere to this maintenance schedule:
- Spring: Inspect all bait stations for spring foraging swarms; clear debris from station caps.
- Summer: Ensure irrigation sprinklers are not directly spraying the home's foundation, which dilutes liquid termiticide barriers.
- Fall: Rake dead leaves and organic debris away from the foundation; replace degraded mulch while respecting the 6-inch gap rule.
- Winter: Check for woodpiles stored against the house; relocate all firewood at least 20 feet from the structure and elevate it off the soil.
By combining precise trenching mathematics, non-repellent transfer chemistry, and strict landscape hygiene, you transform your yard from a termite staging ground into an impassable defensive perimeter.

