
Pest Control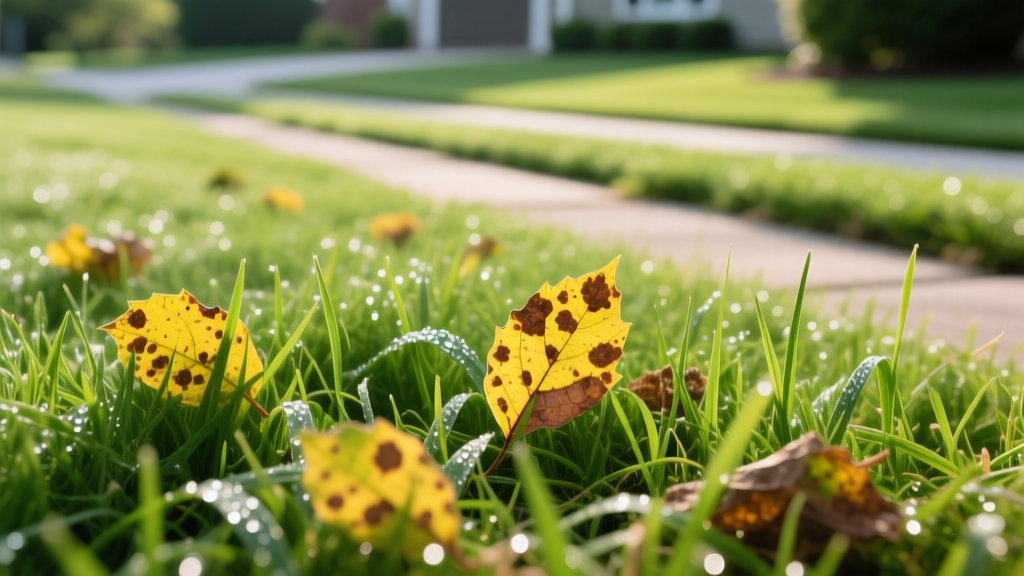
Diagnosing Turf Disease: Best Leaf Spot Fungicide Rescue Fixes
Symptom Diagnosis: Is It Fungal Leaf Spot or Abiotic Stress?
Brown spots on your lawn in early spring or late fall usually trigger a panic response, but misdiagnosing abiotic drought stress or dog urine burn as a fungal infection wastes time and money. When the culprit is genuinely the Helminthosporium complex—specifically Bipolaris sorokiniana or Drechslera poae—deploying the correct leaf spot fungicide immediately is the only way to halt the progression to the destructive 'melting out' phase.
According to Penn State Extension, fungal leaf spot thrives in cool, wet conditions (60°F to 75°F) and primarily targets Kentucky bluegrass, perennial ryegrass, and fescues. Before purchasing a chemical treatment, perform this three-step diagnostic check:
- The Lesion Check: Inspect individual grass blades. Fungal leaf spot presents as dark purple to brown oval lesions, often with a distinct yellow halo or tan center. Abiotic stress causes uniform browning from the leaf tip down without distinct oval margins.
- The Sheath Pull: Gently pull on a yellowing grass tiller. If it pulls out easily and the basal sheath is dark brown or blackened, the disease has reached the 'melting out' stage, attacking the crown and roots.
- The Pattern Analysis: Fungal outbreaks rarely form perfect circles (unlike Dollar Spot or Brown Patch). Instead, they cause generalized thinning and a mottled, yellow-brown appearance across large sections of the turf canopy.
⚠️ Critical Rescue Warning: If your lawn has already progressed to the melting-out phase (root and crown rot), contact fungicides will fail. You must use a systemic leaf spot fungicide that translocates through the plant's xylem to protect new growth and halt crown infection.
The Rescue Protocol: Selecting Your Leaf Spot Fungicide
Not all fungicides are created equal. The Fungicide Resistance Action Committee (FRAC) categorizes chemicals by their mode of action. For curative rescue fixes, you need active ingredients that penetrate the leaf cuticle rapidly and possess true systemic properties. Relying on a single chemical class year after year will breed resistant pathogen strains, rendering your treatments useless.
Active Ingredient Comparison Matrix
| Active Ingredient | FRAC Group | Curative Efficacy | Est. Cost per 1,000 sq ft | Top Product Example |
|---|---|---|---|---|
| Azoxystrobin | 11 (QoI) | Excellent (Locally Systemic) | $0.12 - $0.18 | Syngenta Heritage SC |
| Propiconazole | 3 (DMI) | Good (True Systemic) | $0.08 - $0.14 | Syngenta Banner MAXX |
| Azoxystrobin + Propiconazole | 11 + 3 | Superior (Resistance Mgmt) | $0.22 - $0.30 | Syngenta Headway SC |
| Myclobutanil | 3 (DMI) | Moderate | $0.05 - $0.09 | Corteva Eagle 20EW |
For an active outbreak where the goal is immediate rescue, a combination product like Headway SC provides the rapid knockdown of Azoxystrobin (Group 11) with the lingering, true-systemic protection of Propiconazole (Group 3). If budget constraints require a single active ingredient, Heritage SC (Azoxystrobin) offers the strongest curative action against the Helminthosporium complex, provided you rotate to a Group 3 or Group 7 fungicide for your next application 21 days later.
Step-by-Step Application for Maximum Curative Impact
Applying the right chemical with the wrong technique is the leading cause of fungicide failure. Curative applications require higher rates and precise foliar coverage compared to preventative maintenance.
- Calculate the Curative Rate: Check the label for the highest permitted rate. For Heritage SC (Azoxystrobin 23.4%), the preventative rate is 0.2 to 0.4 fl oz per 1,000 sq ft, but the curative rescue rate is 0.4 to 0.8 fl oz per 1,000 sq ft. Always use the curative rate when symptoms are already visible.
- Buffer Your Water: Triazole fungicides (Group 3) can undergo alkaline hydrolysis, degrading rapidly in tap water with a pH above 7.0. Test your water pH and add a buffering agent (like ammonium sulfate or a commercial pH buffer) to drop the spray solution to a pH of 5.5 to 6.0 before adding the chemical.
- Optimize Nozzle Selection: Ditch the standard hose-end sprayer. Use a backpack sprayer fitted with an XR (Extended Range) flat fan nozzle, such as the TeeJet XR11004. Air induction (AI) nozzles produce droplets that are too large and bounce off the narrow grass blade, wasting product.
- Calibrate for Foliar Penetration: Fungicides must coat the leaf surface to penetrate the cuticle. Calibrate your sprayer to deliver exactly 2.0 to 3.0 gallons of water per 1,000 sq ft. Walk at a steady pace of 3 feet per second to ensure uniform coverage without runoff.
- Delay Irrigation and Mowing: Do not water the lawn for at least 24 hours post-application to allow the systemic active ingredients to translocate into the plant tissue. Wait 48 hours before mowing to prevent physically removing the chemical from the leaf surface.
Cultural Fixes to Prevent Relapse (The Missing Link)
Chemical rescue fixes the immediate symptom, but cultural mismanagement invites the pathogen back. The University of Minnesota Turf Science program emphasizes that leaf spot fungi are opportunistic, exploiting turf weakened by poor nitrogen management and excessive thatch.
'Leaf spot pathogens overwinter in thatch and infected plant debris. If your thatch layer exceeds 0.5 inches, the fungicide will bind to the dead organic matter before it ever reaches the living crown, rendering your expensive chemical application useless.' — Turfgrass Pathology Guidelines
Post-Rescue Maintenance Checklist
- Nitrogen Timing: Avoid heavy, quick-release nitrogen applications (like urea) during the peak spring infection window (April-May). Excessive top-growth depletes root carbohydrates, making the plant highly susceptible to the melting-out phase. Use slow-release methylene urea or sulfur-coated urea at 0.5 lbs N per 1,000 sq ft.
- Mowing Height Adjustment: Raise your mower deck to 3.0 or 3.5 inches. Scalping the lawn removes the newest, most actively growing tissue and forces the plant to expend energy on regrowth rather than fighting the fungal infection.
- Irrigation Frequency: Leaf spot spores require extended leaf wetness (8 to 12 hours) to germinate and infect. Switch from daily light watering to deep, infrequent irrigation (0.5 to 1.0 inch per week), and strictly water between 4:00 AM and 6:00 AM so the grass canopy dries rapidly once the sun rises.
Troubleshooting: Why Your Fungicide Failed
If you applied a leaf spot fungicide and the brown patches continued to expand after 10 days, evaluate these three common failure modes:
- Pathogen Misidentification: You may be treating for Helminthosporium when the actual issue is Pythium blight or abiotic summer patch. Fungicides are highly specific; Azoxystrobin works on both, but Propiconazole does not control Pythium species.
- Thatch Interception: As noted above, a thatch layer thicker than 0.5 inches acts as a chemical sponge. If you didn't dethatch or core aerate prior to the outbreak, the active ingredient never reached the soil-borne crown where the melting-out infection resides.
- FRAC Resistance: If you have exclusively used Group 11 (Strobilurin) fungicides for the past three seasons, your local Bipolaris population may have developed genetic resistance. You must immediately switch to a Group 3 (Triazole) or a multi-site contact fungicide like Chlorothalonil (Group M5) to break the resistance cycle.
Accurate diagnosis paired with precise, chemistry-rotated applications is the only reliable framework for rescuing a lawn from severe leaf spot diseases. Monitor the turf closely for 21 days post-application, and be prepared to apply a secondary fungicide from a different FRAC group if environmental conditions remain cool and saturated.

