
Pest Control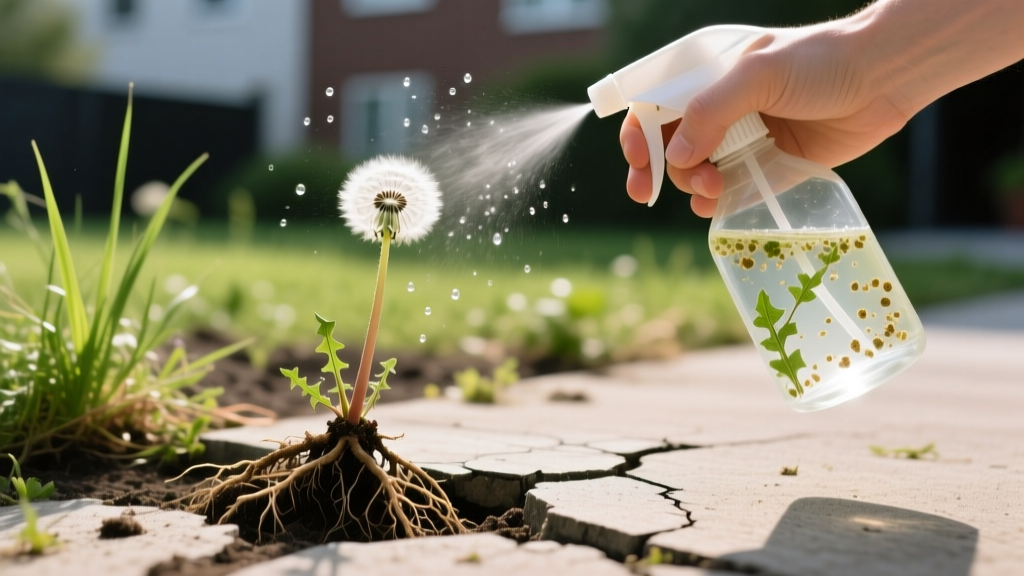
The Only Homemade Weed Killer That Works on Deep-Rooted Weeds
If you have ever sprayed a mixture of kitchen vinegar and table salt on a dandelion, only to watch it bounce back three days later, you already know the frustration of DIY pest control. The internet is flooded with recipes for homemade herbicides, but the vast majority rely on 5% acetic acid and sodium chloride—a combination that merely singes the leaf tips while permanently sterilizing your soil. Finding a homemade weed killer that works requires moving beyond pantry staples and understanding the botanical mechanics of plant cuticles.
To achieve actual foliar burn and desiccation on mature broadleaf weeds without resorting to synthetic glyphosate, you must formulate a contact herbicide that breaches the plant's waxy outer layer. This guide details the exact chemical ratios, safety protocols, and application timing required to make an organic, soil-safe DIY weed killer that actually delivers results in 2026.
The Science of Why Most DIY Weed Killers Fail
The primary reason standard homemade recipes fail is a misunderstanding of contact versus systemic herbicides. According to Penn State Extension, acetic acid (vinegar) is strictly a contact herbicide. It destroys cell membranes on contact, causing rapid desiccation of the foliage it touches. However, it does not translocate down into the root system.
Furthermore, mature weeds develop a thick, waxy cuticle on their leaves to prevent water loss. Standard 5% household vinegar simply beads up and rolls off this cuticle. To make a homemade weed killer that works, you must introduce two elements:
- A Cuticle Solvent: An essential oil like d-limonene (citrus extract) to dissolve the waxy barrier.
- A Surfactant: A non-ionic wetting agent to reduce surface tension, allowing the acidic solution to spread evenly and penetrate the leaf stomata.
The Salt Dilemma: Never Use Sodium Chloride
Many viral recipes suggest adding Epsom salt or table salt to vinegar. While sodium chloride (table salt) will kill weeds through extreme osmotic shock, it permanently ruins soil structure and creates toxic salinity levels that prevent future grass or plant growth. As outlined by the EPA's guidelines on minimum-risk pesticides, organic herbicides should minimize long-term environmental impact. We strictly exclude salt from this formulation to protect your soil microbiome.
The Ultimate Soil-Safe Homemade Weed Killer Recipe
This formulation utilizes high-concentration horticultural vinegar boosted with cold-pressed citrus oil. As of 2026, 30% horticultural vinegar costs approximately $25 to $35 per gallon at agricultural supply stores, making this recipe cost roughly $1.80 per 32-ounce spray bottle.
Ingredients & Equipment
- 1 Gallon 30% Acetic Acid: Horticultural grade (e.g., Green Gobbler or Harris 30%). Do not use 5% kitchen vinegar.
- 2 fl oz d-Limonene: Cold-pressed citrus oil extract (available at garden centers or online).
- 1 tbsp Non-Ionic Surfactant: Agricultural grade (e.g., Captain Jack's Surfactant). Avoid dish soaps like Dawn, which contain sodium and degreasers that harm soil microbes.
- Equipment: 2-gallon polyethylene pump sprayer, ANSI Z87.1 rated safety goggles, and nitrile gloves.
Mixing Protocol
- Put on your nitrile gloves and safety goggles. 30% acetic acid is highly corrosive and can cause severe, irreversible eye damage.
- Pour 1 gallon of the 30% acetic acid into the polyethylene pump sprayer.
- Add 2 fluid ounces of d-limonene. The citrus oil will immediately begin to separate and float on top of the vinegar.
- Add 1 tablespoon of the non-ionic surfactant.
- Seal the sprayer and agitate vigorously for 60 seconds. The surfactant will emulsify the citrus oil into the vinegar, creating a cloudy, homogenous mixture.
Step-by-Step Application for Maximum Efficacy
Because this is a contact herbicide, timing and coverage are the difference between a dead weed and a minor cosmetic burn. Follow these environmental parameters strictly:
| Parameter | Optimal Condition | Why It Matters |
|---|---|---|
| Temperature | 75°F to 90°F | Heat accelerates the chemical burn and cellular collapse. |
| Time of Day | 11:00 AM to 2:00 PM | Stomata are fully open, and intense UV light synergizes with the acid. |
| Wind Speed | Under 5 MPH | Prevents drift onto desirable turfgrass or ornamental plants. |
| Rain Forecast | Zero rain for 24 hours | The solution requires 4 hours to fully penetrate the cuticle. |
The Spray Technique: Adjust your pump sprayer nozzle to a fine mist. Spray the weed until the leaves are thoroughly coated and just beginning to drip. Do not drench the surrounding soil; the goal is foliar coverage. Within 2 to 4 hours, you will notice the leaves wilting and turning a pale, translucent green. By the 24-hour mark, the above-ground foliage should be completely desiccated and brown.
Comparison Matrix: DIY vs. Commercial Organic Herbicides
How does this homemade formulation stack up against store-bought organic options? Here is a breakdown of efficacy, cost, and active mechanisms.
| Product Type | Active Ingredients | Cost per Gallon (2026) | Efficacy on Mature Weeds |
|---|---|---|---|
| This DIY Recipe | 30% Acetic Acid + d-Limonene | ~$14.50 | High (Excellent foliar burn) |
| Commercial Iron HEDTA (e.g., Fiesta) | Chelated Iron (FeHEDTA) | ~$85.00 | Very High (Selective broadleaf kill) |
| Standard Organic Sprays (e.g., BurnOut) | 6% to 12% Acetic Acid + Clove Oil | ~$32.00 | Moderate (Struggles with thick cuticles) |
Critical Edge Cases: When Homemade Sprays Fail
Even the best homemade weed killer that works flawlessly on broadleaf annuals has biological limitations. Understanding these edge cases will save you time and prevent over-application.
1. Perennial Grasses with Rhizomes (e.g., Bermuda Grass, Quackgrass)
Contact herbicides only kill what they touch. Perennial invasive grasses spread via underground rhizomes and stolons. Spraying the top growth of Bermuda grass with 30% vinegar will burn the visible blades, but the rhizome network will push up new shoots within a week. For these weeds, physical extraction or repeated mowing to exhaust the root's carbohydrate reserves is the only non-chemical solution.
2. Nutsedge (Cyperus esculentus)
Nutsedge reproduces via underground tubers (nutlets). A single plant can harbor dozens of dormant tubers. While our d-limonene and acetic acid mixture will easily melt the above-ground triangular stems, the tubers remain entirely unaffected. Expect to treat nutsedge emergence every 14 days throughout the growing season to eventually deplete the tuber bank.
3. Post-Rain Rebound
If an unexpected afternoon thunderstorm occurs within 4 hours of application, the acetic acid will be diluted and washed into the soil before it can fully breach the leaf cuticle. Do not re-spray immediately. Wait 48 hours for the weed to recover and open its stomata again, then reapply.
Safe Disposal and Storage
Because 30% acetic acid is highly reactive, never store the mixed solution in metal containers; it will rapidly corrode aluminum and steel, creating flammable hydrogen gas. Keep the mixture in a high-density polyethylene (HDPE) jug, clearly labeled, stored in a cool, dark garage out of reach of children and pets. The d-limonene will naturally degrade over 3 to 4 months, so mix only what you intend to use within a single growing season.
By upgrading from kitchen vinegar to a scientifically balanced, cuticle-penetrating formulation, you can effectively manage driveway cracks, patio pavers, and isolated lawn weeds without introducing persistent synthetic chemicals into your local watershed.

