
Pest Control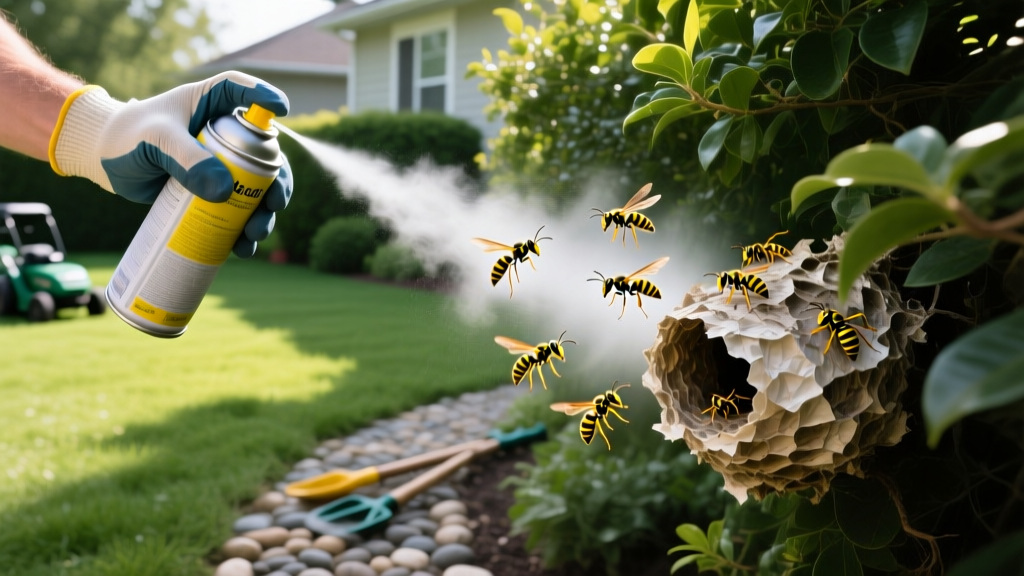
Insecticide for Yellow Jackets: Emergency Diagnosis and Rescue Fixes
Symptom Diagnosis: Identifying the Yellow Jacket Threat
Before selecting an insecticide for yellow jackets, you must accurately diagnose the threat level and nest architecture. Yellow jackets (Vespula and Dolichovespula species) are frequently misidentified as honeybees, but their behavior and nest structures dictate entirely different eradication protocols. Unlike docile honeybees, yellow jackets are highly aggressive, capable of multiple stings, and will defend their colony en masse if they detect vibrations or shadows near the nest entrance.
Diagnose the colony type by observing forager flight patterns from a safe distance (at least 20 feet) during peak daylight hours:
- Ground Nests: Look for a steady stream of insects entering and exiting a bare patch of soil, an abandoned rodent burrow, or a gap in a retaining wall. Ground nests house 70% to 80% of problematic yellow jacket colonies and are the most hazardous due to accidental stepping.
- Aerial Nests: Identify papery, gray, football-shaped envelopes suspended under eaves, inside shrubs, or beneath deck joists. These are typically built by aerial yellow jackets (Dolichovespula arenaria).
- Structural Voids: If you see heavy traffic entering a crack in your home's siding, soffit, or brickwork, the colony is nesting inside the wall void. Do not seal the hole. Sealing an active void forces thousands of agitated insects to chew through drywall into your living spaces.
⚠️ Critical Safety Warning: If you or anyone in your household has a known Hymenoptera venom allergy, do not attempt DIY rescue fixes. The Penn State Extension strongly recommends hiring a licensed pest control operator for structural or high-traffic nests, as anaphylaxis risks outweigh the cost of professional extraction.
Selecting the Right Insecticide for Yellow Jackets
The efficacy of your rescue fix depends entirely on matching the insecticide formulation to the nest location. Aerosols fail in ground burrows because they cannot penetrate deep into the soil chambers, while dusts are useless on exposed aerial nests where wind disperses the powder. Below is a diagnostic matrix to select the correct active ingredient and delivery system.
| Formulation | Active Ingredient | Target Nest Type | Knockdown Time | Avg. Cost (2026) |
|---|---|---|---|---|
| Insecticidal Dust | Deltamethrin (0.06%) or Cyfluthrin (1.0%) | Ground burrows, Wall voids | 24 - 72 hours (colony collapse) | $18 - $28 (8 oz) |
| Aerosol Jet Spray | Prallethrin (0.05%) + Lambda-Cyhalothrin | Exposed Aerial nests, Eaves | Immediate - 5 minutes | $6 - $12 (14 oz) |
| Microencapsulated Liquid | Lambda-Cyhalothrin (9.7%) | Perimeter barrier, Foraging zones | Residual (up to 90 days) | $35 - $50 (8 oz concentrate) |
According to the University of California Integrated Pest Management (UC IPM) program, dust formulations are the gold standard for subterranean nests because foraging workers track the toxic powder deep into the brood chambers, effectively killing the queen and larvae that sprays cannot reach.
Rescue Fix 1: Ground Nest Elimination (The Dust Method)
Ground nests require a delayed-action approach. Your goal is not to kill the guards at the entrance, but to use them as Trojan horses to carry the insecticide to the queen.
Required Equipment
- Delta Dust (Deltamethrin) or Drione Dust (Silica gel + Pyrethrin)
- Bellows hand duster (e.g., JT Eaton or Harris model)
- Red-lens flashlight (yellow jackets cannot see red light well)
- Full protective bee suit, veiled helmet, and thick leather gauntlet gloves
Execution Protocol
- Time the Application: Treat strictly between 9:00 PM and 11:00 PM. At this time, all foragers have returned to the nest, and colony activity is minimal due to dropping temperatures (ideally below 65°F).
- Load the Duster: Fill the bellows duster no more than 1/3 full with dust. Overfilling prevents the bellows from creating the necessary air puff.
- Approach and Apply: Approach the nest entrance slowly from the side, never standing directly over the hole. Insert the duster tip 1 to 2 inches into the entrance and deliver 3 to 4 quick puffs. You should see a light dusting of powder on the soil lip.
- Retreat and Wait: Back away slowly. Do not plug the hole with dirt or mud. The colony must remain open so returning foragers and internal workers can track the dust throughout the nest. Complete colony collapse typically occurs within 48 to 72 hours.
Rescue Fix 2: Aerial Nest Takedown (The Jet Spray Method)
Aerial nests require an aggressive, immediate-knockdown approach. Because the nest is exposed, a delayed-action dust will simply blow away or fail to penetrate the thick paper envelope.
Required Equipment
- Wasp-Freeze or Spectracide Wasp & Hornet Killer III (Must feature a 15-to-20-foot jet stream nozzle)
- Safety goggles and long-sleeved heavy canvas clothing
Execution Protocol
- Establish an Escape Route: Clear all tripping hazards, hoses, and tools from your retreat path before approaching the nest.
- Positioning: Stand exactly 12 to 15 feet away. Do not stand directly underneath the nest; if the nest detaches, it will fall on you, releasing thousands of enraged insects.
- Saturate the Envelope: Aim the jet stream directly at the nest's single entrance hole (usually located at the bottom). Spray continuously for 5 to 8 seconds, then shift to saturate the exterior paper envelope to kill any guards resting on the outside.
- Immediate Retreat: Turn and walk briskly along your cleared escape route. Do not run, as rapid movement and heavy breathing attract pursuing insects.
- Removal: Wait 24 hours. The next evening, use a long pole to knock down the dead nest and immediately submerge it in a bucket of soapy water to ensure any surviving larvae are destroyed.
Edge Case Diagnosis: Structural Wall Voids
Treating a nest inside a wall void is the most complex rescue fix. Never use liquid aerosols or foaming sprays inside wall voids. Foams expand and push agitated insects through electrical outlets and light fixtures into the home. Furthermore, liquid sprays can soak drywall and cause interior water damage.
The Fix: Use an insecticidal dust (Delta Dust) applied via a bellows duster directly into the exterior crack or weep hole where the insects are entering. Apply 2 to 3 puffs. Leave the hole completely open for at least 7 days. You will notice a spike in activity on day 2 as the dust agitates the colony, followed by a sharp decline by day 5. Only seal the exterior crack with silicone caulk or copper mesh after you have observed zero insect traffic for 48 consecutive hours. If you seal it too early, the surviving colony will simply chew a new exit through your interior drywall.
Post-Treatment Prevention and Exclusion
Once the emergency rescue fix is complete, implement exclusion tactics to prevent secondary colonies from claiming the same territory. Yellow jackets are highly territorial and will reuse existing cavities if the old pheromone markers remain.
- Ground Burrows: After confirming the ground nest is dead (no activity for 3 days), fill the burrow with a mixture of topsoil and crushed gravel to eliminate the subterranean void.
- Perimeter Defense: Apply a microencapsulated residual spray (like Tempo SC Ultra) along the foundation, eaves, and soffits in early spring (April/May). This targets the overwintered queens as they emerge to scout for new nesting sites, stopping the colony before it ever establishes.
- Decoy Traps: Hang commercial decoy nests (e.g., Rescue Yellowjacket Decoy) in early spring. Yellow jackets avoid building within 200 feet of an established rival colony, making decoys a highly effective, chemical-free deterrent for patios and decks.

