
Tree Care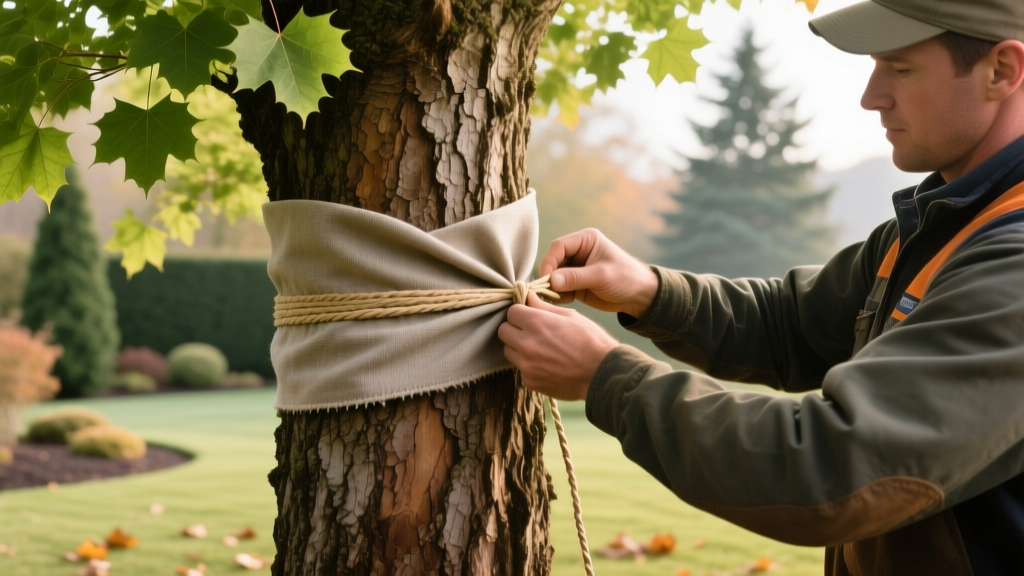
How to Apply a Winter Maple Cover to Prevent Bark Splitting
Young maple trees—particularly Red Maples (Acer rubrum), Sugar Maples (Acer saccharum), and Norway Maples (Acer platanoides)—possess remarkably thin bark during their first three to five years of establishment. When subjected to the extreme temperature fluctuations of winter, this thin bark becomes highly susceptible to southwest winter injury, commonly known as sunscald, and subsequent longitudinal frost cracks. Applying a proper winter maple cover is not merely an aesthetic choice; it is a critical physiological intervention that stabilizes bark temperatures, prevents cellular rupture in the phloem and cambium layers, and deters opportunistic pests like the flatheaded appletree borer (Agrilus arcuatus complex).
This guide details the exact materials, measurements, and installation protocols required to deploy a maple cover effectively, ensuring your trees survive their vulnerable juvenile stages without suffering irreversible vascular damage.
The Mechanics of Southwest Winter Injury in Maples
Winter sunscald occurs on the south and southwest-facing sides of a maple trunk. On clear, cold winter days, direct solar radiation can heat the dark, thin bark of a young maple to temperatures 40°F to 60°F higher than the ambient air temperature. This localized heating tricks the dormant cambium cells into breaking dormancy and becoming active. When the sun sets or a cloud passes over, the bark temperature plummets rapidly, often dropping below freezing within minutes. This sudden thermal shock kills the newly active cells, resulting in a sunken, discolored canker that eventually splits the bark as the tree attempts to callus over the dead tissue.
According to research published by the Penn State Extension, these frost cracks not only compromise the structural integrity of the trunk but also create ideal entry points for wood-decaying fungi and vascular wilts. A physical maple cover acts as a thermal buffer, reflecting solar radiation and maintaining a stable, dormant microclimate against the trunk.
⚠️ CRITICAL WARNING: The Root Flare Rule
Never bury or tightly wrap the root flare (the base of the trunk where it flares into the roots). Trapping moisture against the root flare with a maple cover creates an anaerobic environment that accelerates Phytophthora crown rot. All trunk wraps and guards must terminate at least 2 inches above the soil line.
Material Selection: Which Maple Cover Works Best?
Not all tree wraps are created equal. Selecting the right maple cover depends on your local climate, budget, and the specific threats your trees face (e.g., thermal shock vs. rodent damage). Below is a comparison of the three most effective commercial options for maples.
| Material Type | Product Example | Cost per Tree | Pros & Cons |
|---|---|---|---|
| Polypropylene Wrap | DeWitt Pro-5 Tree Wrap | $3.00 - $5.00 | Excellent thermal buffering; stretches with trunk growth. Degrades if left on for multiple years. |
| Corrugated Plastic | Plantra Tree Guard | $6.00 - $9.00 | Highly durable; allows airflow; excellent against mechanical damage (weed whackers). Can harbor moisture if not vented. |
| Hardware Cloth (Metal) | 1/4-inch Galvanized Mesh | $8.00 - $12.00 | 100% effective against voles and rabbits. Provides zero thermal protection against sunscald on its own. |
For pure sunscald and frost crack prevention on young maples, white polypropylene wrap is the industry standard. The white color reflects winter sunlight, preventing the dangerous bark heating cycle, while the woven fabric allows the trunk to breathe.
Step-by-Step Installation Guide for Polypropylene Maple Covers
Proper installation is just as important as material selection. A wrap that is too tight will girdle the tree as its caliper expands, while a wrap that is too loose will flap in the wind, abrading the tender bark it is meant to protect.
- Time the Application Correctly: Apply the maple cover in late autumn, immediately after the first hard freeze (typically mid-to-late November, depending on your USDA Hardiness Zone). Applying it too early in the fall can trap excess moisture and encourage fungal cankers.
- Clean the Trunk: Gently brush off any loose soil, debris, or egg masses (such as Spotted Lanternfly casings) from the lower trunk using a soft-bristled brush. Do not use wire brushes, which will scar the cambium.
- Establish the Base: Start wrapping at the very bottom of the trunk, ensuring the lower edge of the wrap sits exactly 2 inches above the soil grade. This gap is non-negotiable to prevent crown rot.
- Apply the Overlap Technique: Wrap the polypropylene material at a slight upward angle. Each subsequent layer must overlap the previous layer by exactly one-third of the wrap's width (approx. 1.5 inches for standard 4-inch wide rolls). This shingle effect sheds melting snow and winter rain away from the bark.
- Monitor Tension: Pull the wrap snug enough that it won't slide down the trunk, but loose enough that you can comfortably slip a flat finger between the wrap and the bark. Never stretch the material to its maximum elasticity.
- Terminate at the Scaffold Branches: Continue wrapping upward until you reach the first major lateral scaffold branches. For most 2-to-3-year-old nursery maples, this requires 36 to 48 inches of vertical coverage.
- Secure the Top Edge: Fasten the top end of the wrap using UV-resistant landscaping staples or heavy-duty zip ties. Do not use duct tape or electrical tape, as the adhesive will bake into the bark and tear the periderm upon removal.
Rodent Exclusion: Upgrading Your Cover Strategy
While polypropylene prevents sunscald, it offers little defense against meadow voles (Microtus pennsylvanicus) and rabbits, which often chew through the wrap to access the sweet, nutrient-rich phloem of maples during deep snow cover. According to the University of Minnesota Extension, vole girdling is a leading cause of sudden spring die-off in young landscape trees.
To create a composite maple cover system, install a cylinder of 1/4-inch galvanized hardware cloth over the polypropylene wrap. Cut the hardware cloth to a height of 24 inches and a width that allows for a 2-inch clearance gap around the trunk. Bury the bottom edge of the hardware cloth 2 inches into the mineral soil to prevent voles from tunneling underneath. This dual-layer approach provides both thermal regulation and physical armor.
Removal Protocol: Avoiding the Girdling Trap
The most common mistake homeowners make with maple covers is leaving them on year-round. Tree wraps are strictly seasonal tools. As spring approaches, the tree resumes vascular flow and rapid caliper expansion. A wrap left on past early spring will restrict this growth, creating a lethal girdling effect that severs the phloem and starves the root system.
When to Remove
Remove the maple cover in early April, or as soon as the ground thaws and the tree's buds begin to swell (prior to bud break). In warmer zones (Zones 6-7), this may be mid-March.
Inspection and Storage
As you unwrap the trunk, inspect the bark for signs of Periphyllus aphids or fungal fruiting bodies. If the polypropylene wrap is intact and free of mold, it can be washed in a 10% bleach solution, dried, and reused for one additional season. Discard wraps that show significant UV degradation or tearing.
Frequently Asked Questions
- Do mature maples need winter covers?
No. Once a maple tree's trunk caliper exceeds 4 inches and the bark develops its characteristic thick, fissured ridges (usually around year 5 to 7), the insulating properties of the mature cork layers are sufficient to prevent sunscald. - Can I use burlap as a maple cover?
Burlap is highly effective for protecting the canopy of Japanese maples from winter wind desiccation, but it is a poor choice for trunk wrapping. Burlap absorbs and holds moisture against the bark, which can freeze into a solid ice sheath and exacerbate frost cracking. - My maple bark already split last winter. Will a cover fix it?
A cover cannot heal an existing split. If the split is clean and hasn't been colonized by fungi, you can trace the edges of the wound with a sterilized grafting knife to remove jagged bark, allowing the cambium to roll callus tissue over the gap. Apply a cover the following winter to prevent the split from expanding further.

