
Tree Care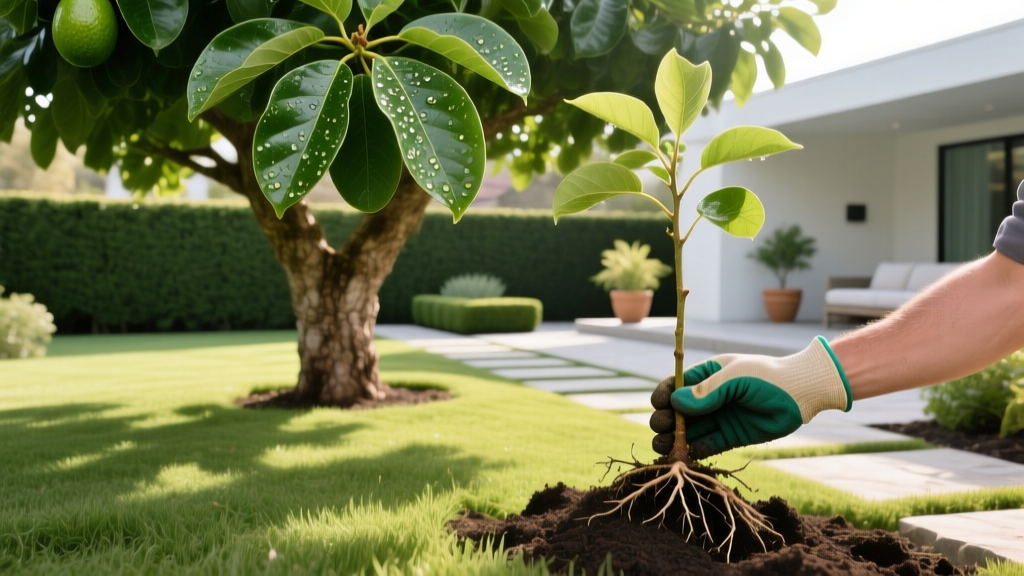
Avocado Trees: How to Grow and Establish for Backyard Fruit
The Critical First 90 Days of Avocado Establishment
Growing an avocado tree (Persea americana) from a nursery container to a fruit-bearing yard tree requires precise horticultural techniques. Unlike many temperate fruit trees, avocados possess shallow, highly sensitive feeder root systems that are exceptionally vulnerable to Phytophthora cinnamomi (root rot). Most establishment failures occur within the first 90 days due to improper planting depth, poor soil drainage, or erratic watering schedules.
According to the University of California Agriculture and Natural Resources (UC ANR), successful establishment hinges on mimicking the tree's native subtropical environment: well-aerated soil, consistent moisture without waterlogging, and protection from extreme thermal stress. In 2026, a healthy 15-gallon nursery avocado tree typically costs between $90 and $160. Protecting that investment requires moving beyond generic planting advice and executing a site-specific establishment protocol.
Quick Establishment Facts
- USDA Hardiness Zones: 9–11 (with specific cold-hardy cultivars surviving brief dips to 15°F)
- Optimal Soil pH: 6.0 to 6.5
- Time to First Fruit: 3 to 4 years for grafted nursery trees; 7 to 10+ years for seed-grown trees
- Root System: Shallow, with 80% of feeder roots located in the top 8 inches of soil
Selecting the Right Cultivar and Flower Type
Before breaking ground, you must select a cultivar suited to your microclimate and understand avocado flowering mechanics. Avocado flowers are dichogamous, meaning they open as one sex, close, and reopen as the opposite sex. They are categorized into Type A and Type B flowering patterns. While a single tree can produce fruit, planting a Type A and a Type B cultivar within 20 feet of each other can increase fruit set by up to 40% due to cross-pollination overlap.
| Cultivar | Flower Type | Cold Hardiness | Fruit Characteristics |
|---|---|---|---|
| Hass | Type A | 30°F | Pebbly black skin, high oil content, industry standard |
| Bacon | Type B | 25°F | Smooth green skin, lighter flavor, excellent pollinator |
| Mexicola Grande | Type A | 18°F | Small, thin black skin, anise-scented leaves, cold-hardy |
| Zutano | Type B | 26°F | Pear-shaped, green skin, fibrous texture, heavy bearer |
Site Selection and the Mandatory Percolation Test
Avocados will not survive in heavy, water-retentive clay soils. If water pools around the root crown for more than a few hours, the tree will succumb to root rot. Before planting, you must perform a soil percolation test.
- Dig a test hole 12 inches deep and 12 inches wide in your proposed planting location.
- Fill the hole completely with water and allow it to drain overnight (this saturates the soil profile).
- Refill the hole with water to the top. Measure the water level drop after exactly two hours.
- The Verdict: If the water level drops less than 2 inches in two hours, your drainage is inadequate for in-ground planting. You must either plant the tree on an 18-to-24-inch raised soil mound or choose a different site.
Step-by-Step Planting Protocol
When planting avocado trees, how to grow them successfully relies entirely on root crown positioning. The California Avocado Commission emphasizes that planting too deep is the number one killer of young trees.
⚠️ Critical Warning: Do Not Amend the Backfill
Never mix compost, peat moss, or potting soil into the planting hole. Amended soil retains more moisture than the surrounding native clay, creating a 'bathtub effect' that drowns the roots. Always backfill with 100% native soil.
- Dig the Hole: Excavate a hole twice as wide as the 15-gallon nursery container, but exactly the same depth. Do not loosen the soil at the bottom of the hole, which causes the tree to sink over time.
- Score the Roots: Gently remove the tree from the pot. If the outer roots are circling, use a sterilized utility knife to make three vertical, 1-inch-deep slices down the sides of the root ball to encourage outward growth.
- Set the Grade: Place the tree in the hole. The root flare (where the trunk widens at the base) must sit 1.5 to 2 inches above the surrounding native soil grade. As the backfill settles, the tree will sink to the perfect level.
- Backfill and Water: Shovel native soil around the root ball, tamping it down gently with your hands to remove large air pockets. Immediately apply 5 gallons of water to settle the soil.
The First 90 Days: Precision Watering Schedule
Young avocado trees lack the established root mass to draw moisture from deep soil profiles. They require frequent, shallow watering that keeps the top 8 inches of soil moist but not saturated. Adjust the following baseline schedule based on your local evapotranspiration rates and soil type.
| Establishment Phase | Watering Frequency | Volume per Session | Application Method |
|---|---|---|---|
| Weeks 1–2 | Every 2 days | 2–3 gallons | Slow trickle directly over root ball |
| Weeks 3–6 | Twice a week | 4–5 gallons | Expand watering zone 6 inches past root ball |
| Weeks 7–12 | Once a week (deep) | 8–10 gallons | Soaker hose in a 3-foot ring around canopy |
Mulching and Early Fertilization
Apply a 4-inch layer of coarse redwood bark or arborist wood chips in a 3-foot diameter ring around the tree. Crucial detail: Keep the mulch exactly 6 inches away from the trunk. Mulch piled against the bark (volcano mulching) traps moisture against the cambium layer, inviting fungal cankers and rodent damage.
Do not fertilize a newly planted avocado tree for the first 6 months. The nursery potting mix contains sufficient slow-release nutrients, and applying synthetic nitrogen to unestablished roots will cause severe fertilizer burn. After month six, apply 1/4 pound of actual nitrogen (equivalent to roughly 1 pound of urea) split into three applications across the spring and summer.
Troubleshooting Early Establishment Failures
Monitor the canopy closely during the first season. Avocados communicate stress through distinct foliar symptoms:
- Leaf Tip Burn (Brown, crispy margins): This indicates salt accumulation in the soil or underwatering. Avocados are highly sensitive to chlorides and sodium. If your municipal water is high in salts, you must apply 20% more water than the baseline schedule once a month to leach salts below the root zone.
- Uniform Yellowing (Chlorosis): If the leaves turn pale yellow but the veins remain green, the tree is suffering from iron or zinc deficiency, usually triggered by a soil pH above 7.0. Apply a chelated iron/zinc foliar spray immediately, as soil applications are ineffective in high-pH soils.
- Sudden Wilting and Leaf Drop: If the soil is wet but the tree is wilting, Phytophthora root rot has likely taken hold. Cease watering immediately, pull back mulch to allow the root crown to dry, and consider applying a phosphonate fungicide treatment (like Agri-Fos) as a trunk spray, following label rates precisely.
Frequently Asked Questions
Can I grow an avocado tree from a grocery store pit?
While you can germinate a pit in water, it is not recommended for fruit production. Seed-grown avocados do not grow true to the parent fruit, meaning the resulting tree will likely produce inferior, stringy fruit. Furthermore, a seed-grown tree will take 7 to 15 years to bear fruit, whereas a grafted 15-gallon nursery tree will produce commercial-quality Hass or Bacon avocados in 3 to 4 years.
How do I protect a young avocado tree from frost?
During the first two winters, young trees are highly susceptible to frost damage below 30°F. Wrap the trunk with commercial tree wrap or burlap, and drape a frost cloth (not plastic) over the entire canopy, securing it to the ground to trap geothermal heat. For severe freezes, string old-fashioned incandescent C9 holiday lights inside the canopy beneath the cloth to provide active radiant heat.
Should I prune my avocado tree during the first year?
No. Avoid pruning during the establishment phase. The tree needs maximum leaf surface area to photosynthesize and drive root growth. The only acceptable pruning in year one is the removal of dead wood or suckers growing from below the graft union.

