
Tree Care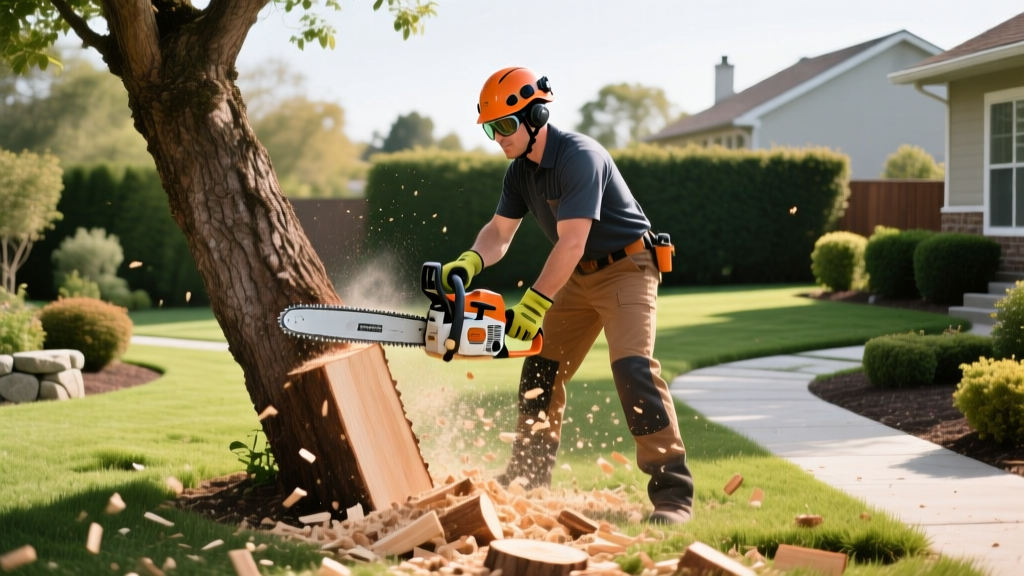
A Homeowner's Practical Guide to Chopping Down Trees Safely
The Reality of Residential Tree Felling
Chopping down trees in a forest is a matter of clearing space; chopping down trees in a residential yard is an exercise in precision physics. You are navigating power lines, property boundaries, fences, and underground utilities. A miscalculated back cut or ignored lean can result in tens of thousands of dollars in property damage or severe injury. This guide strips away the guesswork, providing the exact measurements, gear specifications, and cutting sequences required to fell a yard tree safely.
⚠️ The Drop-Zone Rule: If the tree's height exceeds the distance to your home, garage, or property line, or if the tree has a severe lean (greater than 15 degrees), do not attempt to fell it yourself. Hire an ISA-certified arborist. The cost of professional removal is always lower than the cost of a crushed roof.
Pre-Felling Assessment: The 3-Point Check
Before starting any chainsaw, evaluate the tree's physical characteristics to determine its natural fall path and hinge requirements.
- Diameter at Breast Height (DBH): Measure the trunk diameter 4.5 feet off the ground. For DIY homeowners using standard 16-inch to 18-inch chainsaw bars, the maximum safe DBH is 18 inches. Anything thicker requires advanced plunge-cut techniques and heavy-duty equipment.
- Lean and Crown Weight: Stand 50 feet back and observe the canopy. A heavy, asymmetrical crown will pull the tree off your intended drop line, regardless of your hinge cut.
- Decay and Soundness: Tap the trunk with the flat side of an axe. A dull thud indicates internal rot. Rotten wood cannot hold a hinge, meaning the tree may snap or barber-chair (split vertically) during the back cut.
Essential Gear for Chopping Down Trees
According to the Occupational Safety and Health Administration (OSHA), proper Personal Protective Equipment (PPE) is non-negotiable when operating chainsaws. Kickback occurs in milliseconds, and standard clothing offers zero protection against a chain moving at 60 feet per second.
| Equipment | Recommended Model | Est. Cost | Purpose |
|---|---|---|---|
| Chainsaw (16" Bar) | Stihl MS 250 C-BE | $550 - $600 | Primary felling and bucking |
| Forestry Helmet | Husqvarna ProForest | $130 | Head, face, and hearing protection |
| Logger Chaps | Oregon 561242 (36") | $95 | Kevlar fibers stall chainsaw drive |
| Felling Wedges | 15° ABS Plastic (2-pack) | $25 | Prevents bar pinching, guides fall |
| Felling Axe | Fiskars 28" Splitting Axe | $65 | Driving wedges into the back cut |
The Physics of the Notch: Open-Faced vs. Conventional
Many outdated guides still recommend the 45-degree conventional notch. Modern arboriculture relies on the 70-degree to 90-degree open-faced notch. As detailed by the University of Minnesota Extension, an open-faced notch allows the tree to fall further on its hinge before the wood fibers snap, providing vastly superior directional control.
Step 1: The Top Cut
Stand on the side of the tree opposite your escape route. Aim your chainsaw downward at a 60-degree angle. Cut into the trunk to a depth of exactly one-third (1/3) of the tree's DBH. Do not cut deeper, or you will compromise the hinge wood.
Step 2: The Bottom Cut
Cut upward at a 10-degree to 30-degree angle to meet the exact endpoint of your top cut. The two cuts must intersect perfectly. If they do not meet cleanly, you will create a "step" that acts as a fulcrum, snapping the hinge prematurely and causing the tree to twist or kick back.
Step 3: The Hinge Wood
The uncut wood left between the notch and the back cut is the hinge. It must be uniformly 10% of the tree's DBH. For a 15-inch tree, leave exactly 1.5 inches of hinge wood. This wood acts as the steering mechanism for the falling tree.
Executing the Back Cut and Using Wedges
The back cut is made on the opposite side of the notch, exactly 1 to 2 inches higher than the bottom point of the notch. This height difference prevents the tree from sliding backward off the stump (a major cause of operator crushing injuries).
💡 Pro Tip: The Plunge Cut for Thick Trunks
If your tree's diameter is wider than your chainsaw bar, you cannot make a standard back cut. Instead, use the tip of the bar to bore straight into the center of the trunk (plunge cut), then carve outward to leave the hinge and back wood. This prevents the dreaded "barber-chair" effect where the trunk splits vertically upward.
If your tree's diameter is wider than your chainsaw bar, you cannot make a standard back cut. Instead, use the tip of the bar to bore straight into the center of the trunk (plunge cut), then carve outward to leave the hinge and back wood. This prevents the dreaded "barber-chair" effect where the trunk splits vertically upward.
As soon as the back cut is deep enough to accept a wedge, turn off the chainsaw and insert a 15-degree ABS felling wedge. Use your felling axe to drive the wedge in tightly. This lifts the tree slightly, shifting the center of gravity toward your drop zone and ensuring the kerf (cut line) does not pinch your chainsaw bar when the tree begins to lean.
The Escape Route: 45 Degrees Backward
Never stand directly behind the tree when it falls. The trunk can kick straight back over the stump by up to 15 feet. Clear two escape paths at a 45-degree angle backward and away from the line of fall. Once the tree begins to tip, immediately withdraw your saw, engage the chain brake, and walk briskly down your escape route. Do not run, and do not look back until you are clear of the drop zone.
Limbing and Bucking: Managing Tension and Compression
Once the tree is on the ground, the danger is not over. Cutting the trunk into rounds (bucking) requires understanding wood tension. When a log rests on the ground, the top side is under tension (pulling apart) and the bottom side is under compression (pushing together).
- If you cut the top first: The compression wood will push the bottom of the cut together, violently pinching your chainsaw bar.
- The Correct Method: Cut one-third of the way up from the bottom (compression side), then finish the cut from the top down. The log will settle cleanly into the bottom cut without binding the saw.
Cost Breakdown: DIY vs. Professional Removal
Is chopping down trees yourself worth the financial savings? The table below compares the hard costs of a DIY removal versus hiring an insured arborist for a standard 50-foot, 14-inch DBH oak tree.
| Cost Factor | DIY Felling | Professional Arborist |
|---|---|---|
| Equipment (Purchase/Rental) | $850 (Saw + PPE) | Included |
| Fuel, Bar Oil, & Wedges | $45 | Included |
| Debris Hauling / Chipper Rental | $250 - $400 | Included |
| Stump Grinding | $150 (Rental) | $250 (Add-on) |
| Total Estimated Cost | $1,295 - $1,445 | $1,100 - $1,600 |
While DIY appears cheaper on paper, the professional price includes liability insurance, stump grinding, and complete debris removal. If you already own the chainsaw and PPE, DIY drops to roughly $450. However, if you are buying gear solely for one tree, hiring a professional is often the more economical and significantly safer choice.
Final Safety Reminder
Never fell trees in high winds, heavy rain, or low light. The physics of a falling 3,000-pound oak leave zero margin for error. Measure twice, cut deliberately, and always respect the hinge.

