
Tree Care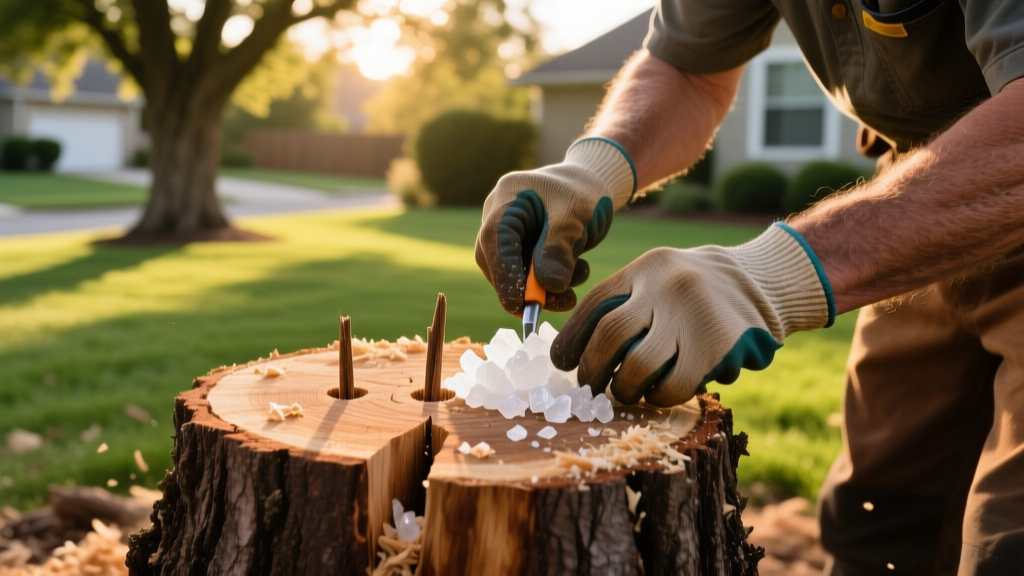
How to Burn a Stump Safely: Step-by-Step Potassium Nitrate Guide
The Economics and Reality of Stump Burning
Removing a tree stump usually presents homeowners with two primary options: mechanical grinding or chemical decomposition. Professional stump grinding averages $3 to $5 per inch of diameter. For a mature 30-inch oak stump, you are looking at $90 to $150 just for the grinding fee, plus a $150 minimum trip charge, bringing the total to roughly $300. In contrast, learning how to burn a stump using chemical accelerants costs between $15 and $30 in materials, requiring only a drill, a spade bit, and a chemical oxidizer.
However, burning a stump is not a weekend project. It is a multi-week process that alters the cellular structure of the wood, turning dense heartwood into a highly combustible, spongy matrix. This guide details the exact methodology for using potassium nitrate (KNO3) to safely and completely eradicate a stump down to the lateral roots.
Stump Removal Method Comparison
| Method | Average Cost | Time to Completion | Root System Impact | Physical Effort |
|---|---|---|---|---|
| Professional Grinding | $250 - $450 | 1 - 2 Hours | Surface roots only (12" deep) | Low (Outsourced) |
| Manual Extraction | $50 (Tools/Rentals) | 1 - 3 Days | Complete taproot removal | Extreme |
| Potassium Nitrate Burn | $15 - $30 | 4 - 8 Weeks | Destroys primary lateral roots | Moderate (Drilling) |
| Epsom Salt Desiccation | $10 - $20 | 6 - 12 Months | Preserves roots (mummifies) | Moderate |
The Chemistry: Why Potassium Nitrate?
Many DIY guides suggest using diesel fuel, motor oil, or Epsom salts to kill and burn a stump. These are fundamentally flawed approaches. Diesel and oil only char the surface of the wood, leaving the dense inner heartwood and root flare intact while creating severe soil toxicity. Epsom salt (magnesium sulfate) desiccates the wood but does not aid in combustion.
Potassium nitrate (KNO3), commonly sold as stump remover (e.g., Spectracide Stump Remover), acts as a powerful oxidizer. When dissolved into the stump's vascular system, it accelerates fungal decomposition and saturates the wood fibers with oxygen. When ignited, the KNO3-infused wood does not just burn; it deflagrates slowly, maintaining a high-temperature smolder that penetrates deep into the subterranean root flare without requiring constant tending.
⚠️ CRITICAL SAFETY & LEGAL WARNING:
Before initiating any outdoor burn, you must verify local municipal burn bans and obtain necessary fire permits. Furthermore, you are legally required to call 811 (the national call-before-you-dig hotline) at least 48 hours before drilling into a stump to ensure you are not drilling directly above shallow gas, water, or fiber-optic lines. According to the National Fire Protection Association (NFPA), uncontrolled outdoor debris fires are a leading cause of wildland-urban interface fires.
Phase 1: Drilling the Honeycomb Matrix
The success of the burn relies entirely on surface area. You must create a pathway for the potassium nitrate to penetrate the heartwood.
- Tool Selection: Use a heavy-duty corded or high-torque cordless drill with a 1-inch or 1.5-inch spade bit. Standard twist bits will bind and overheat in dense end-grain wood.
- Depth Specification: Drill holes 10 to 12 inches deep. If the stump is taller than 12 inches, cut it flush with the ground using a chainsaw first. The closer the chemical application is to the soil line, the better the lateral roots will burn.
- The Grid Pattern: Drill holes in a staggered grid, spacing them exactly 3 inches apart. Angle the outer ring of holes slightly outward (at a 15-degree angle) to intersect with the root flare beneath the soil surface.
- Clear the Debris: Use a shop vac or compressed air to blow the sawdust out of the holes. Packed sawdust will block the chemical solution from reaching the bottom of the bore.
Phase 2: Chemical Saturation and Curing
Once the matrix is drilled, you must introduce the oxidizer. Plan to use approximately 1 ounce of potassium nitrate granules per inch of stump diameter. For a 24-inch stump, you will need about 24 ounces of product.
Application Steps
- Fill the Holes: Pour the KNO3 granules directly into the drilled holes, filling them to within 1 inch of the top.
- Hydration: Slowly pour hot water into each hole. Hot water increases the solubility of the potassium nitrate, allowing a higher concentration to be absorbed by the wood fibers. Stop pouring just before the hole overflows.
- The Tarp Seal: Cover the entire stump with a heavy-duty black polyethylene tarp. Weigh down the edges with bricks or landscape staples. The black tarp serves two purposes: it prevents rain from washing the chemical out of the wood, and it traps solar heat, accelerating the chemical breakdown of the lignin and cellulose.
- The Waiting Period: Leave the tarp in place for 4 to 6 weeks. Check it weekly to add more water and KNO3 if the holes have absorbed the solution. The wood is ready to burn when it feels spongy and the drill bit sinks into it with minimal resistance.
Phase 3: Controlled Ignition
Do not use gasoline or lighter fluid to ignite a KNO3-treated stump. The chemical oxidizer already provides the necessary oxygen; adding volatile accelerants creates a dangerous flash-fire risk. Instead, use a slow, sustained heat source.
"The goal is not to create a towering bonfire, but a low, sustained smolder that slowly creeps down into the root system. High flames indicate you are burning off surface gases too quickly, leaving the core unburned." — Best practices adapted from USDA Forest Service prescribed fire management guidelines.
The Charcoal Chimney Method
Build a small charcoal chimney starter full of standard briquettes. Once the coals are ashed over and glowing white, dump them directly onto the center of the stump. Drizzle the coals lightly with vegetable oil (not petroleum-based) to sustain the initial heat transfer. As the coals burn down, they will ignite the KNO3-saturated wood, which will begin to glow red and smolder deeply.
Troubleshooting Common Failure Modes
Even with precise execution, environmental variables can disrupt the burn. Here is how to handle edge cases:
Failure Mode 1: The Rain Washout
Symptom: Heavy rain breaches the tarp, and the stump fails to ignite weeks later.
Fix: The water has leached the KNO3 into the surrounding soil. You must re-drill the top 3 inches of the holes, re-apply the granules, and cover with a rigid plastic bucket rather than a flexible tarp to ensure a watertight seal.
Failure Mode 2: Smoldering Surface, Cold Roots
Symptom: The top of the stump burns to ash, but the root flare remains intact.
Fix: This occurs when the outer drill holes were not angled outward. Once the top ash cools, use a mattock to chip away the ash, expose the root flare, drill new angled holes directly into the lateral roots, apply a liquid KNO3 solution, and re-ignite with a secondary batch of charcoal.
Post-Burn Soil Remediation
Once the stump and primary roots have burned down to white ash, the physical removal is complete. However, the chemical aftermath requires attention before you can plant grass or new shrubs in that spot.
Wood ash is highly alkaline, typically possessing a pH between 9.0 and 11.0. Furthermore, the residual potassium nitrate will leave a high concentration of nitrogen and potassium in the soil. If you immediately lay sod over this spot, the alkaline burn will kill the grass roots within weeks.
To remediate the soil, shovel out the bulk of the ash and fill the void with a 50/50 mix of native topsoil and peat moss. Peat moss is naturally acidic (pH 3.0 to 4.0) and will help neutralize the residual alkalinity. For a more precise correction, apply 1 pound of elemental sulfur per 10 square feet of the affected zone, till it into the top 6 inches of soil, and wait 30 days before planting. Consulting local resources, such as the Penn State Extension Tree and Shrub Care program, can provide localized soil testing kits to verify the pH has returned to a neutral 6.5 to 7.0 range before reseeding.

