
Tree Care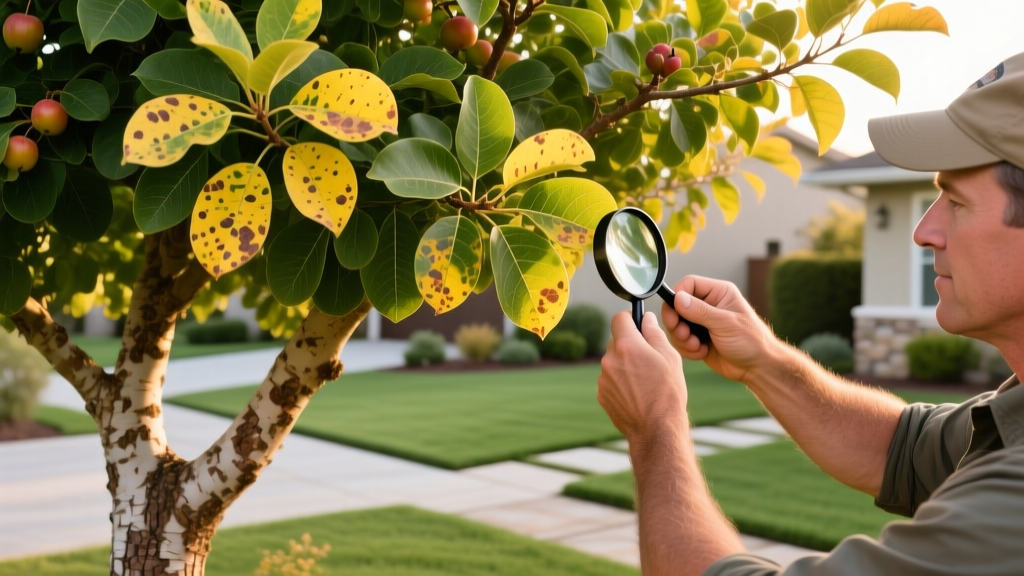
Cape Myrtle Tree Problems: Diagnosing & Fixing Common Issues
Note: While botanically and commercially referred to as crape or crepe myrtle (Lagerstroemia indica), the term cape myrtle tree is frequently used by homeowners in various regions. The diagnostic, chemical, and structural care protocols detailed below apply universally to this species.
A mature cape myrtle tree is a landscape anchor, offering four seasons of visual interest from spring foliage to winter bark exfoliation. However, these trees are highly susceptible to a specific triad of threats: invasive bark scale, fungal pathogens, and catastrophic pruning errors. Misdiagnosing these issues often leads to wasted chemical applications and permanent structural damage. Below is a clinical framework for identifying and resolving the most pressing problems affecting your trees.
Diagnosing Cape Myrtle Bark Scale (CMBS)
First detected in the United States in 2013, Eriococcus lagerstroemiae (CMBS) has become the most destructive pest for these trees. Unlike soft scale insects that feed on leaves, CMBS lives exclusively on the bark, trunk, and branches.
Primary Symptom Check: Look for white, waxy, felt-like encrustations on the bark. These are not lichens or bird droppings. If you scrape the white wax away with a fingernail and reveal pinkish-purple insects beneath, your tree has CMBS. A secondary symptom is heavy black sooty mold coating the trunk and lower branches, which grows on the honeydew excreted by the scale.
Targeted Treatment Protocol
Contact sprays (like horticultural oils) are largely ineffective against CMBS because the waxy armor protects the insects, and the bark's deep crevices hide the crawlers. Systemic insecticides are mandatory for eradication.
| Active Ingredient | Application Method | Cost Estimate (2026) | Efficacy & Notes |
|---|---|---|---|
| Dinotefuran (e.g., Safari) | Trunk spray or soil drench | $110 - $140 | Highly mobile in plant tissue; fastest knockdown (2-3 weeks). |
| Imidacloprid (e.g., BioAdvanced) | Soil drench only | $25 - $35 | Slower uptake (6-8 weeks); best applied in early spring before bud break. |
| Pyriproxyfen (e.g., Distance) | Foliar/Trunk spray | $60 - $85 | Insect growth regulator; stops reproduction but does not kill adults immediately. |
For severe infestations, the Texas A&M AgriLife Extension recommends a dual approach: apply a soil drench of Imidacloprid in early spring, followed by a trunk spray of Dinotefuran in early summer to catch the crawler stage. Always measure the trunk circumference at breast height to calculate the exact fluid ounces required per the manufacturer's label.
Solving Powdery Mildew and Sooty Mold
Fungal issues manifest in two distinct ways. Powdery mildew (Erysiphe lagerstroemiae) appears as a white, powdery dusting on new leaves, flower buds, and shoots, causing them to twist and abort. Sooty mold is not a true pathogen but a surface fungus that feeds on insect honeydew.
Powdery Mildew Management
If your tree is already infected, pruning out the affected, twisted terminal shoots and destroying them (do not compost) is the first physical step. For chemical control, apply a fungicide containing Myclobutanil (e.g., Spectracide Immunox) or Chlorothalonil (e.g., Bonide Fung-onil).
- Timing: Begin spraying when new leaves are half-sized in spring and continue at 10-to-14-day intervals until the weather becomes consistently hot and dry (typically late June).
- Mixing Rate: For Myclobutanil, mix 2.25 fluid ounces per 3 gallons of water to cover 400 square feet of canopy.
- Long-term Fix: Replace highly susceptible varieties (like 'Carolina Beauty') with resistant cultivars such as 'Natchez', 'Tuscarora', or 'Muskogee' when replanting.
Eliminating Sooty Mold
Sooty mold will never be cured by fungicides. Because it relies on the honeydew produced by aphids or CMBS, the mold will slough off naturally once the insect population is eradicated using the systemic treatments outlined above. To accelerate the process, wash the trunk with a mild solution of insecticidal soap and a soft-bristle brush to restore the bark's natural photosynthetic ability and aesthetic appeal.
Fixing "Crepe Murder" and Pruning Mistakes
Critical Warning: Topping a cape myrtle tree—often colloquially called "crepe murder"—severs the apical dominance of the branches. This forces the tree to push out dense, weak, whip-like shoots from the cut site, forming unsightly "knuckles" that are highly prone to breaking under the weight of summer blooms or ice storms.
Rehabilitating a severely topped tree is a multi-year process that requires patience. According to horticultural guidelines from the Clemson University Home & Garden Information Center, you cannot simply cut below the knuckles and expect a natural shape to return immediately.
Step-by-Step Rehabilitation Plan
- Year 1 - The Reset: In late February, before bud break, identify the thickest, most structurally sound whips emerging from the knuckles. Select 1 to 3 dominant shoots per knuckle and prune away the remaining 80% of the weak, spindly growth. Cut the selected shoots back by one-third to an outward-facing bud.
- Year 2 - Thinning: Remove any new crossing branches or inward-growing shoots. The goal is to open the center of the canopy to allow UV light penetration, which naturally suppresses powdery mildew.
- Year 3 - Knuckle Smoothing: As the selected dominant branches thicken, use a sterilized, sharp bypass pruning saw to carefully shave down the scar tissue of the original topping cut. This encourages the bark to exfoliate normally over the wound.
"A properly pruned cape myrtle tree should look like an elegant, multi-trunked vase. If you can toss a baseball through the canopy without hitting a branch, your airflow and structural integrity are optimal."
Soil pH and Nutrient Deficiencies
Yellowing leaves with dark green veins (interveinal chlorosis) on a cape myrtle tree almost always indicate an iron or manganese deficiency, driven by alkaline soil conditions. These trees require a soil pH between 5.0 and 6.5 to efficiently uptake micronutrients.
Before applying fertilizers, conduct a soil test. If the pH is above 7.0, applying standard N-P-K fertilizers will not solve the chlorosis. Instead, apply chelated iron (Fe-EDDHA) as a soil drench, which remains bioavailable even in high-pH soils. To permanently lower the pH, incorporate elemental sulfur into the root zone at a rate of 1 pound per 100 square feet for every 0.5 pH unit reduction required, retesting the soil annually.

