
Tree Care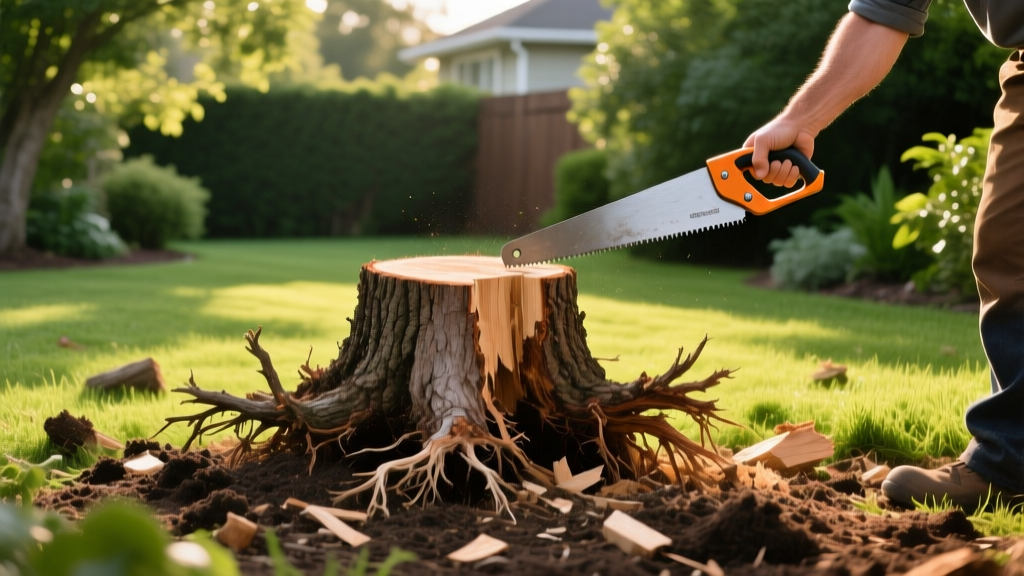
Tree Stub Removal Playbook: Eliminate Pest and Weed Havens
Why Tree Stubs Are Ground Zero for Pests and Weeds
When a tree is felled, the remaining stub is rarely just an eyesore; it is an active ecological hazard to your landscape. From a pest management perspective, a decaying tree stub provides the perfect trifecta for wood-destroying organisms: cellulose, retained moisture, and shelter. According to the EPA's guidelines on termites and pesticides, subterranean termites and carpenter ants will rapidly colonize dead wood, eventually using those satellite colonies as staging grounds to attack your home's structural timber.
Simultaneously, the decaying root mass triggers a biological chain reaction that invites aggressive weeds. As the wood breaks down, the carbon-to-nitrogen (C:N) ratio in the surrounding soil spikes. Soil microbes consume available nitrogen to process the carbon-rich wood, effectively starving your surrounding turfgrass. The resulting bare, nitrogen-depleted soil becomes a prime seedbed for opportunistic weeds like yellow nutsedge, crabgrass, and bindweed. To reclaim your yard, you must execute a targeted tree stub removal strategy that addresses both the physical wood and the disrupted soil biology.
The 3 Core Tree Stub Removal Methods: Decision Matrix
Choosing the right removal protocol depends on your timeline, budget, and the immediate severity of the pest threat. Use the matrix below to select your playbook.
| Method | Cost Estimate | Time to Clear | Pest Risk During Process | Best Use Case |
|---|---|---|---|---|
| Chemical Accelerated Decay | $15 - $25 | 4 - 8 Weeks | Moderate (attracts borers) | Budget-friendly, no heavy lifting |
| Mechanical Grinding | $140 - $200 (Rental) | 2 - 4 Hours | Low (immediate removal) | Active termite threat, instant replanting |
| Epsom Salt Desiccation | $10 - $20 | 2 - 4 Months | Low (dries out habitat) | Organic gardens, sensitive water tables |
Method 1: Chemical Accelerated Decay (The Triclopyr Route)
Chemical removal is highly effective for killing the living cambium layer and accelerating rot, but it requires precise application to prevent groundwater contamination and unintended turf death.
The Step-by-Step Protocol
- Surface Preparation: Use a chainsaw or hand saw to cut the stub as close to the ground as possible. Fresh cuts have open vascular tissues that absorb herbicides rapidly.
- Drilling the Reservoirs: Using a 1-inch spade bit, drill holes 8 inches deep into the stump. Space the holes 2 inches apart in concentric rings, focusing heavily on the outer 2 inches of the wood (the active cambium layer).
- Chemical Application: For rapid decay, fill the holes with Bonide Stump-Out (Potassium Nitrate). To kill aggressive root sprouting weeds, use a Triclopyr-based herbicide like Ortho Max Poison Ivy & Tough Brush Killer. Apply immediately after cutting—within 15 minutes—before the tree's cells seal over.
- Containment: Cover the treated stub with a heavy-duty black plastic tarp, securing the edges with landscaping staples. This prevents rain from washing the chemicals into the soil and blocks sunlight from reaching any emerging root suckers.
Warning: The Termite Scatter Effect
If you observe active mud tubes or frass (sawdust-like droppings) on the stub, do not immediately grind or chop it. Disturbing an active Formosan or subterranean termite colony can cause them to scatter and seek new food sources—often your home's foundation. Consult a licensed exterminator to apply a non-repellent termiticide like Fipronil (Termidor SC) to the soil perimeter first, allowing the foraging termites to carry the toxin back to the colony before you remove the physical stub.
Method 2: Mechanical Extraction (Grinding and Digging)
When pests are actively breeding in the stub, or you need to replant the area immediately, mechanical removal is the only viable option. The Penn State Extension recommends complete removal of the root flare to prevent future fungal issues and soil subsidence.
Execution and Equipment Specs
Rent a 12HP to 15HP walk-behind stump grinder from a local equipment supplier (expect to pay $140 to $180 per day). Standard rental grinders cut to a depth of about 8 inches, but for complete pest eradication, you must excavate the root flare.
- Grinding Phase: Grind the main trunk mass down to 4 inches below grade. Use a sweeping side-to-side motion, advancing the cutting wheel 1 inch per pass to avoid overloading the engine.
- Root Flare Excavation: Use a mattock and a digging bar to sever the primary lateral roots at least 2 feet outward from the center. Remove the large root masses to eliminate the primary carbohydrate reserves that fuel invasive weed sprouts.
- The Woodchip Trap: Never use fresh stump-grinding chips as mulch in your garden beds. Fresh chips harbor the exact same pests and fungi as the living stump, and as they decompose, they will rob your garden soil of nitrogen. Haul the chips away or compost them in a dedicated hot-pile for at least 12 months.
Method 3: The Epsom Salt Desiccation Protocol (Organic Route)
For homeowners maintaining organic landscapes or those near sensitive water tables where chemical herbicides are restricted, Epsom salt (100% Magnesium Sulfate) offers a highly effective, non-toxic desiccation method. Note: Do not use standard table salt (Sodium Chloride), as it will permanently sterilize the soil and prevent any future grass or plant growth.
The Desiccation Steps
- Drill 1-inch wide, 8-inch deep holes into the top and sides of the stub, angling the side holes downward at 45 degrees to catch the salt.
- Fill each hole to the brim with pure Epsom salt crystals.
- Pour a small amount of water into each hole—just enough to dissolve the top layer of salt and carry it into the wood's vascular system. Do not overwater, or the salt will leach into the surrounding soil.
- Seal the holes with melted candle wax or silicone caulk to prevent rain from washing the solution out.
- Cover the entire stub with a dark tarp to block moisture and sunlight. The stub will desiccate, crack, and die within 2 to 4 months, making it brittle enough to break apart with a standard digging bar.
Post-Removal Soil Remediation: Stopping the Weed Seedbank
Removing the physical stub is only half the playbook. The void left behind is a biological trap. The massive influx of carbon from the decaying woodchips and root matter causes soil microbes to tie up all available nitrogen. If you simply throw grass seed into this hole, the seeds will fail to germinate, and opportunistic weeds will take over.
Pro-Tip: The Nitrogen Rebalancing Act
Before backfilling the hole with topsoil, mix in a high-nitrogen organic amendment. Apply 2 to 3 pounds of 4-0-0 blood meal or a 1-inch layer of fully composted manure per square foot of the excavated area. This immediately corrects the C:N ratio, giving your new turfgrass the metabolic fuel it needs to outcompete weed seeds. After backfilling, water heavily to settle the soil, as the ground will naturally sink 10-15% over the first six months as the remaining deep roots collapse.
By treating the tree stub not just as a piece of wood, but as an active pest habitat and a disrupted soil ecosystem, you can permanently eliminate the vectors for termites, carpenter ants, and invasive weeds. Whether you choose the speed of mechanical grinding or the budget-friendly chemical route, precise execution and post-removal soil balancing are the keys to a flawless, pest-free lawn.

