
Tree Care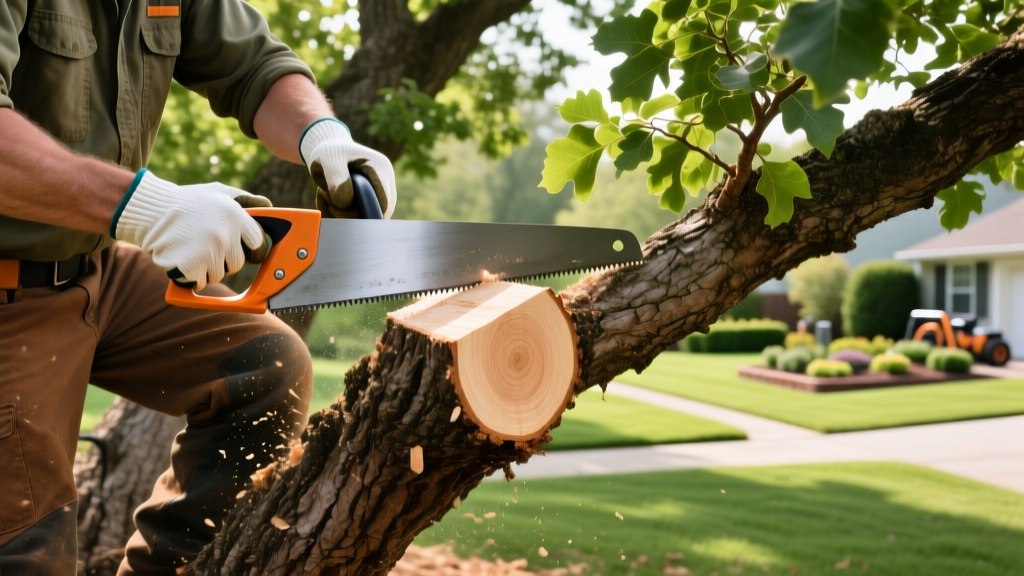
Precision Techniques for Cutting Branches of Trees Safely and Effectively
The difference between a healthy, thriving canopy and a decaying, hazardous tree often comes down to the exact angle and placement of a single pruning cut. When cutting branches of trees, homeowners frequently default to flush cuts or ragged tears that compromise the tree's natural defense systems. Proper pruning requires an understanding of tree biomechanics, specialized tooling, and strict adherence to safety protocols.
This guide details the professional methodologies used by International Society of Arboriculture (ISA) certified arborists to remove limbs without introducing pathogens or causing structural failure. Whether you are clearing storm damage, managing clearance over a roofline, or thinning a dense canopy for light penetration, the techniques below will ensure long-term tree vitality.
The Biomechanics of a Proper Pruning Cut
Trees do not "heal" in the way human tissue does; they compartmentalize. When you make a cut, the tree relies on a biological process known as CODIT (Compartmentalization of Decay in Trees) to wall off the wounded area and prevent fungal infections from spreading into the heartwood. To facilitate CODIT, you must preserve two critical anatomical features located at the base of every branch:
- The Branch Collar: The swollen, trunk-hugging tissue at the base of the branch. This area contains dense, chemically active wood that rapidly generates the callus tissue needed to seal the wound.
- The Branch Bark Ridge: The raised line of bark that forms in the crotch angle where the branch meets the trunk. This ridge must never be sliced or damaged during the cut.
According to the International Society of Arboriculture, the ideal cut is made just outside the branch collar, angled slightly away from the trunk. Cutting flush with the trunk removes the collar, destroying the tree's chemical boundary and guaranteeing that decay will enter the main stem. Conversely, leaving a stub prevents the callus tissue from closing over the wound, leaving a permanent entry point for wood-boring insects and rot.
Tool Selection Matrix by Branch Diameter
Using the wrong tool for a specific branch diameter results in crushed vascular tissue and jagged bark peeling. Professional arborists scale their equipment based on the exact thickness of the wood being removed. Below is the industry-standard tool matrix for cutting branches of trees in residential settings.
| Branch Diameter | Primary Tool Category | Recommended Prosumer Models (2026) | Estimated Cost Range |
|---|---|---|---|
| Under 0.5 inches | Bypass Hand Pruners | Felco 2 Classic, Okatsune 103 | $55 - $85 |
| 0.5 to 1.5 inches | Bypass Loppers | Fiskars 28" PowerGear2, Corona SL 4264 | $40 - $90 |
| 1.5 to 4 inches | Pruning Saws (Handheld) | Silky Gomboy 240, Felco 600 | $45 - $110 |
| 4 to 8 inches (Ground) | Gas/Battery Pole Saws | Stihl HTA 86, Husqvarna 525PT5S | $450 - $750 |
| Over 8 inches | Chainsaws (16"-20" bar) | Echo CS-400, Stihl MS 250 | $400 - $650 |
Note: Always use bypass blades for live wood. Anvil-style pruners crush the cambium layer and should only be used for completely dead, brittle wood.
The 3-Cut Method: Step-by-Step Execution
When cutting branches of trees that exceed 2 inches in diameter, the weight of the limb will cause the bark to tear down the trunk before the saw finishes the cut. This "bark stripping" can fatally damage the tree. To prevent this, arborists utilize the 3-cut method to safely relieve the weight of the branch before making the final collar cut.
Cut 1: The Undercut (Relief Cut)
Position your pruning saw on the underside of the branch, approximately 12 to 18 inches away from the trunk. Cut upward into the wood until you reach about one-third of the way through the branch's diameter. This cut severs the bark on the bottom, preventing it from tearing downward when the branch falls.
Cut 2: The Top Cut (Removal Cut)
Move your saw to the top of the branch, about 1 to 2 inches further out from the trunk than your undercut. Saw straight down through the branch. As you cut, the weight of the limb will snap it cleanly off at the undercut, dropping the heavy portion safely to the ground without stripping the trunk bark.
Cut 3: The Final Collar Cut
With the heavy weight removed, you are left with a manageable 12-to-18-inch stub. Locate the branch collar and the branch bark ridge. Make your final cut just outside the collar, angling the saw slightly to match the natural slope of the collar. Do not cut into the swollen collar tissue itself. The resulting wound should be an oval shape, which the tree will efficiently seal over the next two to three growing seasons.
CRITICAL WARNING: The Danger of Flush Cuts
Never cut a branch perfectly flush with the trunk. Flush cuts remove the branch collar, destroying the tree's natural chemical defense zone. According to the Arbor Day Foundation, flush cuts create massive, flat wounds that take years to callus over, almost always resulting in internal trunk decay and eventual structural failure.
Safety Gear and Rigging for Overhead Work
Cutting branches of trees overhead introduces severe risks from falling wood, kickback, and electrical hazards. The Tree Care Industry Association (TCIA) enforces strict adherence to ANSI Z133 safety standards for anyone operating chainsaws or pole saws above shoulder height.
If you are cutting branches near utility lines, stop immediately. Only utility-certified line-clearance arborists are legally permitted to work within 10 feet of high-voltage conductors. For standard residential pruning, your personal protective equipment (PPE) must include:
- Helmet System: A forestry helmet (e.g., Husqvarna ProForest) equipped with integrated mesh face shield and 25-decibel noise-reduction ear muffs.
- Eye Protection: ANSI Z87.1 rated safety glasses if a face shield is not integrated.
- Chaps or Pants: Kevlar-lined chainsaw chaps (minimum 5 layers of ballistic nylon) that instantly jam the chainsaw sprocket if the blade contacts your leg.
- Gloves: High-dexterity, cut-resistant arborist gloves with reinforced palm grip for handling ropes and saws.
For branches over 4 inches in diameter that hang over structures or fences, you must use negative rigging. This involves tying a lowering rope (minimum 1/2-inch arborist block-and-tackle rigging line) to the branch, wrapping it around the trunk as a friction port, and slowly lowering the cut piece to the ground rather than letting it drop freely.
Cost Analysis: DIY vs. Certified Arborist
Deciding whether to tackle the work yourself or hire a professional depends on the height of the canopy, the proximity to structures, and the required equipment. Below is a comparative cost breakdown for standard residential pruning projects in 2026.
DIY Pruning Costs
- Basic Hand Tools: $100 - $200
- Prosumer Pole Saw: $450 - $750
- Safety PPE Kit: $150 - $250
- Waste Disposal: $50 - $150 (municipal bulk pickup or chipper rental)
- Total Initial Investment: $750 - $1,350
Best for: Routine maintenance of small ornamental trees under 15 feet tall.
Professional Arborist Costs
- Small Tree (Under 30ft): $150 - $350
- Medium Tree (30-60ft): $400 - $850
- Large Canopy (60ft+): $900 - $1,800+
- Debris Haul-away: Usually included
- Liability Insurance: Fully covered by contractor
Best for: Large shade trees, overhead utility clearance, and heavy rigging over roofs.
While the upfront cost of professional tree care is higher per visit, hiring an ISA Certified Arborist eliminates the risk of personal injury, property damage, and the long-term cost of treating a tree that was improperly pruned. Always verify that your hired contractor carries both commercial general liability insurance and workers' compensation coverage before they step onto your property.

