
Tree Care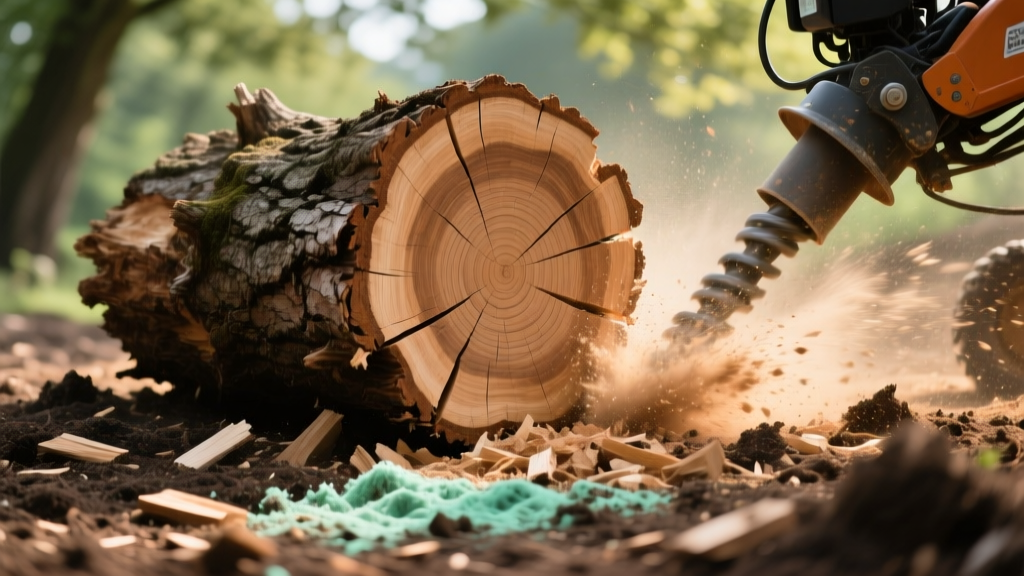
How to Destroy a Tree Stump: Grinding, Chemicals & Decay Science
Leaving a freshly cut tree stump in your yard creates a tripping hazard, invites carpenter ants and termites, and blocks landscaping projects. Figuring out how to destroy a tree stump efficiently requires understanding the biological and mechanical properties of the wood you are dealing with. A stump is not just dead wood; it is a complex network of heartwood, sapwood, and lateral roots that have evolved to resist rot and physical trauma.
This guide breaks down the exact science of stump decay, compares mechanical grinding against chemical acceleration, and provides the precise measurements and tool specifications required to eradicate the root collar permanently. We will also cover the critical failure modes that cause DIY removal attempts to fail.
The Anatomy of a Stubborn Stump: Why They Resist Decay
Before selecting a removal method, you must understand why stumps take decades to rot naturally. Wood is composed of roughly 50% carbon and only 0.1% nitrogen. Decomposing fungi require a carbon-to-nitrogen (C:N) ratio closer to 30:1 to thrive. Because a stump is heavily carbon-biased, fungi quickly exhaust the available nitrogen and stall the decay process.
Furthermore, species like Eastern Red Cedar, Black Locust, and Osage Orange contain high levels of natural extractives (such as thujaplicins in cedar) that act as powerful fungicides. If you are trying to destroy a stump from one of these species using passive chemical rot, you will likely fail unless you alter the wood's chemical environment first.
Method 1: Mechanical Stump Grinding (The 2-Hour Solution)
For immediate results, mechanical grinding is the industry standard. Stump grinders use a high-speed rotating cutter wheel equipped with tungsten carbide teeth to chip the stump and root flare into mulch.
CRITICAL SAFETY WARNING: Before renting a grinder or digging near a stump, you must contact your local utility locating service. In the US and Canada, Call 811 at least 48 hours in advance. Striking a buried gas or fiber-optic line with a grinder wheel or digging bar can result in fatal explosions or tens of thousands of dollars in repair fines.
Grinding Specifications and Technique
Walk-behind rental grinders (like the Husqvarna SG48 or Vermeer SC30TX) typically feature 12-inch to 16-inch cutter wheels. The secret to efficient grinding is not to dig a single hole in the center of the stump. Instead, use the sweep-and-drop technique:
- Step 1: Engage the wheel at the top-left edge of the stump and sweep horizontally across to the right, removing the top 2 inches of wood.
- Step 2: Drop the cutting wheel 2 inches and sweep back from right to left.
- Step 3: Once the top surface is leveled down to the soil line, focus on the root flare (the widened base of the trunk). You must grind 4 to 6 inches below the soil surface to prevent future tripping hazards and allow for sod installation.
2026 Cost Expectation: Professional stump grinding averages $3 to $5 per inch of diameter. A 24-inch oak stump will cost between $150 and $250 if hired out, or roughly $85 to $120 for a half-day rental if done yourself.
Method 2: Chemical Accelerated Decay (The 6-Week Solution)
If you have the time and want to avoid heavy machinery, chemical acceleration works by artificially lowering the C:N ratio of the wood, feeding the cellulolytic fungi (like white rot fungi) that break down lignin and cellulose.
Choosing the Right Chemical Accelerant
Not all stump removers work the same way. Potassium Nitrate (KNO3) actively feeds decay fungi, while Epsom salt merely desiccates the wood. Review the comparison below to choose your agent:
| Accelerant | Active Ingredient | Mechanism of Action | Time to Decay | Avg. Cost |
|---|---|---|---|---|
| Spectracide Stump Remover | Potassium Nitrate (KNO3) | Lowers C:N ratio, feeds cellulolytic fungi | 4-6 weeks | $15-$20 |
| Generic Epsom Salt | Magnesium Sulfate | Desiccates living tissue, halts sap flow | 3-6 months | $8-$12 |
| High-N Fertilizer | Urea / Ammonium Nitrate | Fungi food source, slower release than KNO3 | 2-4 months | $10-$15 |
The Precision Drilling Technique
Pouring chemicals on top of a stump is useless; the liquid will run off the bark. You must deliver the accelerant directly into the sapwood and heartwood via drilled reservoirs.
- Bit Selection: Use a 1-inch or 1.25-inch spade bit or auger bit attached to a high-torque cordless drill.
- Drilling Pattern: Drill holes 10 to 12 inches deep into the top of the stump. Space the holes exactly 3 inches apart in a grid pattern. Do not drill closer than 2 inches to the outer bark, or the chemical will leak out the sides.
- Angled Perimeter Drilling: To target the root collar, drill additional holes at a 45-degree downward angle along the outer edge of the stump, aiming toward the root system.
- Application: Fill each hole to the brim with your chosen chemical (e.g., Potassium Nitrate granules). Add just enough warm water to dissolve the granules and carry them into the wood fibers.
- Sealing: Cover the stump with a heavy-duty black tarp and weigh down the edges with bricks. The dark tarp traps solar heat and moisture, creating an ideal incubator for fungal growth.
For a deeper understanding of how different tree species respond to root decay and fungal colonization, refer to the University of Minnesota Extension guidelines on tree stump management.
Method 3: Manual Extraction & Root Severing
For stumps under 12 inches in diameter, or in tight backyard spaces where a grinder cannot fit, manual extraction is highly effective but physically demanding. You will need a 72-inch San Angelo digging bar (tamper bar), a steel mattock, and bypass loppers.
Begin by digging a trench 18 inches away from the stump's base, exposing the lateral roots. Sever roots up to 2 inches thick using the mattock or a pruning saw. Once the laterals are cut, drive the digging bar straight down into the soil directly under the center of the stump to fracture the taproot. Use the bar as a lever against a wooden fulcrum block to pry the stump out of the earth.
Decision Matrix: Choosing Your Strategy
Use the following framework to determine the most cost-effective and practical method for your specific yard scenario.
| Stump Diameter | Best Method | Estimated Cost | Timeline |
|---|---|---|---|
| Under 12 inches | Manual Extraction / Digging Bar | $0 (if you own tools) | 2-4 hours |
| 12 - 24 inches | Mechanical Stump Grinding | $150 - $350 | 1-2 hours |
| Over 24 inches | Professional Grinding or KNO3 Chemical | $400+ / $20 | 1 hour / 6 weeks |
Critical Failure Modes & Edge Cases
Even with the right tools, DIY stump destruction often fails due to overlooked variables. Watch out for these common edge cases:
- Rock Strikes During Grinding: If your stump grew in rocky soil, the roots may have grown around buried stones. Striking a rock with a carbide grinder tooth will shatter the tooth and can cause dangerous shrapnel. Always probe the base of the stump with a steel rod before grinding.
- Epsom Salt Soil Toxicity: While Epsom salt is a popular DIY hack, flushing massive amounts of magnesium sulfate into the soil can alter the soil pH and lock out calcium uptake for surrounding plants. If you plan to plant a new tree or garden bed in the exact same spot, use Potassium Nitrate instead, as it breaks down into usable plant nutrients.
- Sucker Regrowth: Species like Poplar, Willow, and Elm are notorious for pushing up root suckers from severed lateral roots even after the main stump is ground away. If you grind one of these species, immediately paint the freshly exposed root flare with a systemic herbicide containing Triclopyr to prevent the root system from cloning itself.
- Nitrogen Starvation in Soil: When you leave stump grindings (woodchips) mixed into the topsoil, the decaying wood will temporarily rob the surrounding soil of nitrogen as microbes break it down. Always rake out the woodchips and replace the void with fresh topsoil before laying new sod.
Destroying a tree stump is fundamentally a choice between spending capital (grinding) or spending time (chemical decay). By matching the biological resistance of your specific tree species to the correct mechanical or chemical intervention, you can reclaim your yard space without damaging the surrounding soil ecology or your budget.

