
Tree Care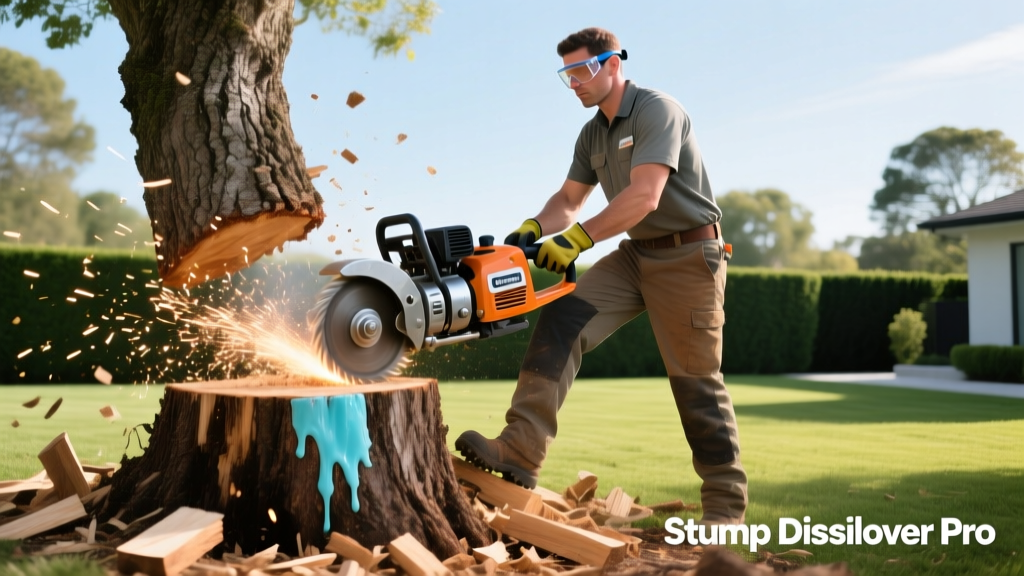
How to Destroy Tree Stumps: Fast Chemical & Mechanical Methods
The Hidden Costs of Leaving a Tree Stump
Leaving a freshly cut tree stump in your yard might seem like a harmless shortcut, but it initiates a cascade of ecological and structural problems. Decaying stumps act as primary breeding grounds for subterranean termites and carpenter ants, which can eventually migrate to your home's foundation or wooden siding. Furthermore, stumps harbor Armillaria root rot (honey fungus), a highly aggressive pathogen that spreads through underground root grafts to infect and kill neighboring healthy trees and shrubs.
⚠️ CRITICAL SAFETY WARNING: Before initiating any mechanical digging, grinding, or deep chemical application, you must call 811 (the national utility locator service) at least 48 hours in advance. Striking a buried gas or fiber-optic line with a stump grinder cutter wheel can cause catastrophic damage and severe injury.
Decision Matrix: Which Stump Destruction Method is Right for You?
Choosing the right technique depends on your budget, timeline, and the physical size of the stump. Below is a comparative breakdown of the three most effective destruction methodologies.
| Method | Timeframe | Estimated Cost | Best Application |
|---|---|---|---|
| Mechanical Grinding | 1–3 Hours | $150–$300 (Rental) | Immediate replanting or hardscaping |
| Chemical Accelerants | 4–8 Weeks | $15–$30 | Medium stumps where machinery cannot access |
| Epsom Salt Desiccation | 8–12 Months | $10–$20 | Budget-friendly, low-effort long-term removal |
Method 1: Mechanical Stump Grinding (The Fastest Route)
For homeowners who need to lay sod, pour concrete, or plant a new tree in the exact same location, mechanical grinding is the only viable option. According to the University of Minnesota Extension, grinding removes the stump and the upper root flare, allowing for immediate soil remediation.
Equipment Specs & Rental Realities
Do not rent a handheld, walk-behind stump grinder for stumps larger than 18 inches in diameter. They lack the torque and cutter-wheel weight required for dense hardwoods like oak or hickory. Instead, rent a self-propelled track grinder. The Toro STX-26 or Vermeer SC362 are industry standards available at most heavy equipment rental yards. Expect to pay between $180 and $250 for a full-day rental. These track units are roughly 35 inches wide, allowing them to pass through standard residential gate openings without damaging your fence.
Step-by-Step Grinding Procedure
- Clear the Zone: Remove all rocks, mulch, and soil from the base of the stump. Embedded rocks will shatter the carbide-tipped grinding teeth, resulting in $50+ per tooth replacement fees from the rental company.
- Don PPE: You must wear an ANSI Z87.1 rated polycarbonate face shield, heavy leather gloves, and over-ear hearing protection. Stump grinders eject woodchips and debris at velocities exceeding 100 mph.
- The Sweeping Technique: Engage the cutter wheel and sweep it side-to-side across the top of the stump, removing 2 to 3 inches of wood per pass. Do not plunge the wheel directly downward.
- Depth Target: Grind the stump and the primary lateral roots to a depth of 6 to 8 inches below grade. This ensures enough depth to cover the remaining wood with topsoil without future settling issues.
Method 2: Chemical Accelerants (Potassium Nitrate)
If your backyard is fenced and inaccessible to heavy machinery, chemical decay accelerants offer a highly effective alternative. The most effective active ingredient is Potassium Nitrate (often sold under brand names like Bonide Stump Out). Unlike mere herbicides that kill living tissue, potassium nitrate acts as a powerful oxidizer that rapidly accelerates the fungal decomposition of dead wood fibers.
Drilling Patterns and Application Rates
The success of chemical removal relies entirely on surface area penetration. Simply pouring the chemical on top of the stump will yield zero results.
- Drill Bit Selection: Use a 1-inch diameter spade bit or auger bit attached to a high-torque corded drill.
- Vertical Drilling: Drill holes straight down into the top of the stump. Each hole should be 10 to 12 inches deep. Space the holes exactly 3 inches apart in a grid pattern, staying 2 inches away from the outer bark edge.
- Angled Root Drilling: Drill additional holes at a 45-degree angle into the sides of the stump, aiming downward to intersect the vertical holes and create a saturated internal network.
- Application: Fill each hole to the brim with potassium nitrate granules (roughly 8oz for a 24-inch stump). Pour warm water into each hole to dissolve the granules and carry the solution deep into the root capillary system.
- The Incubation Period: Cover the stump with a heavy-duty black polyethylene tarp, weighing down the edges with bricks. This traps moisture and heat. Wait 4 to 6 weeks. The wood will become spongy and can be easily broken apart with a mattock or axe.
💡 Pro Tip for Burning: Once the potassium nitrate has soaked in for 6 weeks, the stump becomes highly combustible. If local fire ordinances permit, you can build a charcoal fire directly on top of the stump. The nitrate will cause the stump to burn intensely from the inside out, destroying the root system down to the water table. Never use gasoline for this process.
Method 3: The Epsom Salt Desiccation Technique
For those seeking a non-toxic, budget-friendly approach, 100% Magnesium Sulfate (Epsom salt) works by aggressively drawing moisture out of the wood cells, desiccating the stump and killing any remaining living cambium layer. While the Arbor Day Foundation notes that natural decay takes time, Epsom salt significantly speeds up the drying process compared to doing nothing.
The Protocol: Drill the same 1-inch hole grid as described in the chemical method. Instead of granules, mix a highly concentrated solution of Epsom salt and warm water at a 2:1 ratio (two parts salt to one part water). Pour the solution into the holes, and seal the top of each hole with melted candle wax or waterproof duct tape to prevent rain from diluting the mixture. Reapply the solution every three weeks. A 30-inch pine stump will typically become brittle enough to dismantle with a pry bar within 8 to 12 months.
Managing the Aftermath: Woodchips and Debris
A common mistake homeowners make is using fresh, uncomposted stump grinding woodchips as mulch directly around living plants. Fresh woodchips have a very high carbon-to-nitrogen ratio. As soil microbes break down the wood, they consume massive amounts of available soil nitrogen, causing severe nitrogen deficiency (chlorosis) in surrounding turfgrass and shrubs.
The Solution: Pile the woodchips in a remote corner of your property, mix them with a high-nitrogen source like grass clippings or blood meal, and allow them to compost for a minimum of 6 to 9 months before using them in garden beds. Alternatively, backfill the stump grinding crater with a mix of 70% native topsoil and 30% compost to prevent the ground from sinking as the remaining subterranean roots eventually decay.

