
Tree Care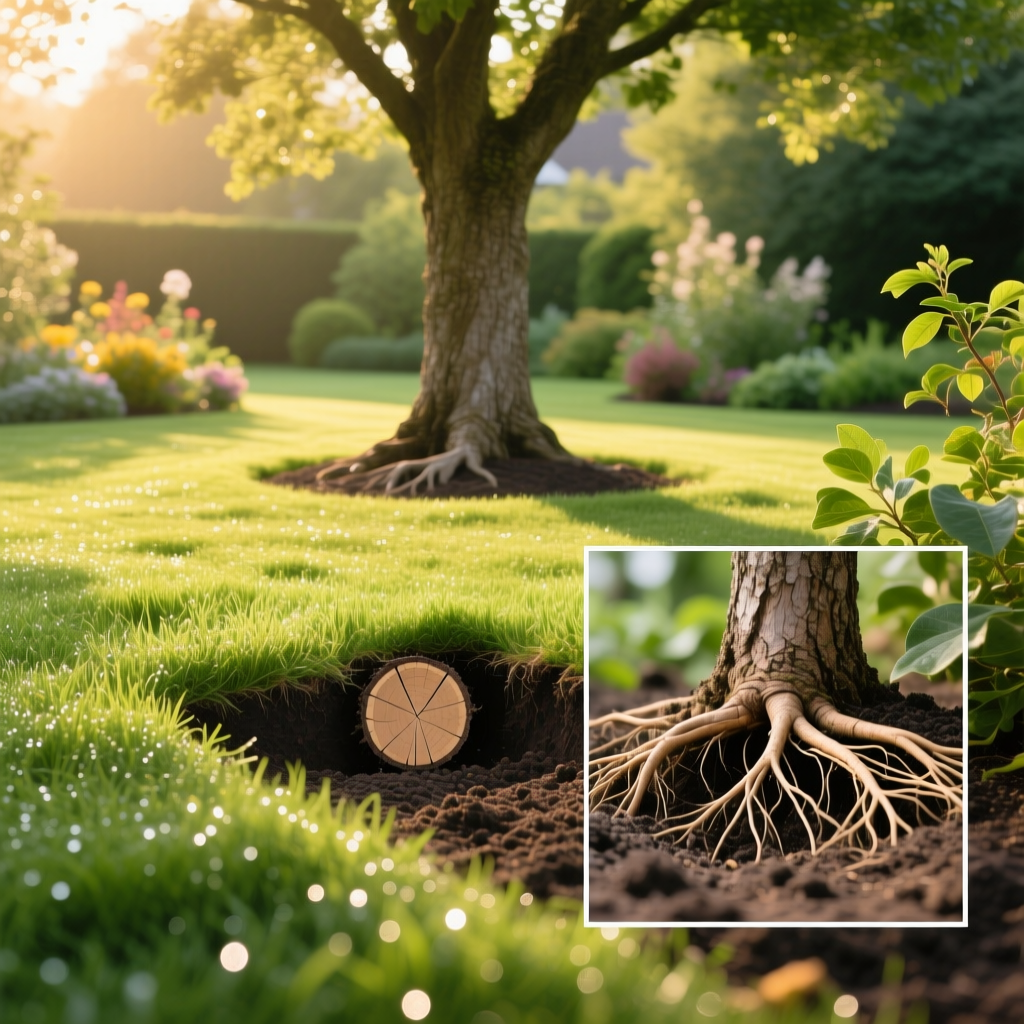
Diagnose & Fix Tree Planting Depth Problems: A Complete Guide
Anna KowalskiPublished
Planting a tree seems straightforward enough — dig a hole, place the tree, fill it back in, and water. Yet one of the most common and damaging mistakes homeowners and even professional landscapers make is planting a tree at the wrong depth. A tree planted too deep or too shallow faces a cascade of problems that can shorten its lifespan by decades, stunt its growth, and make it vulnerable to disease, pests, and structural failure.
Research from university extension programs consistently shows that improper planting depth is among the leading causes of tree decline and premature death in residential landscapes. The good news? Many of these problems can be diagnosed early and corrected with the right knowledge and techniques. Whether you have just planted a new tree or are trying to save an established one showing signs of distress, this comprehensive guide will walk you through everything you need to know about tree planting depth problems — from identification to lasting solutions.
Understanding the relationship between a tree's root system, its trunk flare, and the surrounding soil is essential for anyone invested in long-term tree care and overall landscape health. Let's dig into the details.
Why Planting Depth Matters More Than You Think
The depth at which a tree is planted affects virtually every aspect of its health and development. Trees have evolved over millions of years to grow with a specific anatomical transition point — the root flare (also called the trunk flare or root crown) — sitting right at or slightly above the soil surface. This flare is where the trunk widens and transitions into the primary structural roots. When this critical zone is buried or exposed, the tree's entire physiology is disrupted.
The Root Flare: Your Tree's Most Important Landmark
The root flare is the area at the base of the trunk where it broadens and the first major lateral roots emerge from the trunk. In a properly planted tree, this flare should be visible at or just above the soil line, resembling the way a trumpet bell widens at its base. When you look at a mature, healthy tree in a forest, you will almost always see a pronounced flare at the ground line.
Beneath the bark at the root flare, the tree transitions from trunk tissue (designed to be above ground and exposed to air) to root tissue (designed to function below the soil surface). Trunk bark is not adapted to constant moisture contact the way root bark is. When soil or mulch is piled against the trunk above the root flare, the bark begins to break down, creating entry points for fungal pathogens, boring insects, and decay organisms.
Gas Exchange and Root Respiration
Roots need oxygen to survive and function. Most of a tree's fine absorbing roots — the ones responsible for taking up water and nutrients — exist in the top six to twelve inches of soil, where oxygen levels are highest. When a tree is planted too deeply, the root system is effectively suffocated. The deeper soil layers have significantly less oxygen, and roots buried in these zones cannot perform cellular respiration efficiently. Over time, this leads to root dieback, reduced nutrient uptake, and a slow, often invisible decline that may take years to manifest above ground.
Water Movement and Vascular Function
A tree's vascular system — the xylem and phloem — runs just beneath the bark and is responsible for transporting water, minerals, and sugars throughout the tree. When the trunk base is chronically buried in moist soil, the phloem tissue can become damaged or girdled by decay, disrupting the flow of carbohydrates from the canopy to the roots. Without adequate carbohydrate supply, roots starve and die, which in turn reduces the tree's ability to take up water, creating a destructive feedback loop that is very difficult to reverse once it advances.
How to Diagnose Tree Planting Depth Problems
Identifying planting depth issues early can mean the difference between a simple corrective procedure and losing the tree entirely. Here are the key signs and diagnostic techniques to evaluate whether your trees are planted at the correct depth.
Visual Signs of a Tree Planted Too Deep
The most obvious indicator of a deeply planted tree is the absence of a visible root flare. If the trunk emerges from the ground like a telephone pole — straight and narrow with no widening at the base — the tree is almost certainly planted too deep. Other visual signs include:
- Yellowing or undersized leaves — Chlorotic foliage and smaller-than-normal leaves indicate that the root system is struggling to deliver adequate nutrients, often because roots are suffocating in oxygen-poor soil.
- Early fall color or premature leaf drop — Trees under stress from deep planting often begin shutting down earlier in the season than nearby healthy specimens of the same species.
- Dieback in the canopy — Branches in the upper canopy may begin dying back, starting at the tips, as the compromised root system can no longer support the full crown.
- Epicormic sprouting — Small, weak shoots emerging from the trunk or the base of the tree are a stress response, indicating the tree is trying to compensate for canopy loss or root dysfunction.
- Soft, mushy bark at the base — If you gently brush away soil at the trunk base and find bark that is dark, soft, or peeling away, the trunk tissue is rotting from chronic moisture exposure.
- Presence of girdling roots — Roots that circle the trunk rather than radiating outward often develop when trees are planted too deep or in containers for too long before planting.
Visual Signs of a Tree Planted Too Shallow
While less common than deep planting, planting too shallow also causes problems. Signs include:
- Exposed structural roots — Major roots visible above the soil surface are vulnerable to damage from mowers, trimmers, foot traffic, and temperature extremes.
- Drought stress symptoms — Wilting, curling, or scorched leaves even when irrigation seems adequate, because the shallow root zone dries out rapidly.
- Instability — Trees planted too shallow may lean or rock in the soil because the root ball is not adequately anchored below grade.
- Winter damage — Exposed roots are subject to freeze-thaw cycles that can heave and damage root tissue, particularly in colder climates.
The Root Flare Excavation Test
The most reliable diagnostic technique is to carefully excavate the soil around the base of the trunk to locate the root flare. Using a hand trowel, an air spade (compressed air excavation tool), or even a stiff brush, gently remove soil from the trunk base in a radius of about twelve to eighteen inches. You are looking for the point where the trunk widens and the first lateral roots diverge from the trunk.
If you have to dig down more than one to two inches to find the root flare, the tree is planted too deeply. In severe cases, the flare may be buried six inches or more below the soil surface. This test is non-negotiable for proper diagnosis — visual assessment alone can be misleading, especially with mulch or groundcover obscuring the base.
Assessing Girdling Roots During Excavation
While you have the root flare exposed, examine the lateral roots for girdling. Girdling roots are roots that circle around the trunk or cross over and compress other roots or the trunk itself. These roots act like a tightening belt, gradually strangling the tree's vascular system. Girdling roots are extremely common in trees that were planted too deeply, grown in containers too long, or planted in holes that were too narrow. If you spot girdling roots, they should be addressed at the same time you correct the planting depth. For more on identifying and managing root issues, see our guide on common tree root problems.
How to Fix Tree Planting Depth Problems
Once you have diagnosed a planting depth issue, the next step is correction. The approach depends on whether the tree is newly planted or well-established, the severity of the problem, and the overall health of the tree.
Correcting a Newly Planted Tree (First Growing Season)
If you catch the problem within the first year after planting, correction is relatively straightforward and the tree has an excellent chance of full recovery.
- Remove excess soil and mulch — Carefully pull back all mulch and soil from around the trunk until the root flare is fully exposed. Never use mechanical equipment near the trunk; hand tools are essential to avoid bark damage.
- Re-excavate if necessary — If the tree was planted with the root ball sitting too high in the hole and backfill was mounded over the trunk, you may need to remove the tree entirely and re-dig the hole to the proper depth.
- Replant at the correct depth — The root flare should sit one to two inches above the surrounding soil grade. This accounts for natural settling that will occur over the first year. The hole should be two to three times the width of the root ball but no deeper than the root ball itself.
- Eliminate girdling roots — Before replanting, use sharp, clean pruners or a saw to remove any circling or girdling roots. Make clean cuts at the point where the root begins to circle. Do not worry about removing too many roots — studies show that removing girdling roots at planting time dramatically improves long-term survival.
- Water and monitor — After replanting, water deeply and apply a light layer of mulch (two to three inches maximum) in a wide ring around the tree, keeping it several inches away from the trunk. Monitor soil moisture regularly during the establishment period. Proper watering is just as important for your trees as it is for your lawn watering routines.
Correcting an Established Tree (Multi-Year Plantings)
Trees that have been planted too deeply for several years present a more complex challenge. The approach must be gradual to avoid shocking a root system that has adapted to its buried environment.
- Begin with root flare excavation — Using an air spade or careful hand excavation, expose the root flare and the uppermost lateral roots. Create a shallow crater or saucer shape around the base of the tree, extending out to a radius of roughly three to four feet for medium to large trees.
- Remove girdling roots — Any roots that are circling the trunk or compressing other roots should be carefully pruned. For large girdling roots that have fused with the trunk, consult a certified arborist, as improper removal can cause significant damage.
- Leave the crater open or fill with coarse mulch — The excavated area around the trunk should remain open to allow air circulation and gas exchange. You can fill the crater with a loose, coarse mulch such as large wood chips, but never with fine soil or compacted material that will recreate the original problem.
- Improve drainage if needed — If the planting site holds water or has poor drainage, consider installing French drains or amending the surrounding soil to improve water movement away from the root zone. Standing water around the trunk base will continue to cause problems even after the flare is exposed.
- Monitor recovery over multiple seasons — Established trees may take two to three growing seasons to show meaningful recovery after root flare excavation. During this period, avoid fertilizing heavily, as this can push canopy growth that the recovering root system cannot support. Instead, focus on consistent watering and seasonal tree maintenance.
When to Call a Certified Arborist
Some situations require professional intervention. Consider hiring an ISA-certified arborist if:
- The tree is large and the root flare is buried more than six inches deep.
- Significant girdling roots have fused with the trunk and cannot be safely removed with hand tools.
- The tree is showing advanced decline symptoms such as extensive canopy dieback, fungal fruiting bodies at the base, or significant lean.
- An air spade is needed for excavation, as improper use can damage roots and trunk tissue.
Professional arborists have specialized equipment and training to perform root crown excavations safely and effectively. The cost of a professional root flare excavation is typically far less than the cost of removing and replacing a mature tree.
Best Practices for Proper Tree Planting Depth
Prevention is always easier than correction. Whether you are planting a new tree or advising someone who is, following these best practices will help ensure the tree is set at the correct depth from the start.
Locate the Root Flare Before Digging
Before the tree ever goes into the ground, brush away the soil or growing medium from the top of the root ball until you find the root flare. Nursery-grown trees, especially those in containers, are frequently buried several inches too deep in their pots. If you plant the tree at the surface of the potting mix without checking, you are likely planting it too deep. Remove excess soil from the top of the root ball until the flare and the first lateral roots are visible.
Dig the Hole to the Correct Dimensions
The planting hole should be:
- Wide: Two to three times the diameter of the root ball. Wide holes encourage lateral root growth into the surrounding soil.
- Shallow: No deeper than the root ball itself. In fact, it is better to dig the hole slightly shallower than the root ball height so that the tree sits on undisturbed soil and the root flare ends up slightly above grade.
- Rough-sided: Avoid creating smooth, glazed sides in clay soil, as these can create a "pot effect" that discourages roots from expanding outward. Use a fork to roughen the sides of the hole.
For more on preparing your landscape for new plantings, check out our landscape preparation guides to ensure your soil and grading are ready before planting day.
Set the Tree and Verify Depth
Place the tree in the center of the hole and step back to assess the depth. The root flare should sit one to two inches above the surrounding soil grade. If the tree sits too low, lift it out and add a small amount of soil beneath the root ball, then recheck. If it sits too high, widen the hole rather than digging deeper — digging deeper loosens the soil beneath the root ball and invites settling, which will pull the tree below grade over time.
Backfill Properly
Use the native soil you removed from the hole for backfilling. Amending the backfill with compost or rich organic matter can create a textural difference that discourages roots from growing beyond the planting hole, effectively creating a container in the ground. Backfill in layers, tamping gently to remove large air pockets but avoiding heavy compaction. Water thoroughly after backfilling to settle the soil.
Mulch Correctly — No Volcano Mulching
One of the most common causes of planting depth problems after the initial planting is excessive mulching. "Volcano mulching" — piling mulch high against the trunk in a cone shape — effectively buries the root flare and creates all the same problems as deep planting. Instead, apply mulch in a wide, flat ring:
- Two to three inches deep maximum.
- Extending out to the drip line if possible, or at minimum a three-foot radius.
- Pulled back three to five inches from the trunk so that the root flare remains visible and exposed to air.
Proper mulching not only protects the root flare but also helps conserve soil moisture and suppress weeds, benefiting both your trees and surrounding lawn and garden beds.
Seasonal Considerations for Diagnosing and Fixing Planting Depth Issues
The timing of your diagnosis and correction work can significantly affect the tree's ability to recover. Here is a season-by-season breakdown of what to consider.
Spring
Spring is the ideal time to diagnose planting depth problems. As trees leaf out, differences in vigor, leaf size, and color between stressed and healthy trees become apparent. Root flare excavation can be performed in spring once the soil has thawed and dried enough to work without compaction. If you are replanting a tree that was improperly planted the previous fall, early spring before bud break is the best window.
Summer
Summer is a good time to observe symptoms of planting depth stress, as heat and drought will amplify problems in trees with compromised root systems. However, major corrective work such as replanting or extensive root pruning should generally be avoided during peak summer heat, as the additional stress can overwhelm an already struggling tree. Light root flare excavation to expose buried flares can be done in summer, but be sure to keep the exposed area shaded and moist to prevent root desiccation.
Fall
Fall is the second-best window for corrective planting and replanting. Cooler temperatures and increased rainfall reduce transplant stress, and trees planted in fall have the opportunity to establish roots over the winter and early spring before the demands of summer canopy growth. If you are correcting a planting depth issue on an established tree, early fall root flare excavation gives the tree time to adjust before the ground freezes. Make sure to integrate this work with your broader fall tree care routine.
Winter
In regions with frozen ground, winter is not practical for excavation or replanting. However, winter is an excellent time to assess the structure of deciduous trees without foliage obscuring the view. You can mark trees that show signs of planting depth problems for corrective action in the spring. In mild climates where the ground does not freeze, winter root flare excavation is possible and can be advantageous because the tree is dormant and less susceptible to stress from root disturbance.
Frequently Asked Questions
How deep is too deep when planting a tree?
Even one to two inches of soil covering the root flare can cause problems over time. In general, if you cannot see the trunk flare at the soil surface, the tree is planted too deeply. Severe cases involve the root flare being buried four to eight inches or more below grade, which typically leads to significant decline within five to fifteen years. The root flare should always be visible at or slightly above the finished soil grade after planting and settling.
Can a tree recover from being planted too deep?
Yes, many trees can recover if the problem is caught and corrected early enough. Young trees and recently planted specimens have the best recovery prospects. Established trees that have been deeply planted for many years can still benefit from root flare excavation and girdling root removal, but recovery is slower and less certain. The key factors influencing recovery are the severity of the depth problem, the extent of root damage or girdling, and the overall health of the tree at the time of correction. Providing consistent aftercare — proper watering, appropriate mulching, and avoiding soil compaction around the root zone — greatly improves the odds of a successful recovery.
Should I remove the burlap and wire cage when planting a balled-and-burlapped tree?
Yes, you should remove as much of the burlap, twine, and wire cage as possible before or during planting. Synthetic burlap will not decompose and can restrict root growth. Natural burlap decomposes slowly and can wick moisture away from the root ball. Wire cages can girdle roots as they expand. At minimum, cut away the top third of the wire cage, remove all twine tying the burlap around the trunk, and fold back or remove the burlap from the top of the root ball so you can locate the root flare and verify proper planting depth. For more planting guidance, visit our complete tree planting guide.
Does mulching around the base of a tree cause planting depth problems?
Excessive or improperly applied mulch absolutely can cause the same problems as deep planting. When mulch is piled against the trunk in thick layers (commonly called "volcano mulching"), it buries the root flare, traps moisture against the bark, and creates conditions for decay, girdling roots, and pest infestations. The correct approach is to apply mulch in a wide, flat layer two to three inches deep, keeping it at least three to five inches away from the trunk. Think of mulch as a donut shape around the tree rather than a volcano. Reapply mulch as needed to maintain the proper depth, but always check that the root flare remains exposed.
How can I tell if my tree's problems are caused by planting depth versus something else?
Many tree health issues — drought stress, nutrient deficiencies, soil compaction, pest infestations, and diseases — can produce symptoms similar to those caused by improper planting depth, such as yellowing leaves, canopy dieback, and slow growth. The distinguishing diagnostic step is the root flare excavation test. If you expose the base of the trunk and find that the root flare is buried, the bark at the trunk base is deteriorating, or girdling roots are present, planting depth is very likely a primary or contributing factor. If the root flare is properly positioned at the soil surface and no girdling roots are found, you should investigate other causes such as soil nutrition, drainage, or pest and disease pressure. Our tree disease identification resources can help you narrow down other potential issues affecting your tree's health.
Diagnosing and fixing tree planting depth problems is one of the most impactful things you can do for the long-term health of your landscape. A tree planted at the correct depth, with its root flare proudly visible above the soil, will establish faster, grow more vigorously, resist diseases and pests more effectively, and live significantly longer than one buried below grade. Whether you are planting a new tree this season or evaluating established trees that have been struggling, take the time to check the root flare. That simple act of observation and correction can add decades to the life of your trees and preserve the beauty, shade, and value they bring to your property for generations to come.

