
Tree Care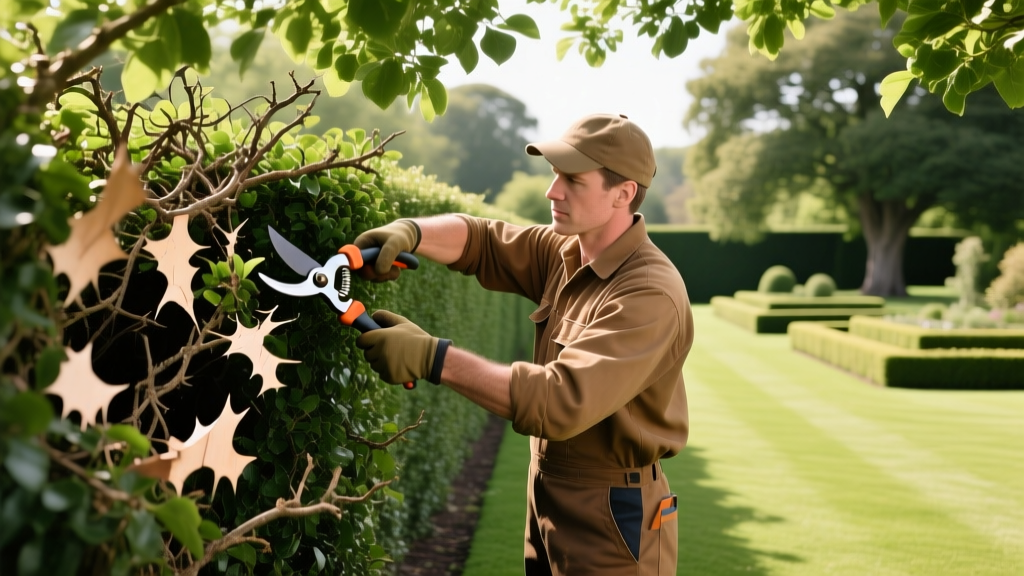
Troubleshooting Cutting Hedges: Diagnosing and Fixing Mistakes
The Hidden Costs of Improper Hedge Trimming
When homeowners and landscapers focus solely on the aesthetic shape of a hedge, they often ignore the physiological stress caused by poor technique. Improper cutting hedges practices do not just result in an ugly yard; they invite fungal pathogens, cause irreversible dieback in conifers, and shorten the lifespan of expensive shrubbery. Diagnosing the root cause of a declining hedge requires looking past the surface and examining the cut tissue, the tool selection, and the geometric profile of the plant.
This guide provides a clinical approach to troubleshooting the four most common hedge decline symptoms, offering exact measurements, tool specifications, and botanical solutions to restore plant health.
Symptom 1: Browning and Dieback After Trimming
Diagnosis: Violating the 'Dead Zone' or Timing Errors
If your hedge develops brown, dead patches immediately following a trim, you have likely cut into the 'dead zone' or trimmed during peak environmental stress. The dead zone is the inner, shaded portion of the shrub where no active foliage or latent buds exist.
- Coniferous Hedges (Arborvitae, Juniper, Cypress): These species lack latent buds in old wood. If you cut past the green outer foliage into the brown inner stems, that section will never regrow. The University of Minnesota Extension emphasizes that conifers must only be pruned in the current season's green growth.
- Broadleaf Evergreens (Yew, Boxwood, Privet): These possess latent buds along older stems and can tolerate harder rejuvenation pruning, but cutting into thick, uncallused wood during late fall leaves the exposed tissue vulnerable to winter desiccation.
Solution: The 2-Inch Buffer Rule and Seasonal Timing
When cutting hedges composed of conifers, always maintain a minimum 2-inch buffer of green foliage between your shears and the inner brown wood. Use hand pruners for precision rather than power shears, which blindly chew through the canopy. For broadleaf species, schedule heavy structural pruning for late winter (February to early March) just before the spring flush, and limit summer trims to light shaping.
Warning: Never trim hedges when temperatures exceed 85°F (29°C). High heat combined with open cut wounds accelerates moisture loss and causes immediate tip scorch, mimicking disease symptoms.
Symptom 2: Ragged, Frayed Branch Tips and Sap Bleeding
Diagnosis: Tool Mismatch and Blade Pitch Failure
Clean cuts heal within weeks; torn cuts remain open for months, leaking sap and inviting canker diseases. Ragged tips are almost always a mechanical failure, stemming from using the wrong tool for the branch diameter or operating a hedge trimmer with misaligned blades.
Power hedge trimmers utilize a scissor-action (shearing) mechanism. If the blade gap exceeds 0.5mm, or if the teeth are dull, the trimmer will fold and crush the branch rather than slice it. Similarly, using anvil pruners on live green wood crushes the vascular cambium layer.
Solution: Tool Selection Matrix and Maintenance
Match your tool to the specific cutting task to ensure a flush, clean wound that the plant can rapidly compartmentalize.
| Tool Type | Max Branch Diameter | Best Application | Common Failure Mode |
|---|---|---|---|
| Bypass Hand Pruner (e.g., Felco 2) | Up to 1 inch | Detail shaping, removing individual rogue branches | Blade bypasses anvil if pivot bolt is loose |
| Manual Hedge Shears | Up to 0.25 inch | Light summer shaping of soft new broadleaf growth | Tearing thick stems due to lack of leverage |
| Cordless Hedge Trimmer (e.g., Stihl HSA 56) | Up to 0.5 inch | Rapid top and side profiling of established hedges | Crushing wood if blade gap widens from wear |
| Folding Pruning Saw (e.g., Silky Gomboy) | 1 inch to 4 inches | Removing thick, woody interior structural branches | Bark stripping on the downstroke if not supported |
Pro-Tip for Trimmer Maintenance: To fix a wide blade gap on power trimmers, loosen the mounting bolts, tap the blades gently with a rubber mallet to realign the teeth, and retighten. Always spray the blades with a resin solvent (like denatured alcohol) after use to prevent sap buildup, which creates drag and causes tearing.
Symptom 3: Asymmetrical Growth and 'Bald' Lower Branches
Diagnosis: The Vertical Wall Error
A hedge that is lush and green at the top but sparse, woody, and dying at the base is suffering from light deprivation. This occurs when the trimmer operator cuts the hedge in a perfectly vertical, straight up-and-down profile. The dense top canopy casts a permanent shadow over the lower branches, causing them to drop their foliage and eventually die off.
Solution: The A-Frame (Battered) Profile Technique
To ensure sunlight reaches the soil line, hedges must be cut with a 'battered' or A-frame profile, where the base is wider than the top. According to guidelines from the Royal Horticultural Society (RHS), this geometric taper is non-negotiable for long-term hedge density.
- Calculate the Taper: Use a 1:12 ratio. For every 12 inches of vertical height, the hedge should slope inward by 1 inch on each side.
- Apply the Math: If your hedge is 72 inches (6 feet) tall, the base must be exactly 6 inches wider on the left and 6 inches wider on the right compared to the top. (Total base width is 12 inches wider than the top width).
- Execution: Tie a mason's line from a stake at the top of the hedge to a stake at the bottom, offset by your calculated measurement. Use this physical guide line to rest the blade of your hedge trimmer against, ensuring a perfectly consistent slope.
Expert Insight: If your hedge is already bald at the base, do not attempt to fix it by simply leaving the bottom untrimmed. You must aggressively prune the top canopy back by 6 to 12 inches to forcibly redirect the plant's auxin hormones downward, stimulating latent buds at the base to break dormancy.
Symptom 4: Rapid Disease Spread (Canker and Blight) Post-Cut
Diagnosis: Unsanitized Tool Transfer
If you notice localized dieback, oozing cankers, or rapid leaf blight spreading precisely along the lines you recently trimmed, your tools are acting as pathogen vectors. Boxwood blight (Calonectria pseudonaviculata) and bacterial canker are easily transmitted via microscopic sap residue left on shear blades.
Solution: The 70% Isopropyl Alcohol Protocol
Many older guides recommend dipping tools in a 10% bleach solution. Do not do this. Sodium hypochlorite (bleach) causes micro-pitting in high-carbon steel blades, destroying the sharp edge and accelerating rust. Furthermore, bleach requires a 30-second contact time to be effective, which slows down workflow and is rarely followed in practice.
Instead, use 70% isopropyl alcohol or a commercial quaternary ammonium disinfectant. Keep a spray bottle and a clean rag in your tool belt. After finishing a single hedge, or immediately after cutting out a diseased branch, spray the blades liberally and wipe them dry. This kills surface pathogens on contact without degrading the steel.
Decision Matrix: When to Rehabilitate vs. Remove
Not all damaged hedges can be saved. Use this framework to decide whether to invest time in rehabilitation or budget for removal and replanting.
| Condition Indicator | Rehabilitation Viable? | Required Action & Timeline |
|---|---|---|
| Conifer with >30% dead zone exposure | No | Remove and replace. Conifers will not back-bud to fill gaps. |
| Broadleaf with bare lower third | Yes | Hard prune top, fertilize. Expect 18-24 months for full recovery. |
| Systemic fungal canker on main stems | No | Remove entirely, including root ball. Do not replant same species. |
| Mechanical tearing on >50% of tips | Yes | Wait 4 weeks, then perform a light corrective shear with sharp bypass tools. |
Mastering the art of cutting hedges requires shifting your mindset from simple yard cleanup to active plant health management. By respecting the botanical limitations of your specific shrub species, maintaining surgical sharpness on your tools, and enforcing the A-frame geometry, you will transform a declining, patchy hedge into a dense, vibrant architectural feature.

