
Tree Care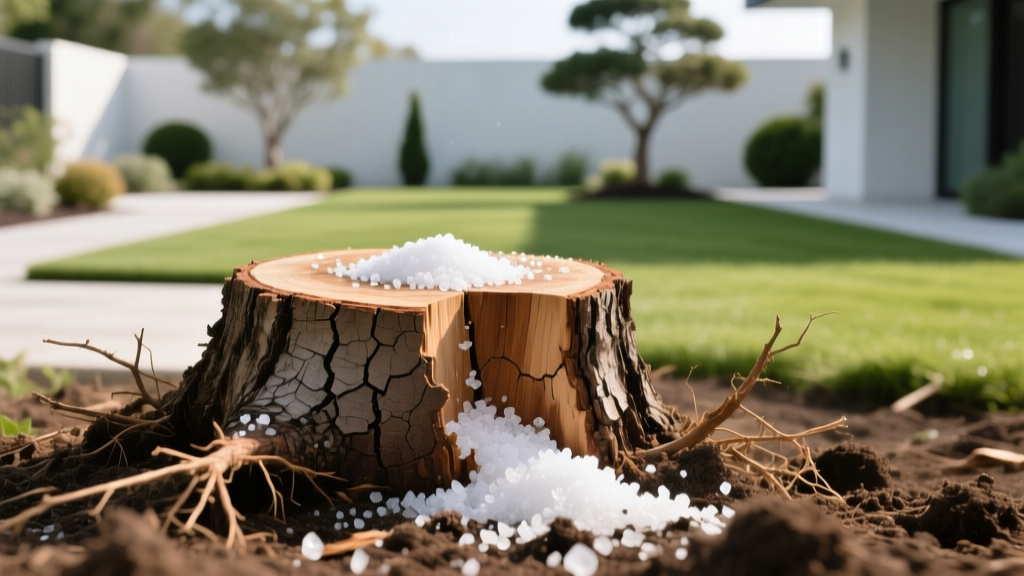
Epsom Salt Tree Stump Removal: Step-by-Step Guide & Timeline
Removing a tree stump without heavy machinery is a common challenge for homeowners. While mechanical grinding is fast, it is expensive and disruptive to surrounding landscaping. Using an epsom salt tree stump treatment offers a low-cost, low-impact chemical alternative that accelerates natural decay by desiccating the wood. However, simply dumping salt on the surface will not work. Success requires precise drilling, correct chemical concentrations, and environmental sealing.
⚠️ Critical Warning: Do not confuse Epsom salt (magnesium sulfate) with rock salt (sodium chloride). Rock salt will permanently sterilize your soil, killing surrounding grass and desirable plants for years. Epsom salt is significantly safer for soil structure, though excessive concentrations can still cause temporary magnesium toxicity in nearby root zones.
The Science: How Epsom Salt Kills Tree Stumps
Epsom salt is chemically known as magnesium sulfate heptahydrate. When applied in highly concentrated doses to the exposed cambium and xylem of a cut tree, it creates a severe hypertonic environment. Through the process of osmosis, the high concentration of dissolved minerals draws cellular water out of the wood fibers and living root tissue.
This rapid desiccation kills any remaining living cambium layer, preventing the stump from sprouting suckers. Furthermore, by completely drying out the wood, the salt alters the moisture content required for wood-decaying fungi to thrive initially, but once the salt leaches into the deeper soil over several months, the thoroughly dead, dry wood becomes highly susceptible to rapid saprophytic decomposition.
Method Comparison: Epsom Salt vs. Alternatives
Before committing to the Epsom salt method, compare it against other common stump removal techniques to ensure it fits your timeline and budget.
| Method | Average Cost | Time to Completion | Labor Intensity | Soil Impact |
|---|---|---|---|---|
| Epsom Salt (Chemical) | $10 - $20 | 3 to 6 months | Moderate (Drilling) | Low (Temporary Mg spike) |
| Potassium Nitrate | $25 - $40 | 4 to 8 weeks | Moderate (Drilling) | Moderate (Nitrate leaching) |
| Stump Grinding | $150 - $400 | 1 to 2 hours | Low (Hired Pro) | High (Woodchip mixing) |
| Natural Decay | $0 | 3 to 7 years | None | None |
Step-by-Step Epsom Salt Tree Stump Removal
According to arboricultural guidelines from the University of Minnesota Extension, chemical stump treatments require direct access to the inner heartwood to be effective. Follow these exact steps to ensure the salt penetrates the root system.
Step 1: Cut the Stump Low
Use a chainsaw to cut the stump as close to the ground as possible. A lower stump means less wood volume to desiccate and reduces the leverage that wind or accidental impacts can exert on the decaying wood.
Step 2: Drill the Hole Pattern
Using a cordless drill and a 1-inch or 1.5-inch spade bit, drill holes straight down into the stump.
- Depth: Drill 8 to 12 inches deep. If the stump is shallow, drill at a 45-degree angle to intersect the lateral roots.
- Spacing: Space the holes 2 to 3 inches apart across the entire surface of the stump.
- Edge Holes: Drill a ring of holes 1 inch from the outer bark edge to target the active cambium layer.
Step 3: Fill with 100% Pure Epsom Salt
Purchase 100% pure agricultural or drugstore-grade Epsom salt. Avoid bath salts containing fragrances, dyes, or moisturizing oils. Pour the dry salt directly into the drilled holes, filling them to within half an inch of the top.
Step 4: Add Water and Seal
Add a few drops of water to each hole—just enough to dissolve the top layer of salt and help it settle into the wood pores. Do not flood the holes, or the salt solution will overflow and waste the treatment. Melt a standard candle and drip hot wax over the top of each hole to seal the salt inside, protecting it from immediate rain washout.
Step 5: Tarp and Wait
Cover the entire stump with a heavy-duty, opaque plastic tarp (minimum 6-mil thickness). Secure the edges with landscape staples or heavy bricks. This blocks sunlight (preventing any surviving roots from photosynthesizing via suckers) and prevents rainwater from diluting the salt concentration inside the wood.
Troubleshooting & Common Failure Modes
If your stump is not decaying or continues to push up new shoots, one of the following errors likely occurred:
Failure Mode 1: Rain Dilution. If the tarp was not secured tightly, rainwater will flush the magnesium sulfate out of the holes and into the surrounding topsoil before it can penetrate the deep root system. Fix: Re-drill shallow pilot holes, refill with salt, and use a new, properly staked tarp.
Failure Mode 2: Advanced Soft Rot. If the stump was already heavily decomposed and spongy before treatment, it cannot hold the salt. The chemical will simply leach out into the soil. Fix: Abandon the chemical method and use a manual mattock or rent a mini-excavator to pry the soft wood out.
Failure Mode 3: Hardwood Density. Dense hardwoods like Oak, Hickory, and Locust have tightly packed xylem vessels that resist chemical penetration. Fix: Increase the drill bit size to 1.5 inches and expect the timeline to double compared to softwoods like Pine or Spruce.
Timeline and Cost Breakdown
The University of Wisconsin-Madison Extension notes that chemical decay timelines are heavily dependent on wood density and ambient soil temperatures. Here is what you can realistically expect when budgeting your time and money.
- Material Cost: A 4 lb bag of pure Epsom salt costs between $8 and $12. A 6-mil plastic tarp and landscape staples will add another $15. Total cost: $23 - $27.
- Softwood Timeline (Pine, Fir, Cedar): The stump will be completely dead and spongy enough to break apart with a hand axe in 8 to 12 weeks.
- Hardwood Timeline (Oak, Maple, Ash): Expect to wait 4 to 6 months before the wood is brittle enough to dismantle manually.
- Application Time: Drilling and filling a standard 24-inch diameter stump takes approximately 45 to 60 minutes of active labor.
Post-Removal Soil Remediation
Once the stump has become brittle, use a mattock, axe, or digging bar to shatter the remaining wood and pry it from the ground. Because you used Epsom salt rather than rock salt, your soil is not permanently ruined. However, the immediate area will have elevated magnesium levels, which can interfere with calcium uptake in new plants.
To remediate the soil before planting grass or a new shrub:
- Remove as much of the salt-soaked wood debris as possible.
- Backfill the hole with a 50/50 mix of native topsoil and organic compost.
- Apply a standard agricultural gypsum (calcium sulfate) treatment at a rate of 2 pounds per 100 square feet. The calcium in the gypsum will displace the excess magnesium in the soil colloid, restoring the nutrient balance.
- Water the area deeply for three consecutive days to flush any remaining soluble salts down past the root zone.
For more information on managing large-scale tree removals and soil health, consult the Penn State Extension guidelines on tree and stump management. By following these precise measurements and timelines, you can effectively eradicate a tree stump for under $30 without damaging the surrounding ecosystem of your lawn.

