
Tree Care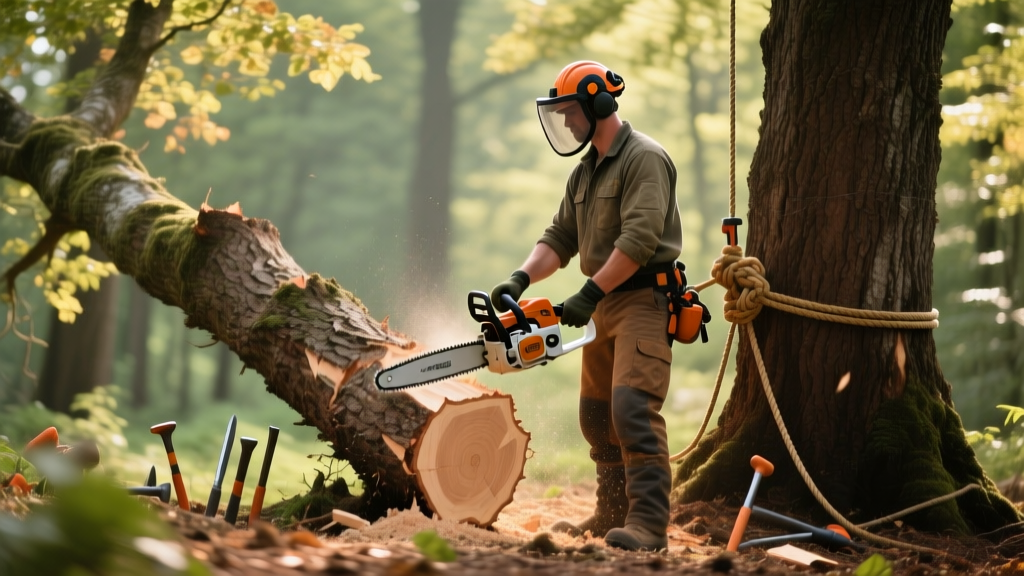
How to Fell a Tree Safely: Beginner Step-by-Step
Scope and Safety: When to DIY and When to Call a Pro
Learning how to fell a tree is a rewarding skill for homeowners managing their own landscaping, but it requires strict adherence to physics and safety protocols. This guide is specifically scoped for beginner-to-intermediate DIYers tackling yard trees with a Diameter at Breast Height (DBH) of 20 inches or less, situated in open areas away from structures.
⚠️ CRITICAL ABORT CONDITIONS
Do not attempt to fell the tree yourself if any of the following apply:
- The tree has a DBH greater than 20 inches.
- The trunk exhibits a lean of more than 15 degrees in an undesirable direction.
- There are overhead utility lines within 50 feet of the estimated fall radius.
- The tree is heavily decayed, hollow, or shows signs of advanced fungal fruiting bodies (conks) at the base, which compromises the hinge wood.
Essential Gear & Chainsaw Specs for Beginners
According to the CDC NIOSH Chainsaw Safety Guidelines, kickback and falling limbs are the primary causes of chainsaw-related injuries. Proper Personal Protective Equipment (PPE) is non-negotiable. Do not substitute standard workwear for forestry-rated gear.
| Equipment Category | Recommended Specification / Model | Est. 2026 Cost |
|---|---|---|
| Chainsaw (Gas) | Stihl MS 250 C-BE or Husqvarna 440 (16-18 inch bar) | $550 - $650 |
| Forestry Helmet | Husqvarna ForestTech or TR Industrial with 25dB muffs & mesh visor | $130 - $160 |
| Kevlar Chaps | Oregon 561698 (Type A, Class C, 32-inch length) | $65 - $85 |
| Gloves | Cut-resistant (ANSI A4 or higher) with grip coating | $25 - $40 |
Pro Tip: For trees under 14 inches DBH, a high-torque battery saw like the Stihl MSA 220 C-B offers sufficient power with significantly reduced vibration and zero exhaust fumes, though the upfront cost for the tool and AP 300 S battery system approaches $900.
The Physics of the Fall: Planning Your Escape Route
Before making a single cut, you must clear your escape route. The University of Minnesota Extension on Tree Removal emphasizes that most fatal accidents occur when the operator is struck by the tree or rebounding branches during the final seconds of the fall.
Mapping the Retreat
- Identify the Fall Zone: Determine the natural lean of the tree and the intended direction of fall.
- Establish Two Escape Paths: Create paths at a 45-degree angle backward and away from the intended fall line. Never retreat directly behind the tree; if the trunk kicks back (a 'sit-back'), it will crush anything directly behind it.
- Clear the Paths: Remove all tripping hazards, vines, and brush from your escape routes for a minimum distance of 20 feet.
Understanding the Mechanics: How to Fell a Tree Using the Three-Cut Method
The modern standard for directional felling is the open-faced notch combined with a precise back cut. This method provides superior control over the tree's descent compared to the older conventional 45-degree notch.
Step 1: The Top Cut of the Face Notch
Stand on the side of the tree opposite your escape route. Make a downward cut at a 60 to 70-degree angle. The depth of this cut should be exactly one-quarter to one-third of the tree's total diameter. For a 15-inch tree, your notch depth will be roughly 4 to 5 inches.
Step 2: The Bottom Cut of the Face Notch
Make an upward cut at a 20 to 30-degree angle so that it meets the top cut perfectly. The intersection of these two cuts creates an open wedge of 70 to 90 degrees. Critical detail: The two cuts must meet exactly on the same plane. If the bottom cut goes past the top cut, you create a 'Dutchman,' which severely weakens the hinge and can cause the tree to twist unpredictably.
Step 3: The Felling Cut (Back Cut)
Move to the opposite side of the tree. The felling cut is made horizontally, 1 to 2 inches higher than the vertex (the deepest point) of your face notch. This height differential is what creates the 'step' that prevents the tree from slipping backward off the stump and kicking back at you.
🌳 THE HINGE WOOD RULE
Do not cut all the way through to the face notch. You must leave a uniform strip of uncut wood—the hinge. The hinge thickness should be exactly 10% of the tree's diameter. For a 15-inch tree, leave a 1.5-inch hinge. This hinge acts as a door hinge, guiding the tree straight down and preventing it from barber-chairing (splitting vertically up the trunk).
Step 4: Use Wedges and Retreat
As soon as your back cut is deep enough to insert a felling wedge (usually when the bar is about halfway through), turn off the saw or engage the chain brake. Drive a plastic or magnesium felling wedge into the back cut with a felling axe. This prevents the tree from leaning back and pinching your chainsaw bar. Continue driving the wedge until the tree begins to tip, then immediately retreat via your 45-degree escape path.
Troubleshooting Common Felling Mistakes
'Barber-chairing happens when the back cut is placed too low, or the hinge is left too thick in the center and too thin on the edges. The tree splits vertically before it tips, creating a massive, unpredictable spear of wood that can lethal. Always keep your hinge uniform in thickness and use wedges early to relieve compression stress.'
— Certified Arborist Field Manual Excerpt
What if the chainsaw gets pinched?
If the tree sits back on your bar during the back cut, do not yank the saw. Turn the engine off immediately. Drive steel or heavy-duty plastic wedges into the kerf (the cut) behind the saw body to lift the trunk. If the kerf is too tight, use a heavy wooden mallet to drive the wedges, or use a come-along winch anchored to a sturdy rear stump to pull the tree slightly backward, relieving the pressure on the bar.
Cost Breakdown: DIY Felling vs. Professional Arborist
Understanding the financial trade-offs helps contextualize the risk. While DIY saves labor costs, the capital expenditure for safe gear and the cost of potential property damage must be weighed.
| Cost Factor | DIY Approach (30-50ft Tree) | Hiring an ISA-Certified Arborist |
|---|---|---|
| Labor & Execution | $0 (Your time: 2-4 hours) | $800 - $1,800 |
| Equipment (Purchase) | $750 - $950 (Saw + Full PPE) | Included in labor |
| Wood Chipping / Hauling | $150 - $300 (Dumpster rental) | $200 - $400 (Usually included) |
| Stump Grinding | $100 (Daily rental rate) | $150 - $350 (Add-on service) |
| Liability Insurance | Homeowner policy (May deny claims if unpermitted DIY) | Fully covered by arborist's commercial policy |
If your tree is near a fence, shed, or property line, the cost of a professional arborist is easily justified by their liability insurance and specialized rigging techniques. For open-field yard trees where you can safely execute the three-cut method, the DIY route offers immense satisfaction and long-term utility from your newly acquired forestry gear.

