
Tree Care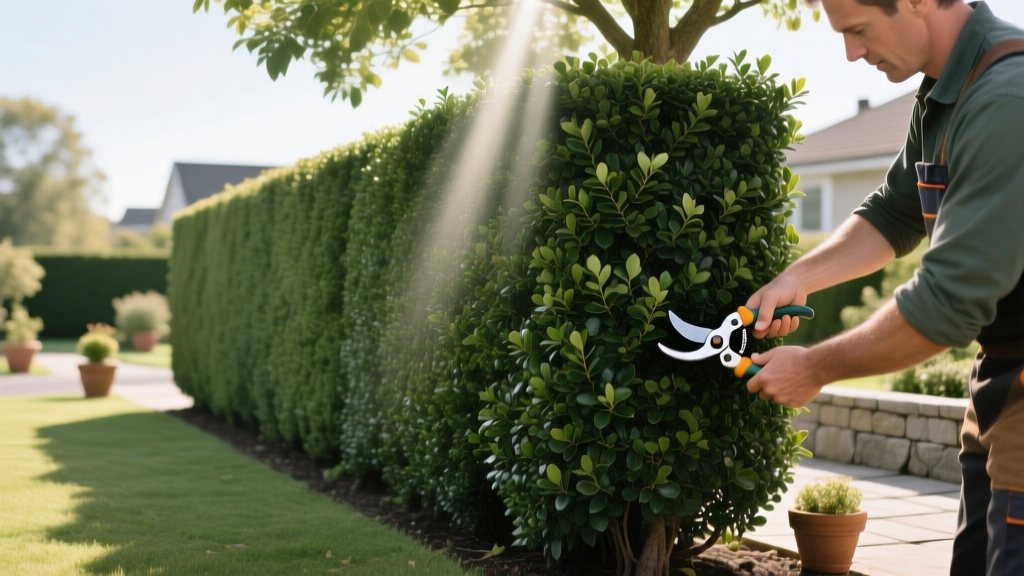
Step-by-Step Guide to Growing a Dense Privacy Hedge Fence
The Economics and Ecology of a Living Hedge Fence
In 2026, the average cost to install a premium vinyl or composite privacy fence ranges from $45 to $85 per linear foot. By contrast, establishing a living hedge fence using 5-gallon or 7-gallon evergreen shrubs costs between $12 and $25 per linear foot when planted as a DIY project. Beyond the immediate capital savings, a properly maintained hedge fence provides superior windbreak aerodynamics, dampens street noise through leaf mass, and sequesters carbon. However, the failure rate for newly planted privacy hedges hovers near 30% due to improper trenching, chronic underwatering during the first establishment year, and flat-top shearing that starves lower branches of sunlight. This guide details the exact horticultural procedures required to establish a dense, impenetrable living fence.
Phase 1: Species Selection and Spacing Matrix
The most common mistake homeowners make is planting hedge species too closely together. Overcrowding leads to intense root competition for water and creates a microclimate ripe for fungal pathogens like Phytophthora root rot. The spacing below accounts for mature canopy spread, allowing the plants to merge into a single visual wall without suffocating one another.
| Species (Cultivar) | Hardiness Zones | Mature Height | Optimal Spacing | Annual Growth Rate |
|---|---|---|---|---|
| Emerald Green Arborvitae (Thuja occidentalis 'Smaragd') | 3-8 | 12-15 ft | 24-30 inches | 6-9 inches |
| Nellie Stevens Holly (Ilex x 'Nellie R. Stevens') | 6-9 | 15-25 ft | 36-48 inches | 12-24 inches |
| Skip Laurel (Prunus laurocerasus 'Schipkaensis') | 6-8 | 10-15 ft | 48-60 inches | 18-24 inches |
| Green Giant Arborvitae (Thuja 'Green Giant') | 5-8 | 30-40 ft | 60-72 inches | 24-36 inches |
Phase 2: Trenching and Soil Preparation
Do not dig individual holes for a hedge fence. Individual holes create hardpan soil walls that restrict lateral root expansion, causing roots to circle and eventually girdle the trunk. Instead, dig a continuous trench.
- Mark the Line: Use a string line and marking paint to ensure a perfectly straight trench. Offset the line at least 3 feet from any property boundary to account for mature trunk flare and overhang.
- Excavate the Trench: The trench must be exactly 2.5 times the width of the root balls you are planting, and 2 inches shallower than the root ball height. For standard 5-gallon nursery stock, this means a trench roughly 28 inches wide and 14 inches deep.
- Amend the Backfill: Avoid the 'bathtub effect' by not over-amending with peat moss. Mix your excavated native soil with 20% finished compost by volume. If your native soil is heavy clay, incorporate 10% expanded shale or pine bark fines to improve drainage.
- Set the Grade: Place the shrubs in the trench. The root flare (where the trunk widens at the base) must sit exactly 1 to 2 inches above the surrounding soil grade. Planting too deep is the leading cause of transplant mortality.
Phase 3: First-Year Establishment Irrigation
Overhead sprinklers are entirely ineffective for establishing a hedge fence. The dense foliage of evergreens intercepts up to 40% of overhead water before it reaches the root zone. You must install a dedicated drip irrigation line.
The Drip Protocol
Run a 1/2-inch poly drip mainline down the center of the trench. Attach 1-GPH (gallon per hour) pressure-compensating drip emitters every 12 inches. During the first growing season, run the system for 2 hours, twice a week, delivering roughly 4 gallons of water per linear foot weekly. Adjust based on local evapotranspiration rates and rainfall.
Phase 4: Pruning for Density (The A-Frame Technique)
A living hedge fence will quickly develop a sparse, dead base if pruned incorrectly. This phenomenon is driven by apical dominance and light deprivation. If the top of the hedge is as wide as the bottom, the upper canopy casts a shadow over the lower branches, causing the plant to abort lower foliage to conserve energy.
To maintain a dense hedge fence from the soil line to the top, you must prune the shrubs into a trapezoid or 'A-frame' profile. The base of the hedge should be 20% to 30% wider than the top. According to University of Minnesota Extension guidelines, this tapered geometry ensures that sunlight penetrates to the lowest branches, stimulating dormant buds along the lower trunk.
Tool Selection and Execution
Modern 56V lithium-ion cordless hedge trimmers, such as the Ego HT2410 or Stihl HSA 56, now offer gas-equivalent cutting power without the two-stroke carburetor maintenance. However, power shears should only be used for soft, green tip growth.
- Structural Cuts: Use bypass hand pruners (like the Felco 2) to remove any woody branches thicker than a pencil. Shearing thick wood with power trimmers crushes the cambium layer, inviting canker diseases.
- Timing: Perform the primary shaping prune in late spring after the first flush of growth hardens off. Perform a lighter touch-up prune in late summer. Never prune evergreens in late fall; the exposed cuts will suffer winter desiccation.
Phase 5: Seasonal Fertilization and Pest Defense
Hedge fences extract massive amounts of nutrients from a confined soil volume. Annual fertilization is non-negotiable.
For broadleaf evergreens like Holly and Skip Laurel, apply an acidifying fertilizer such as Espoma Holly-tone (4-3-4 NPK) at a rate of 1 cup per foot of plant height in early spring. For needle-leaf evergreens like Arborvitae, use a balanced slow-release granular fertilizer (14-14-14) at a rate of 3 pounds per 100 square feet of bed area.
Pest Identification Matrix
A dense hedge fence restricts airflow, making it a target for specific pests. Early identification prevents total defoliation.
| Symptom | Probable Cause | Targeted Treatment |
|---|---|---|
| Foliage turning bronze/yellow, fine webbing on inner branches | Spider Mites (common on Arborvitae in hot, dry weather) | Blast with high-pressure water; apply horticultural oil or insecticidal soap in the evening. |
| Small, brown, spindle-shaped cases hanging from branch tips; defoliation | Bagworms | Hand-pick bags in winter; apply Spinosad or Bt (Bacillus thuringiensis) in early June when larvae are small. |
| Circular, powdery white spots on broad leaves (Skip Laurel) | Powdery Mildew | Improve airflow via selective inner-branch thinning; apply copper-based fungicide or potassium bicarbonate. |
Long-Term Maintenance Realities
A well-planted hedge fence will require approximately 4 to 6 hours of active maintenance per year per 100 linear feet, split between spring fertilization, summer pruning, and autumn debris clearing. As noted by the Arbor Day Foundation, consistent, light pruning is vastly superior to aggressive, once-a-year chopping, which stresses the plant's carbohydrate reserves and results in a brittle, easily damaged fence. By adhering to proper spacing, implementing targeted drip irrigation, and maintaining the critical A-frame pruning profile, your living hedge fence will provide decades of dense, ecological privacy.
For further reading on the mechanics of transplanting large shrub stock, consult the Penn State Extension planting guidelines to ensure your root preparation minimizes transplant shock during the critical first 90 days.

