
Tree Care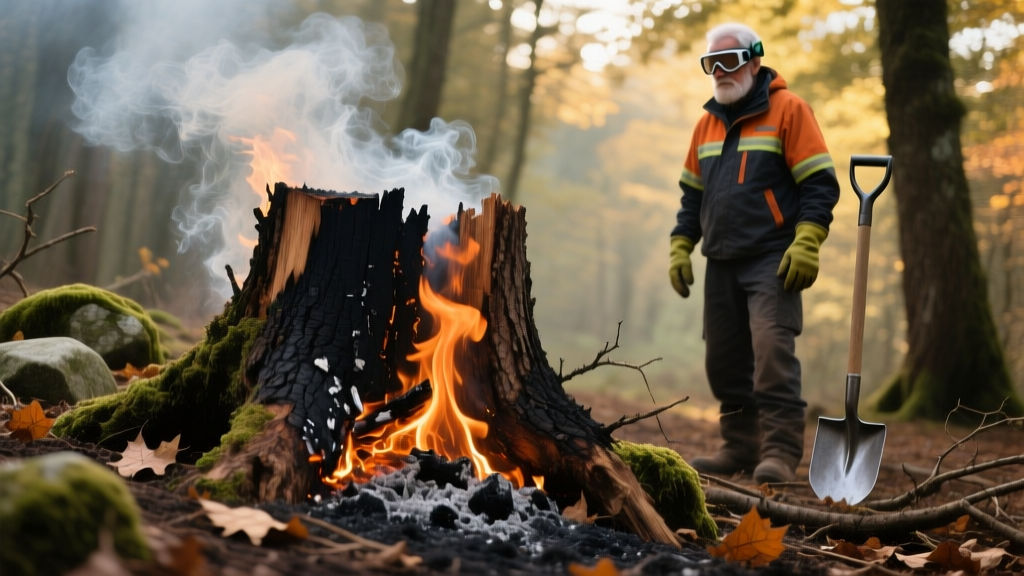
How to Burn a Tree Stump Safely: The Complete Removal Guide
Removing a tree leaves behind a stubborn stump that can harbor pests, obstruct landscaping, and sprout invasive suckers. While mechanical stump grinding averages $3 to $5 per inch of diameter—easily costing $250 to $400 for a mature oak—burning offers a highly effective, low-cost alternative. When executed correctly, the controlled burn method costs under $40 in materials and requires minimal physical labor compared to axe-and-mattock excavation.
However, burning a stump is not as simple as dousing it in lighter fluid and striking a match. Green wood contains up to 60% moisture, making it nearly impossible to ignite and sustain a burn. This guide details the scientifically backed Epsom salt desiccation and diesel-accelerant method to safely and completely eradicate a tree stump down to the taproot.
Stump Removal Decision Matrix: Burning vs. Grinding vs. Chemical Decay
Before committing to a burn, evaluate your specific site conditions. Burning is highly effective but requires patience and adherence to local fire codes. Use the comparison matrix below to determine the optimal removal strategy for your property.
| Method | Average Cost | Time to Completion | Labor Intensity | Best Application |
|---|---|---|---|---|
| Controlled Burn | $25 - $45 | 4 to 6 weeks | Low (intermittent) | Large, flat-yard stumps away from structures |
| Mechanical Grinding | $250 - $600 | 2 to 4 hours | High (heavy machinery) | Stumps near foundations, fences, or utilities |
| Chemical Decay (Potassium Nitrate) | $40 - $80 | 6 to 12 months | Very Low | Small stumps where fire codes prohibit burning |
Essential Tools and Materials
Success relies on using the correct chemical accelerants and drilling equipment. Do not substitute the materials listed below with household alternatives.
- Drill and Bits: Corded or high-torque cordless drill with a 1-inch or 1.5-inch spade bit or auger bit (12-inch length preferred).
- Desiccant: 100% pure Epsom salt (Magnesium Sulfate). Do not use scented bath salts or sodium chloride (table salt), which will permanently sterilize the surrounding soil.
- Accelerant: 1 to 2 gallons of diesel fuel or kerosene.
- Containment: 32-inch cast iron or heavy-gauge steel fire ring.
- Safety Gear: Leather work gloves, safety goggles, long-reach butane lighter, and a charged garden hose.
⚠️ CRITICAL SAFETY WARNING: Never Use Gasoline
Gasoline has a flash point of -45°F (-43°C) and produces highly volatile, explosive vapors that can cause severe flashovers. Diesel fuel has a flash point of approximately 125°F (52°C), meaning it burns slowly, predictably, and penetrates deep into the wood grain without creating explosive vapor clouds. Always use diesel or kerosene for stump burning.
Step-by-Step Guide: How to Burn a Tree Stump
Phase 1: Drilling and Honeycomb Preparation
The goal of drilling is to increase the surface area of the stump and create channels for the desiccant and accelerant to penetrate the root system.
- Clear the Perimeter: Remove all flammable debris, dry grass, and mulch within a 5-foot radius of the stump. Expose the base of the stump and the upper lateral roots by digging away the topsoil with a shovel.
- Drill Vertical Holes: Using your 1-inch auger bit, drill holes 10 to 12 inches deep into the top of the stump. Space the holes 3 inches apart in a concentric circle pattern, staying 2 inches away from the outer bark edge.
- Drill Angled Root Holes: Drill additional holes at a 45-degree angle into the exposed lateral roots, aiming toward the center taproot. This creates a 'honeycomb' internal structure that weakens the wood and allows the fire to burn downward into the root base.
Phase 2: Epsom Salt Desiccation (Weeks 1 to 4)
According to arboricultural principles outlined by the Arbor Day Foundation, removing the moisture from the wood is a prerequisite for a successful burn. Epsom salt (magnesium sulfate) acts as a powerful osmotic desiccant.
- Fill the Holes: Pour pure Epsom salt into every drilled hole until it overflows slightly onto the stump surface.
- Activate the Salt: Using a spray bottle or watering can, add just enough water to dissolve the salt and carry it deep into the wood channels. Do not flood the stump; you want a highly concentrated brine, not a puddle.
- Cover and Wait: Drape a heavy-duty dark plastic tarp over the stump and weigh down the edges with bricks. This blocks rain from diluting the salt and prevents new growth. Leave the tarp in place for 3 to 4 weeks. The osmotic pressure will draw the cellular moisture out of the wood, leaving it brittle and highly combustible.
Phase 3: Accelerant Soaking and Ignition (Week 5)
Once the wood is desiccated, it is ready to accept the diesel fuel.
- Apply Diesel: Remove the tarp. Slowly pour 1 to 2 gallons of diesel fuel over the stump, allowing it to pool and seep into the drilled channels.
- Soak Time: Cover the stump with the tarp again (to prevent evaporation and rain dilution) and let the diesel soak for 24 to 48 hours.
- Containment Setup: Place your cast iron fire ring directly over the stump, centering it so the wood is entirely enclosed.
- Ignition: Remove the tarp. Drop a lit match or use a long-reach butane lighter onto the stump. The diesel-soaked, desiccated wood will catch immediately and begin a slow, smoldering burn that will travel down into the roots.
Managing the Burn: Containment and Root Fire Prevention
A stump burn is not a fast, roaring campfire; it is a slow, smoldering combustion that can last 12 to 24 hours depending on the stump's mass. The primary risk during this phase is a subterranean root fire.
Subterranean Fire Hazard in Peat Soils
If your yard has heavy peat, dry clay, or highly organic topsoil, the fire can travel laterally along the decaying root system and ignite the soil itself underground. Monitor the perimeter closely. If you see smoke rising from the soil 3 to 4 feet away from the stump, immediately dig a trench to the root and sever it with an axe, then flood the trench with water to stop the subterranean spread.
Keep a garden hose with a spray nozzle attached nearby for the duration of the burn. Check the stump every 2 to 3 hours. Once the stump has reduced to a bed of white and gray ash, thoroughly douse the remaining embers with water until no steam is produced.
Post-Burn Cleanup and Soil Remediation
After the fire is completely extinguished and the ash has cooled, you must address the chemical changes to the soil before replanting.
Wood ash is highly alkaline. According to soil scientists at the University of Minnesota Extension, wood ash has a calcium carbonate equivalent of 20% to 50%, which can rapidly spike soil pH to levels that lock out essential nutrients like iron and manganese.
Remediation Steps:
- Excavate the Ash: Shovel out all remaining ash and charred root fragments from the hole. Do not till this ash into the surrounding garden beds.
- Neutralize the pH: The soil directly beneath the burn will have a pH between 9 and 11. To neutralize this zone for future planting, mix in elemental sulfur or peat moss at a rate of 1 cup per square foot of the excavated area.
- Backfill: Fill the void with a mixture of native topsoil and compost, tamping it down firmly to prevent future settling. You can lay sod or plant a new tree (offset by at least 3 feet from the old taproot location) immediately.
Frequently Asked Questions
Can I burn a pine or evergreen stump?
Yes, but coniferous stumps contain high levels of pitch and resin. While this makes them highly combustible once ignited, they also tend to pop and throw sparks aggressively. You must use a heavy steel mesh screen over your fire ring when burning pine, spruce, or fir stumps to prevent airborne embers from igniting nearby dry grass.
What if it rains during the 4-week Epsom salt phase?
This is exactly why the heavy-duty tarp is mandatory. If the tarp tears or blows off and the stump is saturated by heavy rain, the osmotic desiccation process will fail. You will need to reapply the Epsom salt and extend the waiting period by an additional 2 weeks.
Are there legal restrictions on burning stumps?
Many municipalities and Homeowner Associations (HOAs) have strict ordinances regarding open-air burning, especially during summer burn bans or drought conditions. Always check with your local fire marshal or county extension office to obtain a recreational fire permit before initiating a stump burn.

