
Tree Care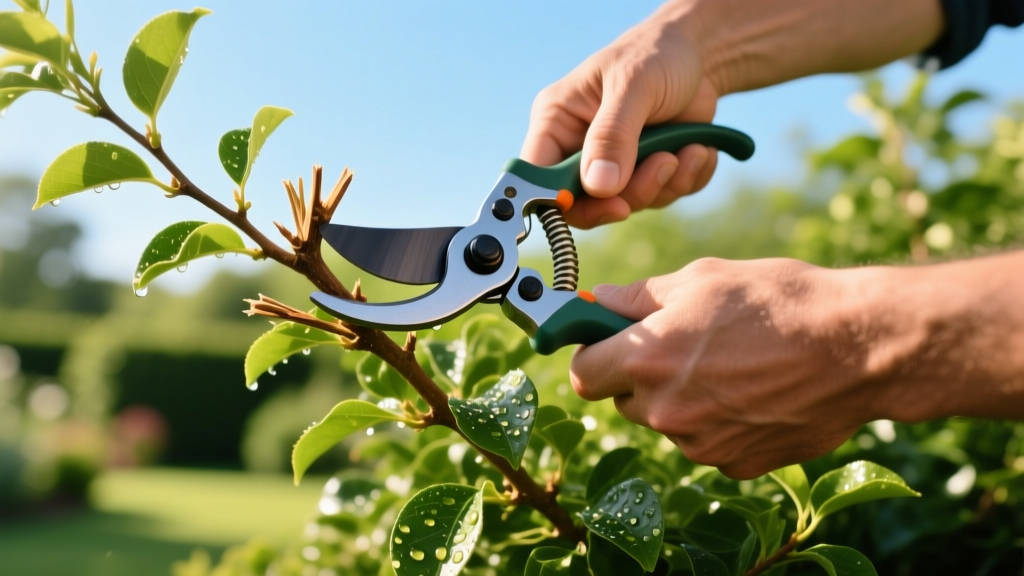
How to Cut Bushes: A Beginner's Guide to Pruning Shrubs
Why We Prune: Beyond Just Making Things Look Neat
When homeowners first ask how to cut bushes, they are usually staring at an overgrown foundation planting that is blocking their windows. The instinct is to grab a pair of electric hedge trimmers and shear the shrub into a tight, geometric shape. While this provides instant curb appeal, it is often the worst thing you can do for the long-term health of the plant. Shearing creates a dense outer shell of leaves that blocks sunlight from reaching the interior, leading to dead, woody centers and increased susceptibility to fungal diseases.
True pruning is about selective removal. By understanding plant biology and making targeted cuts, you encourage vigorous new growth, improve air circulation, and maximize floral production. According to the University of Minnesota Extension, proper pruning techniques can extend the lifespan of your landscape shrubs by decades while reducing the need for chemical pest interventions.
Choose Your Arsenal: Manual vs. Power Tools
The right tool prevents ragged tears that invite pathogens. In 2026, the market is flooded with battery-powered options, but manual tools remain essential for precision work. Here is a breakdown of what you actually need to buy, avoiding the cheap, big-box store traps that will rust and jam within a single season.
| Tool Type | Best Used For | Recommended 2026 Model | Estimated Price |
|---|---|---|---|
| Bypass Hand Pruners | Stems up to 3/4" thick; precision cuts | Felco F-2 Classic (Swiss-made, replaceable parts) | $55 - $65 |
| Bypass Loppers | Branches 3/4" to 2" thick; deep canopy reach | Corona BP 3180 (24-inch handles, forged steel) | $35 - $45 |
| Pruning Saw | Deadwood or live branches over 2.5" thick | Silky Gomboy 210 (Curved blade, impulse-hardened) | $40 - $50 |
| Hedge Shears | ONLY for formal hedges (boxwood, yew) | AR C12 Classic (12-inch blades, lightweight) | $60 - $75 |
| Cordless Hedge Trimmer | Large-scale shaping of formal privacy screens | Ryobi 18V ONE+ HP Brushless 22" (Tool only) | $149 - $169 |
Pro Tip: Never use anvil pruners (where a sharp blade crushes against a flat metal plate) on live wood. They crush the plant tissue, delaying the healing process. Reserve anvil tools strictly for cutting out dead, dry wood.
The Bloom-Timing Matrix: When to Make the Cut
Timing is the most common failure point for beginners. Cut a spring-blooming shrub in the fall, and you are literally cutting off next year's flowers. Shrubs set their flower buds at different times of the year. Use this decision framework before you make a single snip.
Spring Bloomers (Prune AFTER they flower)
Examples: Lilac, Forsythia, Azalea, Rhododendron, Mock Orange, Weigela.
These plants form their flower buds on "old wood" during the previous summer and fall. If you prune them in late winter or early spring, you will remove all the pending blooms. Wait until the flowers fade, then prune within 3 to 4 weeks to allow the plant time to set new buds for the following year.
Summer Bloomers (Prune in LATE WINTER / EARLY SPRING)
Examples: Butterfly Bush, Crape Myrtle, Rose of Sharon, Smooth Hydrangea, Spirea.
These shrubs bloom on "new wood" that grows in the current spring. You can (and should) prune them aggressively while they are fully dormant in late winter, just before the buds begin to swell. This encourages vigorous new shoots that will bear the summer flowers.
Mastering the Cut: Thinning vs. Heading
To properly maintain a bush, you must understand the physiological difference between the two primary pruning cuts. The Penn State Extension emphasizes that mixing these cuts correctly is the secret to a natural-looking, healthy shrub.
Thinning Cuts: This involves removing an entire branch back to its point of origin (the main trunk or a larger lateral branch). Thinning opens up the center of the shrub to light and air without stimulating a flush of chaotic, bushy growth. This should make up about 80% of your pruning efforts.
Heading Cuts: This involves snipping off the terminal end of a branch, somewhere along its length. Heading cuts remove the "apical dominance" (the main growth hormone at the tip), which forces the dormant buds just below the cut to break and grow. This creates dense, bushy growth. Use heading cuts sparingly, only when you specifically need to fill in a bare spot or encourage a denser habit.
The Anatomy of a Perfect Heading Cut
When making a heading cut, angle your bypass pruners at a precise 45-degree slant. Position the cut exactly 1/4 inch above a dormant bud that is facing the outside of the shrub. If you cut too close, you will damage the bud and kill it. If you cut too far away, you leave a "stub" that cannot heal; it will rot and provide an entry point for borers and fungal cankers. The outward-facing bud ensures the new branch grows away from the center, maintaining good airflow.
Step-by-Step Execution Plan for Overgrown Bushes
Follow this exact sequence when tackling an overgrown foundation shrub. Do not start by trimming the outside edges; start from the inside out.
- The 3 Ds First: Stand back and identify all Dead, Damaged, and Diseased wood. Cut these out entirely, back to healthy tissue or the main trunk. This immediately improves the plant's health and gives you a clearer view of the remaining structure.
- Remove Crossing Branches: Look for branches that are rubbing against each other. The friction creates open wounds. Choose the weaker or more awkwardly angled branch and thin it out completely.
- Open the Core: Identify the thickest, oldest canes originating from the soil line. Select 1 to 3 of the oldest, most unproductive canes and cut them all the way down to the ground. This forces the shrub to push up fresh, vigorous new basal shoots from the root system.
- Reduce Height and Width: If the shrub is still too large for its space, use thinning cuts to reduce the length of the remaining lateral branches. Cut back to a side branch that is at least 1/3 the diameter of the branch you are removing.
- Final Shaping (Optional): Only after the structural and health pruning is complete should you step back and use light heading cuts to tidy up any erratic, whippy growth that breaks the desired silhouette.
The "One-Third Rule" and Other Critical Guardrails
Beginners often get carried away once they start cutting. It is vital to respect the plant's energy reserves. Leaves are the plant's solar panels; remove too many at once, and the shrub will go into severe shock, making it highly vulnerable to pest infestations like scale or spider mites.
"Never remove more than one-third of a shrub's total living canopy in a single growing season. If a shrub is severely overgrown and requires a 50% reduction, spread the renovation pruning over two to three consecutive years to allow the root system to adjust."
Warning: Skip the Wound Paint
Decades ago, it was common practice to paint large pruning cuts with black asphalt-based "wound sealants." Modern arboriculture science has proven this is entirely counterproductive. These sealants trap moisture and anaerobic bacteria against the fresh cut, accelerating internal decay. A healthy shrub will rapidly grow "callus wood" over a clean, unpainted cut within a single season. Let the plant heal itself.
Tool Sanitization: The Step Most Beginners Skip
If you cut a diseased branch (such as one showing signs of fire blight or fungal canker) and then immediately move to a healthy shrub, your pruners act as a hypodermic needle, injecting pathogens directly into fresh wounds. The Arbor Day Foundation strongly recommends sanitizing tools between every single plant, and immediately after cutting known diseased wood.
Keep a spray bottle of 70% isopropyl alcohol in your tool belt. Simply spray the blades of your Felco pruners and loppers, wait 30 seconds for the alcohol to kill the bacteria and fungal spores, and wipe them dry with a clean rag before making the next cut. Avoid using a 10% bleach solution if possible; while effective, bleach is highly corrosive and will rapidly pit and ruin the high-carbon steel blades of your expensive tools.
By mastering these foundational techniques, you transition from merely "cutting bushes" to actively managing the health, architecture, and longevity of your landscape. Patience and precision will always yield better results than brute force and power tools.

