
Tree Care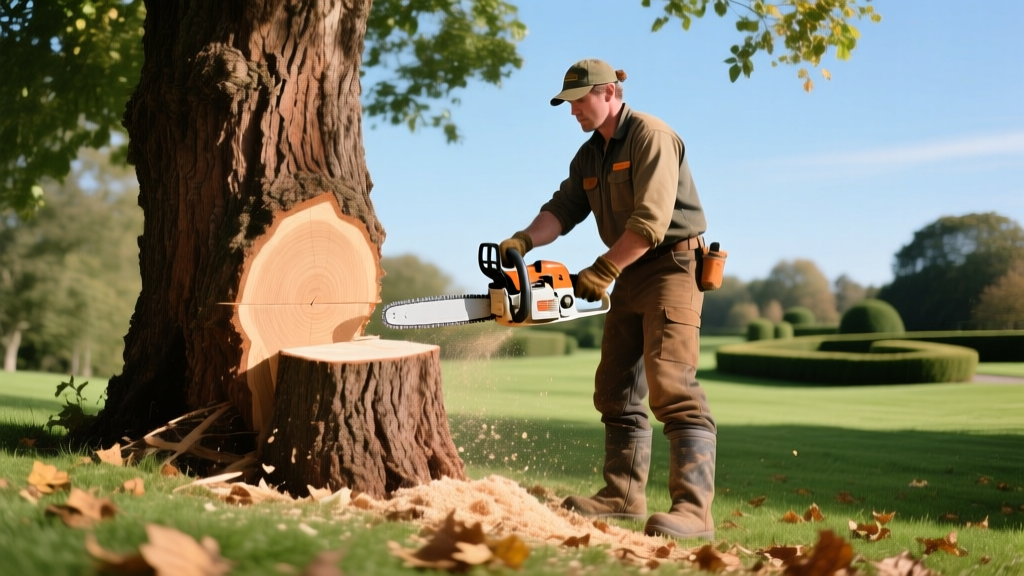
How to Cut Down a Tree Safely: Pro Felling & Notching Guide
Felling a tree is an exercise in applied physics and gravity. A single miscalculation in notch depth or hinge wood thickness can result in catastrophic property damage or fatal injuries. According to the Occupational Safety and Health Administration (OSHA), falling trees and branches account for a significant percentage of landscaping and logging fatalities. This guide details the exact mechanics of the open-faced felling method, the specific gear required, and the mathematical rules for hinge wood control to ensure your tree falls exactly where you intend.
Assess the Tree: Should You DIY or Hire an Arborist?
Not every tree is a DIY candidate. Before starting your chainsaw, evaluate the tree's Diameter at Breast Height (DBH), lean, and surrounding targets. If the tree exceeds your skill threshold, hire an ISA-certified arborist. Professional removal typically costs between $800 and $2,500 depending on DBH and crane requirements, which is vastly cheaper than a crushed roof or an emergency room visit.
| Tree Metric | DIY Safe Zone | Call a Professional |
|---|---|---|
| Diameter (DBH) | Under 15 inches | Over 15 inches |
| Lean Angle | Less than 5 degrees | Heavy lean or unbalanced crown |
| Drop Zone | Clear, flat ground | Near power lines, roofs, or fences |
| Wood Condition | Solid, healthy wood | Hollow trunk, fungal conks, or rot |
Mandatory PPE and Chainsaw Specifications
Sneakers and safety glasses are entirely insufficient for chainsaw operation. You must invest in gear that meets specific industrial safety standards.
- Helmet System: Use a forestry helmet equipped with a polycarbonate face shield and hearing protection (e.g., Husqvarna ProForest or Stihl Woodcutter). Must meet ANSI Z89.1 standards.
- Chaps or Pants: Kevlar or Tek warp chainsaw chaps (ASTM F1897 standard). These are designed to pull fibers into the chainsaw sprocket, stalling the engine instantly upon leg contact.
- Footwear: Steel-toe or composite-toe boots with deep lug soles for traction on uneven, debris-covered terrain.
- Chainsaw Selection: For trees between 10 and 15 inches DBH, a mid-range gas saw with a 16 to 18-inch bar and a 40cc to 50cc engine is ideal. The Stihl MS 250 (approx. $550) or the Husqvarna 460 Rancher (approx. $650) offer the torque needed to power through hardwoods without bogging down.
Warning: The Kickback Zone
The upper quadrant of the chainsaw bar nose is the kickback danger zone. If this area contacts wood while the chain is moving, the saw will violently throw itself backward toward your face. Never plunge cut with the nose, and always keep your thumb wrapped securely around the bottom handle.
Planning the Drop Zone and Escape Routes
Trees rarely fall perfectly straight due to wind, uneven crown weight, and soil conditions. Before making a single cut, clear the drop zone of tripping hazards like vines, loose branches, and rocks.
The 45-Degree Escape Rule
Never stand directly behind a falling tree. If the trunk splits or the stump kicks back (a phenomenon known as "sit-back"), the rear zone is lethal. Plan two escape routes at a 45-degree angle backward from the line of fall. Clear these paths completely and ensure they are at least 15 feet long. As soon as the tree begins to tip, shut off your chainsaw, engage the chain brake, and walk—do not run—down your escape path.
Executing the Open-Faced Notch (The 3-Cut Method)
Forget the conventional 45-degree notch taught in outdated manuals. Modern forestry standards, as outlined by Penn State Extension, dictate the use of an open-faced notch (70 degrees or wider). This wider angle prevents the notch from closing prematurely, which can snap the hinge wood and cause the tree to twist or barber-chair.
- The Top Cut: Stand on the side of the tree and angle your chainsaw bar downward at roughly a 60-degree angle. Cut into the trunk to a depth of about one-third of the tree's DBH. This cut dictates the directional plane of the fall.
- The Bottom Cut: Make a horizontal cut (or slightly upward angle) that meets the exact endpoint of your top cut. The resulting notch should be at least 70 degrees. If the two cuts do not meet perfectly, clean out the "Dutchman" (the overlapping wood) to ensure the hinge will pivot cleanly.
- The Felling Cut (Back Cut): Move to the opposite side of the tree. Hold the bar perfectly horizontal, approximately 1 to 2 inches higher than the apex of your bottom notch cut. This height differential is critical; it creates a "step" that prevents the tree from sliding backward off the stump and striking you.
Managing the Hinge Wood and Felling Wedges
The uncut wood left between your notch and your felling cut is the "hinge wood." This is the steering wheel of your tree. According to US Forest Service guidelines, the hinge wood should be uniformly thick and measure exactly 10% of the tree's DBH. For a 15-inch tree, leave a 1.5-inch hinge.
Pro Tip: Preventing Barber Chairing
Highly tensioned trees (especially hickory, ash, and leaning pines) are prone to "barber chairing," where the trunk splits vertically up the middle before the tree falls, leaving a deadly, jagged spear attached to the stump. To prevent this, leave a slightly thicker hinge (15% of DBH) and use felling wedges early in the back cut to relieve compression stress on the back of the tree.
As you make the felling cut, do not cut all the way through. Stop when you are about 10% away from the notch. At this point, insert an ABS plastic felling wedge (such as the Oregon 50953) into the back cut. Use a felling axe or a mallet to drive the wedge in. This lifts the tree slightly, shifts the center of gravity past the pivot point, and forces the tree to fall without pinching your chainsaw bar.
Limbing, Bucking, and Tension Awareness
Once the tree is on the ground, the danger is not over. Limbing (removing branches) and bucking (cutting the trunk into logs) introduce complex tension and compression forces.
- Limbing Protocol: Keep the trunk between you and the chainsaw whenever possible. Start from the base and work toward the top. Never cut branches that are under heavy bending tension from the top side in a single pass; the wood will snap back violently. Use a top cut halfway through, followed by a relieving bottom cut.
- Bucking Tension/Compression: If a log is supported at both ends, the top is under compression and the bottom is under tension. Cut the bottom (tension side) one-third of the way up, then finish the cut from the top. If you cut only from the top, the log will pinch your bar, trapping the saw.
Stump Management and Site Cleanup
After bucking the wood, you are left with the stump. If you plan to grind the stump yourself, rent a tracked stump grinder (approx. $150-$250 per day) rather than attempting to excavate it with a shovel and mattock, which is backbreaking and risks striking buried utility lines. Always call 811 at least three days before digging or grinding to have underground gas, water, and fiber-optic lines marked. Leave the stump roughly 3 to 4 feet high until you are ready to grind it, as this provides the leverage needed to maneuver the grinder's cutting wheel safely without damaging the machine's hydraulic tracks.

