Tree Care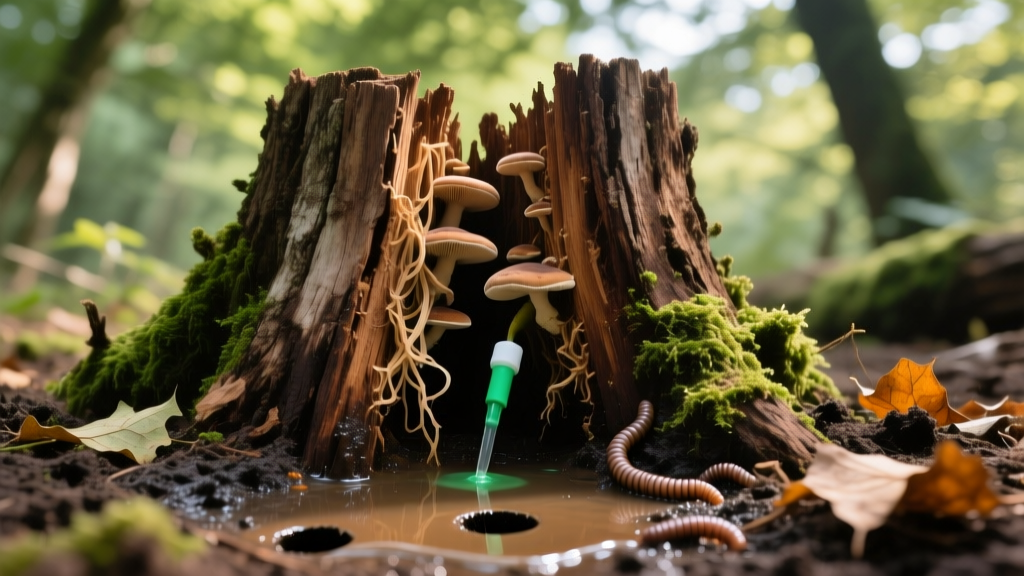
How to Rot Out a Tree Stump Fast: Chemical vs. Natural Decay Methods
The Economics and Science of Accelerated Stump Decay
Professional stump grinding costs between $3 and $5 per inch of diameter, meaning a standard 30-inch oak stump will cost $150 to $250 to remove, not including root cleanup or soil backfilling. For homeowners willing to trade immediate results for significant cost savings, learning how to rot out a tree stump using accelerated biological decay is a highly effective alternative. By introducing specific chemical catalysts or osmotic agents, you can reduce a stump's structural integrity in 4 to 12 weeks, allowing you to break it apart with basic hand tools.
The underlying science relies on manipulating the carbon-to-nitrogen (C:N) ratio of the wood. Fresh wood has a high carbon content and low nitrogen, which starves the fungi and bacteria responsible for decomposition. By artificially flooding the stump with nitrogen or drawing out its moisture, you either hyper-feed decay microbes or kill the living cambium layer to initiate the rotting process.
Method Comparison Matrix
| Method | Active Agent | Estimated Cost (30" Stump) | Time to Spongy Decay | Environmental Impact |
|---|---|---|---|---|
| Potassium Nitrate | KNO3 Crystals | $18 - $25 | 4 - 6 Weeks | Moderate (Soil salinity spike) |
| Epsom Salt | Magnesium Sulfate | $10 - $15 | 6 - 12 Months | Low (Adds magnesium to soil) |
| Nitrogen Tarping | Urea (46-0-0) / Blood Meal | $12 - $20 | 3 - 5 Months | Low (Organic breakdown) |
| Professional Grinding | Mechanical Carbide Teeth | $150 - $250 | 1 Hour | High (Diesel emissions, soil compaction) |
Method 1: Potassium Nitrate (The Fastest Chemical Route)
Potassium nitrate (KNO3) is the active ingredient in most commercial stump removers, such as Spectracide Stump Remover or Bonide Stump-Out. It does not dissolve the wood directly; rather, it provides a massive influx of nitrogen that feeds wood-decaying fungi and bacteria, accelerating their metabolic breakdown of the lignin and cellulose.
Step-by-Step Application
- Drill the Canopy Pattern: Using a cordless drill and a 1-inch spade bit or auger bit, drill holes 8 to 12 inches deep into the top of the stump. Space the holes 2 to 3 inches apart in concentric circles. Do not drill through the bottom of the stump into the soil; you need the holes to act as reservoirs.
- Fill with KNO3 Granules: Pour the potassium nitrate crystals into each hole until they are completely full. A 30-inch stump typically requires 2 to 3 pounds of KNO3 (roughly two 16oz bottles of commercial remover).
- Activate with Hot Water: Slowly pour hot water (not boiling, around 140°F) into the holes to dissolve the granules. The hot water helps the saturated solution penetrate deep into the stump's vascular tissue.
- Seal and Wait: Cover the stump with a heavy-duty 6-mil black polyethylene tarp and weigh down the edges with bricks or landscape staples. This traps moisture and heat, creating an ideal incubator for thermophilic bacteria. Check every two weeks to add more water if the holes have dried out.
⚠️ Safety Warning: Potassium nitrate is a strong oxidizer and a primary ingredient in homemade pyrotechnics. Never use potassium nitrate on a stump you intend to burn later, as the wood will become highly flammable and can cause explosive flare-ups. Always store the chemical in a dry, secure location away from combustible materials.
Method 2: Epsom Salt (The Eco-Friendly Osmotic Route)
If your stump is located near a vegetable garden, a water feature, or a sensitive root zone where chemical nitrogen spikes could cause algal blooms or plant burn, Epsom salt (magnesium sulfate) is the safest alternative. According to horticultural guidelines from the University of Minnesota Extension, Epsom salt works via osmotic pressure, drawing moisture out of the living cambium and root system, effectively killing the stump and initiating natural decay.
The Epsom Salt Protocol
- Drilling: Follow the same 1-inch spade bit drilling pattern as the KNO3 method, but drill slightly deeper (10 to 14 inches) to reach the major lateral roots.
- The Saturation Mix: Mix 1 part Epsom salt to 2 parts water. Do not use dry salt alone, as it will crystallize on the surface and fail to penetrate the heartwood.
- Application: Pour the solution into the holes, cover with a tarp, and reapply every three weeks. Because this method relies on natural fungal colonization after the roots die, expect the process to take 6 to 12 months depending on the wood species and local humidity.
Method 3: High-Nitrogen Tarping (Fungal Inoculation)
For those who prefer strictly organic gardening inputs, the high-nitrogen tarp method utilizes blood meal, feather meal, or synthetic urea (46-0-0) combined with natural fungal spores. This method mimics the natural forest floor decomposition cycle but compresses the timeline.
"Wood decay is primarily driven by basidiomycete fungi, which require a specific moisture content and nitrogen availability to break down complex lignin polymers. By artificially maintaining a humid, nitrogen-rich microclimate, we can accelerate mycelial colonization by up to 400% compared to exposed stumps." — Adapted from Clemson Cooperative Extension forestry guidelines.
Execution: Score the sides of the stump with a chainsaw or hatchet to expose the sapwood. Coat the entire stump in a thick layer of blood meal or urea fertilizer. Wrap the stump tightly in a black tarp, burying the edges in the soil to prevent nitrogen gas from escaping. Water the soil around the stump heavily once a month to maintain the moisture gradient required for fungal hyphae to spread.
Troubleshooting: Why Your Stump Isn't Rotting
Homeowners frequently encounter stalled decay processes. If your stump remains rock-hard after the expected timeframe, evaluate the following failure modes:
1. Heartwood vs. Sapwood Density
The outer sapwood of a tree is porous and rots quickly. The inner heartwood, however, is packed with extractives, resins, and tannins that naturally resist decay. Species like Black Locust, Osage Orange, and Cedar have heartwood that can resist rot for decades. If you are dealing with a highly rot-resistant species, you must drill deeper and use a higher concentration of potassium nitrate to breach the heartwood's chemical defenses.
2. The Resin Barrier in Conifers
Pine, fir, and spruce stumps are heavily saturated with pitch and resin. These compounds are hydrophobic, meaning they repel the water necessary for your chemical solutions to penetrate. To bypass this, use a reciprocating saw with a pruning blade to cut deep, intersecting grid lines into the top of the conifer stump before drilling. This physically breaks the resin seal and allows the KNO3 solution to wick into the wood fibers.
3. Insufficient Moisture
Decay microbes require a minimum wood moisture content of 20% to remain active. In arid climates or during summer droughts, the tarp method can fail if the stump dries out. Always check the moisture level by inserting a screwdriver into the drill holes; if it meets dry resistance, flood the holes with water immediately.
Final Disposal: Breaking Down the Punky Wood
Once the chemical or natural process is complete, the stump will transition from solid wood to a dark, spongy, fibrous mass known as "punky" wood. At this stage, do not attempt to use a stump grinder, as the spongy material will clog the carbide teeth and damage the machine's hydraulic drive.
Instead, use a heavy-duty digging bar or a 5-pound mattock to fracture the decayed wood. Pry the large, spongy chunks out of the ground and sever the remaining lateral roots with a pruning saw or loppers. The resulting mulch can be safely added to your compost pile, provided you used the Epsom salt or organic nitrogen methods. If you used potassium nitrate, dispose of the wood in your municipal yard waste bin to prevent excess salts from altering your garden soil's pH and salinity.