
Tree Care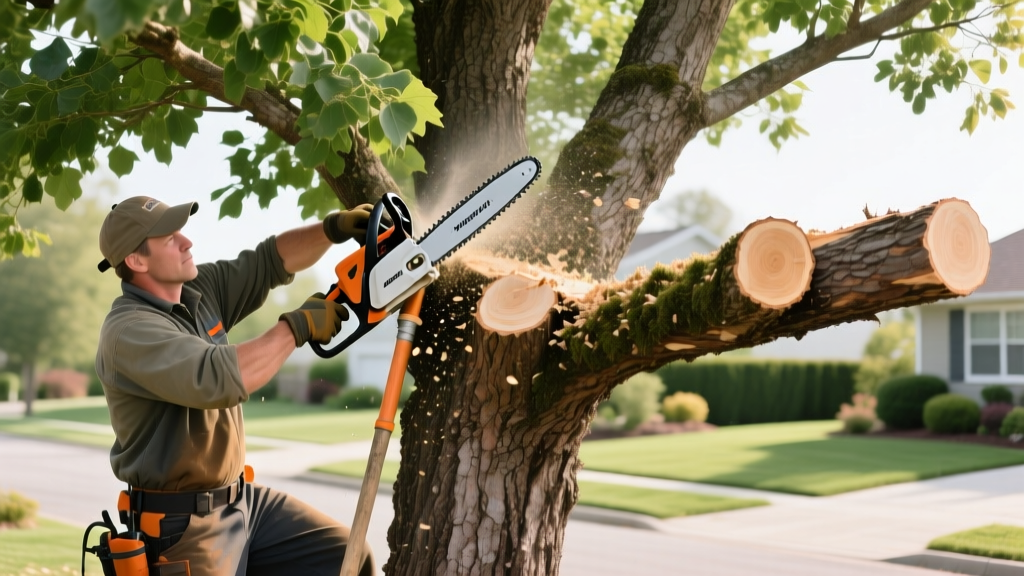
How to Trim a Tree Back Safely: Crown Reduction vs Topping
The Dangerous Myth of Tree Topping
When a mature shade tree encroaches on power lines, blocks a scenic view, or threatens a roof during high winds, the immediate instinct for many homeowners is to aggressively chop off the top half of the canopy. In the arboriculture industry, this practice is known as 'tree topping,' and it is universally condemned by certified professionals. According to the International Society of Arboriculture (ISA), topping removes 50% to 100% of a tree's leaf-bearing crown, effectively starving the root system and triggering a panicked, weak survival response.
When you top a tree, you destroy its natural apical dominance. The tree responds by pushing out dozens of 'epicormic' shoots—weakly attached, fast-growing branches that sprout directly from the bark near the massive, open wounds left by the saw. These shoots are highly susceptible to breaking in high winds. Furthermore, the massive stubs left behind cannot compartmentalize decay. Fungi and wood-boring insects will rapidly colonize the exposed heartwood, turning what was once a structurally sound tree into a hazardous, hollowed-out liability within five to seven years.
WARNING: Topping a tree often violates municipal ordinances. Many cities impose fines ranging from $500 to $5,000 for topping heritage or street trees, and it will immediately void any property insurance claims if a topped branch later fails and damages a structure.
Crown Reduction: The Professional Way to Trim a Tree Back
If you need to reduce the overall height or spread of a tree, the only scientifically sound method is crown reduction (sometimes called drop-crotch pruning). Unlike topping, which makes arbitrary cuts through the middle of branches, crown reduction involves cutting a branch back to a lateral branch that is large enough to assume the terminal role.
The golden rule of crown reduction is the 1/3 Rule: the lateral branch you select as the new leader must have a diameter of at least one-third the diameter of the branch being removed. This ensures the lateral branch has enough vascular tissue and leaf mass to sustain the remaining limb, allowing the tree to properly seal the wound via compartmentalization (the CODIT process).
The 25% Canopy Limit: Never remove more than 25% of a mature tree's live foliage in a single growing season. For older, declining trees, limit reduction to 10-15% to prevent severe physiological stress.
Step-by-Step Crown Reduction Execution
Step 1: Locate the Branch Collar and Bark Ridge
Before making any cuts, identify the branch collar (the swollen area of trunk tissue at the base of the branch) and the branch bark ridge (the dark, rough line running parallel to the branch angle). Your final cut must be made just outside the branch collar, without leaving a protruding stub and without slicing into the collar itself. Slicing the collar damages the trunk's chemical defense boundaries, inviting rot directly into the main stem.
Step 2: The Three-Cut Method for Heavy Limbs
Any branch larger than 2 inches in diameter requires the three-cut method to prevent the weight of the falling limb from tearing a strip of bark down the trunk.
- The Undercut: Make a shallow cut on the underside of the branch, 6 to 12 inches away from the trunk. Cut about one-third of the way through the wood.
- The Top Cut: Move 1 to 2 inches further out from the undercut and cut straight down through the top of the branch. The branch will snap cleanly at the undercut, dropping safely without tearing the bark.
- The Final Reduction Cut: Now that the heavy weight is gone, make your precise reduction cut just outside the branch collar, angling the saw to match the angle of the branch bark ridge.
Step 3: Selective Thinning vs. Heading Cuts
When reducing the canopy, prioritize thinning cuts (removing a branch back to its point of origin or a major lateral) over heading cuts (snipping the end of a branch blindly). Thinning allows light and air to penetrate the inner canopy, reducing wind resistance and fungal disease pressure. According to research from the University of Minnesota Extension, proper thinning maintains the tree's natural structural architecture while achieving the desired size reduction.
Tool Selection for Heavy Canopy Reduction
Using the wrong tool crushes the cambium layer, delaying healing. Bypass mechanics are mandatory for live wood. Here is a professional-grade tool matrix for DIY crown reduction:
| Tool Category | Recommended Model | Max Cut Diameter | Estimated Cost (2026) |
|---|---|---|---|
| Hand Pruning Saw | Silky Gomboy 240mm (Medium Teeth) | Up to 4 inches | $65 - $80 |
| Bypass Loppers | Felco 200 Straight Cutting Loppers | Up to 1.4 inches | $110 - $130 |
| Battery Pole Pruner | STIHL HTA 50 (10-inch bar) | Up to 6 inches | $350 - $400 |
| Climbing/Harness Gear | Weaver Arborist Saddle + Rope | N/A (Safety) | $400 - $600 |
When to Call a Certified Arborist (Cost & Risk Matrix)
While pruning a 15-foot ornamental Japanese maple is a manageable weekend project, scaling a 60-foot red oak requires technical climbing skills, rigging knowledge, and heavy liability insurance. Use this decision matrix to determine if you should hire an ISA Certified Arborist.
| Scenario Parameter | DIY Feasible? | Professional Cost Range |
|---|---|---|
| Tree Height: Under 15 feet | Yes (Use pole tools) | $150 - $350 |
| Tree Height: 15 to 30 feet | Caution (Requires ladders/poles) | $400 - $800 |
| Tree Height: Over 30 feet | No (Requires climbing/rigging) | $800 - $1,800+ |
| Proximity to Power Lines (Within 10ft) | No (Electrocution hazard) | $600 - $1,500 (Line clearance specialist) |
| DBH (Trunk Diameter) over 24 inches | No (Heavy rigging required) | $1,000 - $2,500+ |
Post-Pruning Aftercare and Wound Sealing
One of the most persistent myths in landscaping is the belief that pruning cuts must be painted with a black, tar-like 'wound sealant' to prevent rot. Decades of peer-reviewed forestry research have proven that wound paints actually trap moisture and fungal spores against the exposed wood, accelerating decay rather than preventing it. Trees possess a highly evolved biological mechanism called Compartmentalization of Decay in Trees (CODIT). When a clean, precise cut is made just outside the branch collar, the tree immediately begins growing callus tissue over the wound from the edges inward.
Your only post-pruning responsibility is sanitation. Wipe down your Silky saw blades and Felco loppers with 70% isopropyl alcohol between trees to prevent the cross-contamination of pathogens like fire blight or oak wilt. Ensure the tree receives deep, slow root-watering (1 inch per week) during the first summer following a major crown reduction to help it rebuild its depleted carbohydrate reserves.

